
![]()
Здравствуй, юный сисадмин. Сегодня мы с тобой установим Windows Server 2019. Устанавливать будем ознакомительную версию, которая работает 180 дней. Установка производится на виртуальную машину VMware, я использую домашний сервер с ESXi на борту.
Дистрибутив Windows Server 2019
Переходим по ссылке:
https://www.microsoft.com/ru-ru/windows-server
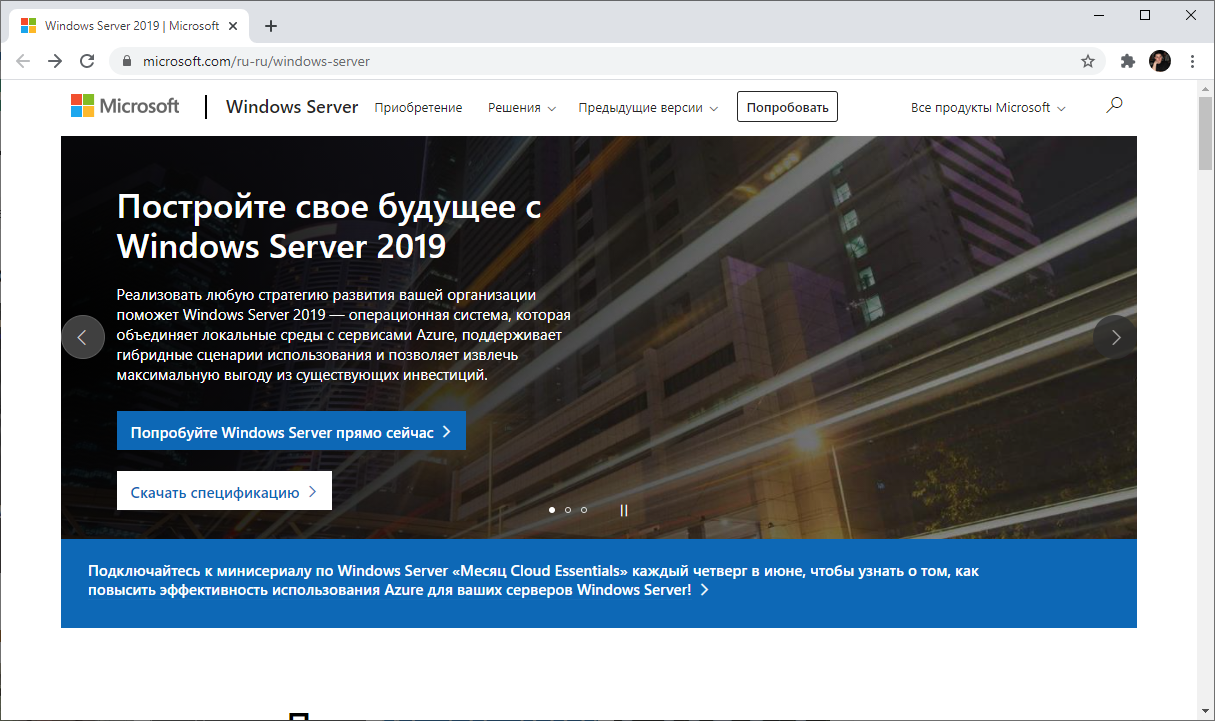
Нажимаем кнопку «Попробуйте Windows Server прямо сейчас».
https://www.microsoft.com/ru-RU/windows-server/trial
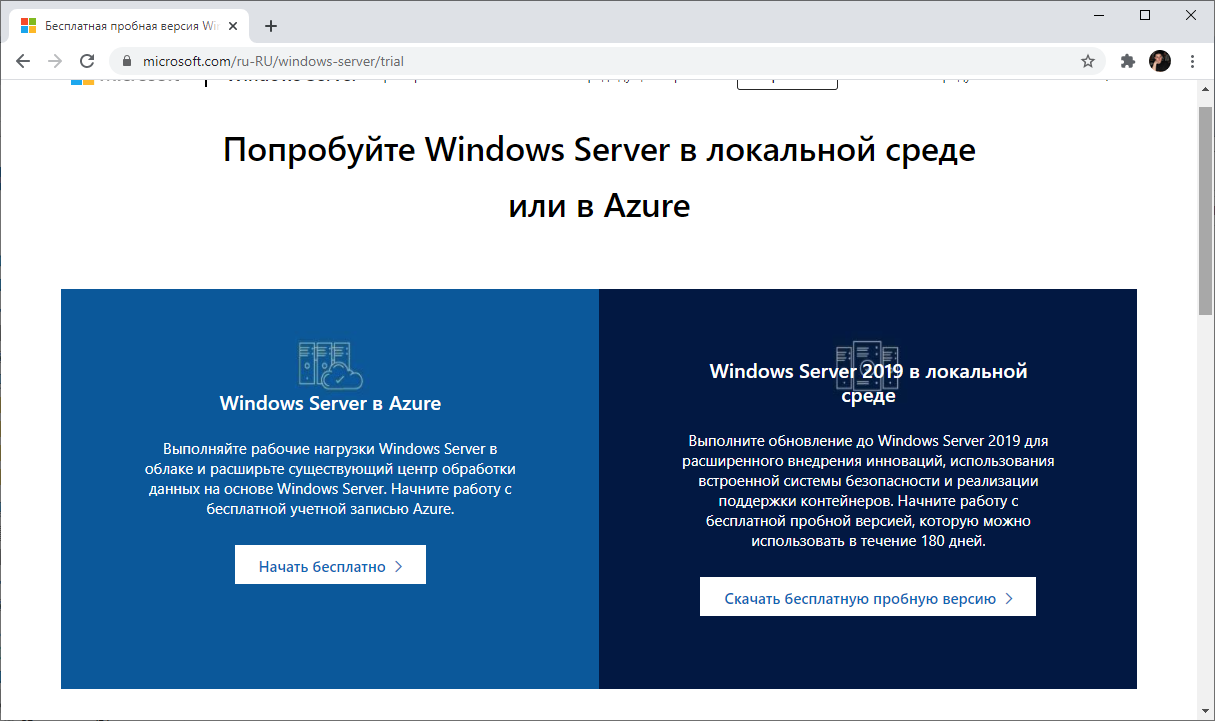
Нас интересуем Windows Server 2019 в локальной среде. «Скачать бесплатную пробную версию».
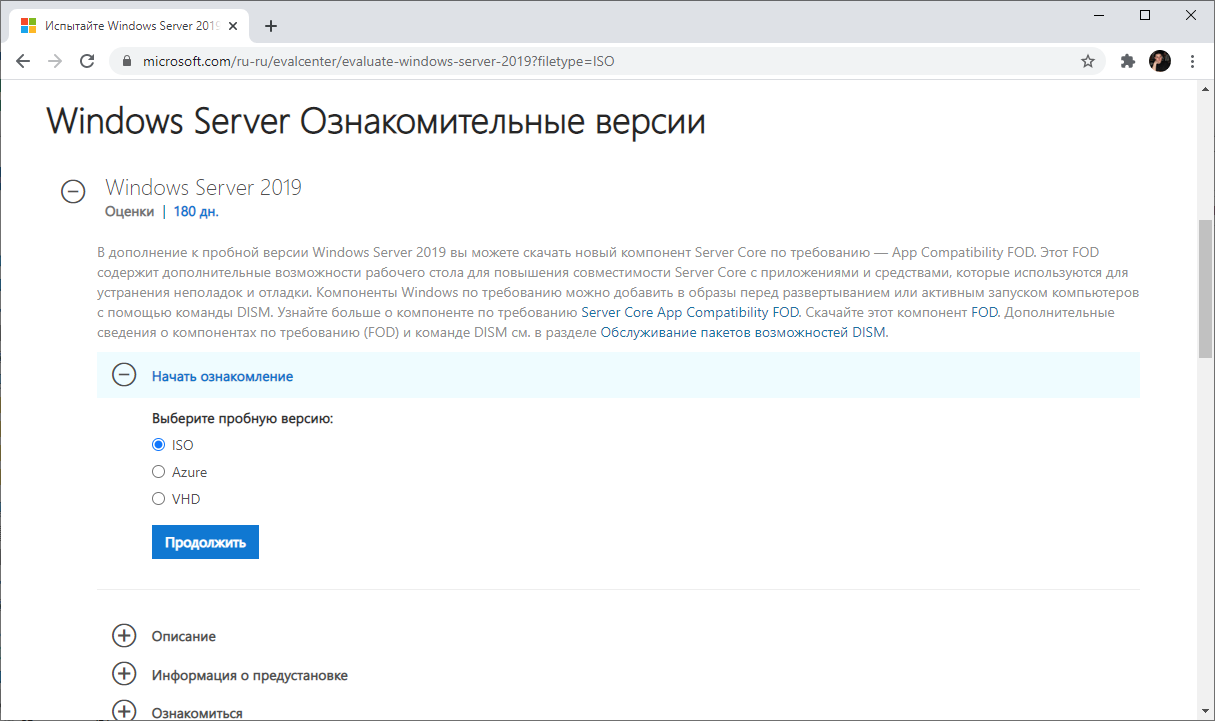
Нам нужен ISO образ, выбираем, «Продолжить».
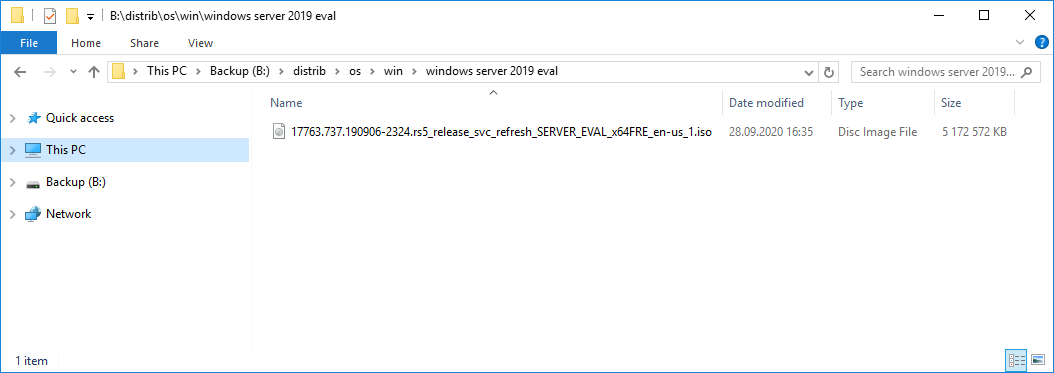
Итак, дистрибутив Windows Server 2019 в виде ISO образа у нас есть.
Системные требования Windows Server 2019
https://docs.microsoft.com/en-us/windows-server/get-started-19/sys-reqs-19
Минимальные системные требования для работы Windows Server 2019:
- Процессор
- 64-разрядный процессор с частотой 1,4 ГГц
- Совместимость с набором инструкций x64
- Поддержка NX и DEP
- Поддержка CMPXCHG16b, LAHF/SAHF и PrefetchW
- Поддержка трансляции адресов второго уровня (EPT или NPT)
- Память
- 512 МБ (2 ГБ для сервера с возможностью установки Desktop Experience)
- ECC (Error Correcting Code) или аналогичная технология для развертывания физического хоста
- Диск
- 32 ГБ для core mode + IIS
- 36 ГБ для GUI mode + IIS
При установке на виртуальную машину минимальных требований (1 процессор и 512 МБ оперативки может быть недостаточно, установка завершится с ошибкой. В этом случае можно сделать следующее:
- Выделите более 800 МБ памяти, после завершения установки можно уменьшить количество памяти до 512 МБ. Если вы используете дополнительный язык, то может потребоваться больше 800 МБ.
- Прервите процесс установки SHIFT+F10. В командной строке используйте diskpart.exe для создания и форматирования раздела для установки. Выполните wpeutil createpagefile /path=C:\pf.sys, где C: — это выделенный раздел. Закройте командную строку и продолжите установку.
Подготовка виртуальной машины для Windows Server 2019
Создаём виртуалку.
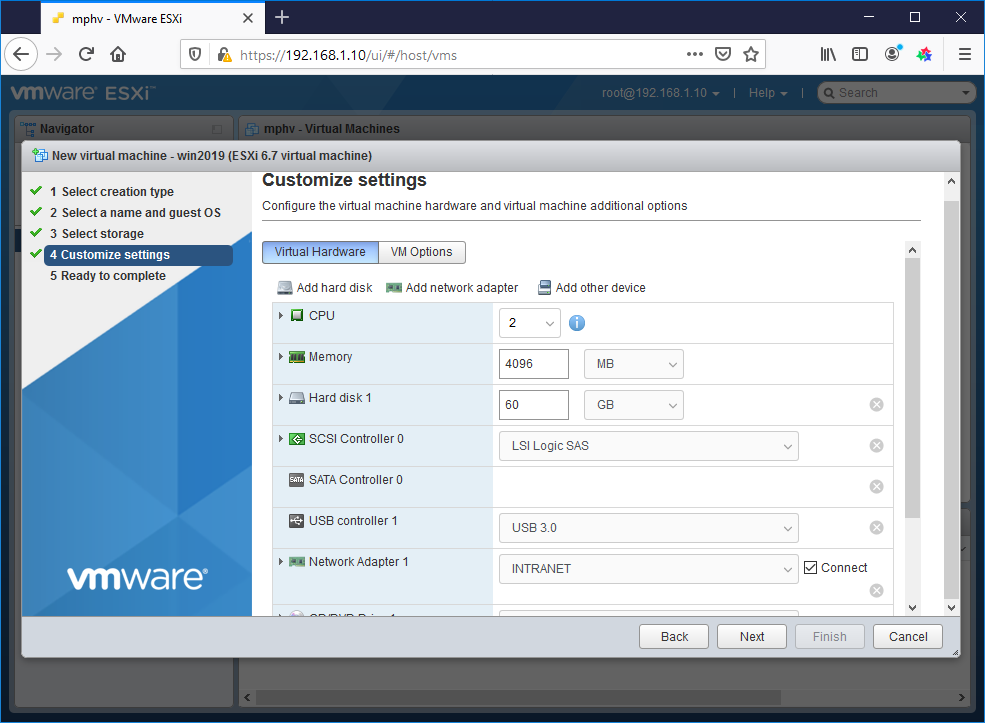
Минимальные требования не будем устанавливать. Я выделил:
- 2 процессора
- 4 ГБ оперативки
- 60 ГБ места на диске
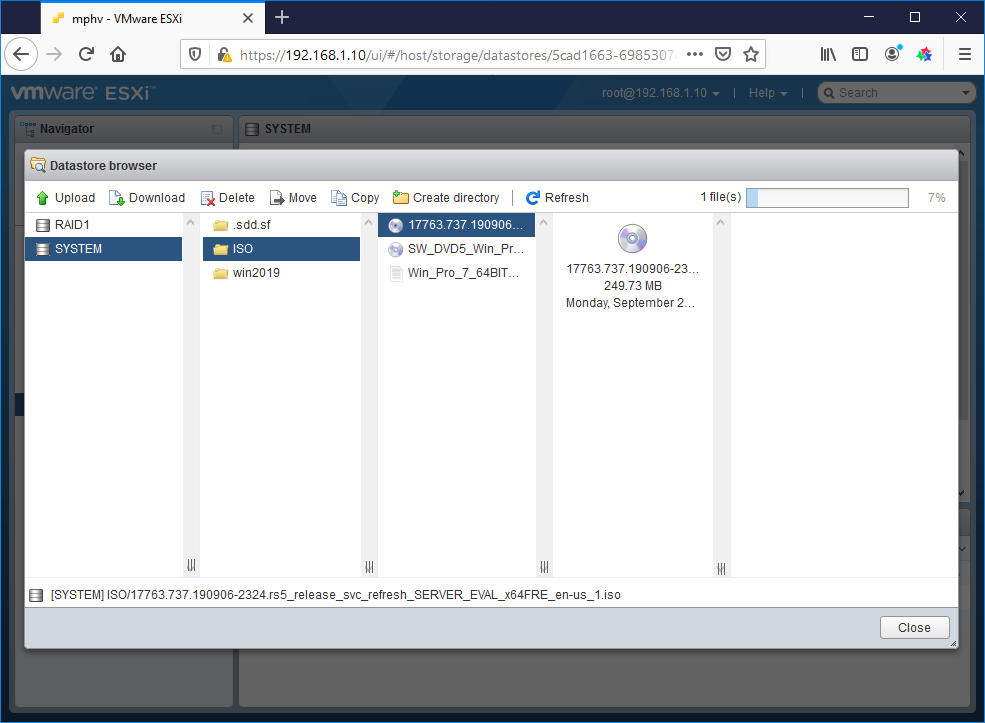
Загружаю в хранилище ISO образ.
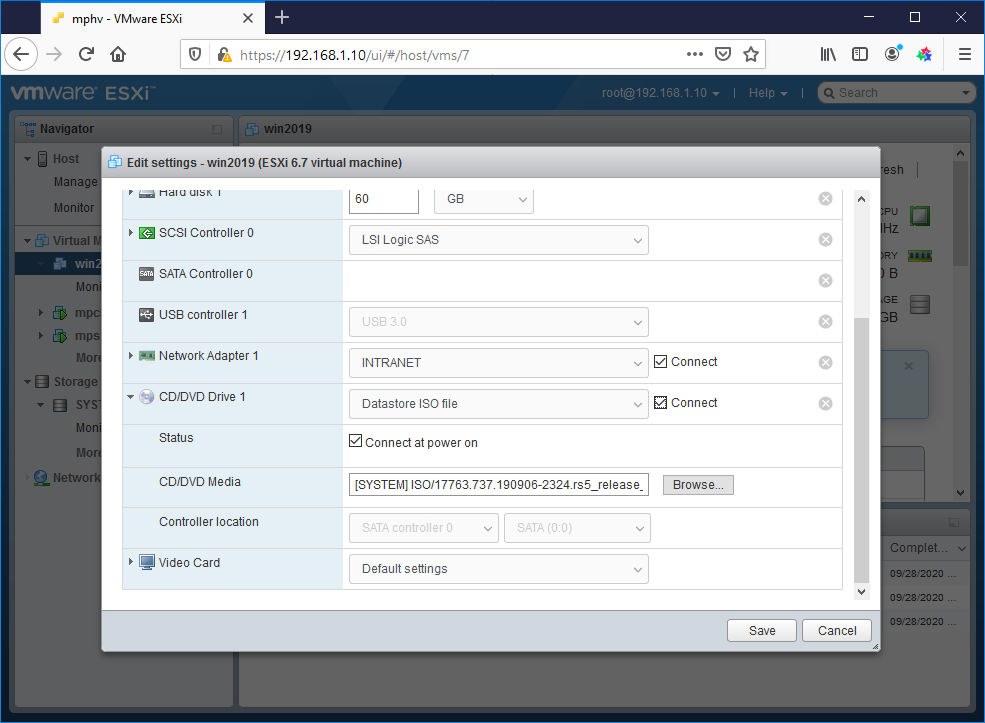
Монтирую ISO образ как CD\DVD.
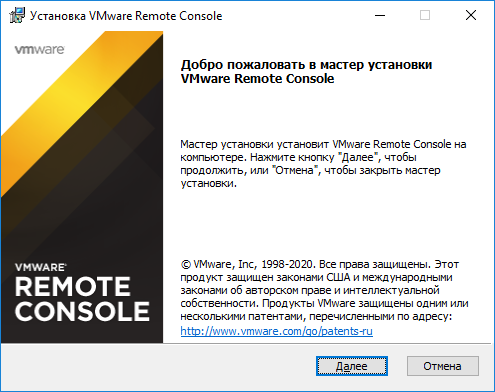
Для удобства устанавливаю VMware Remote Console.
Установка Windows Server 2019
Включаем виртуалку.
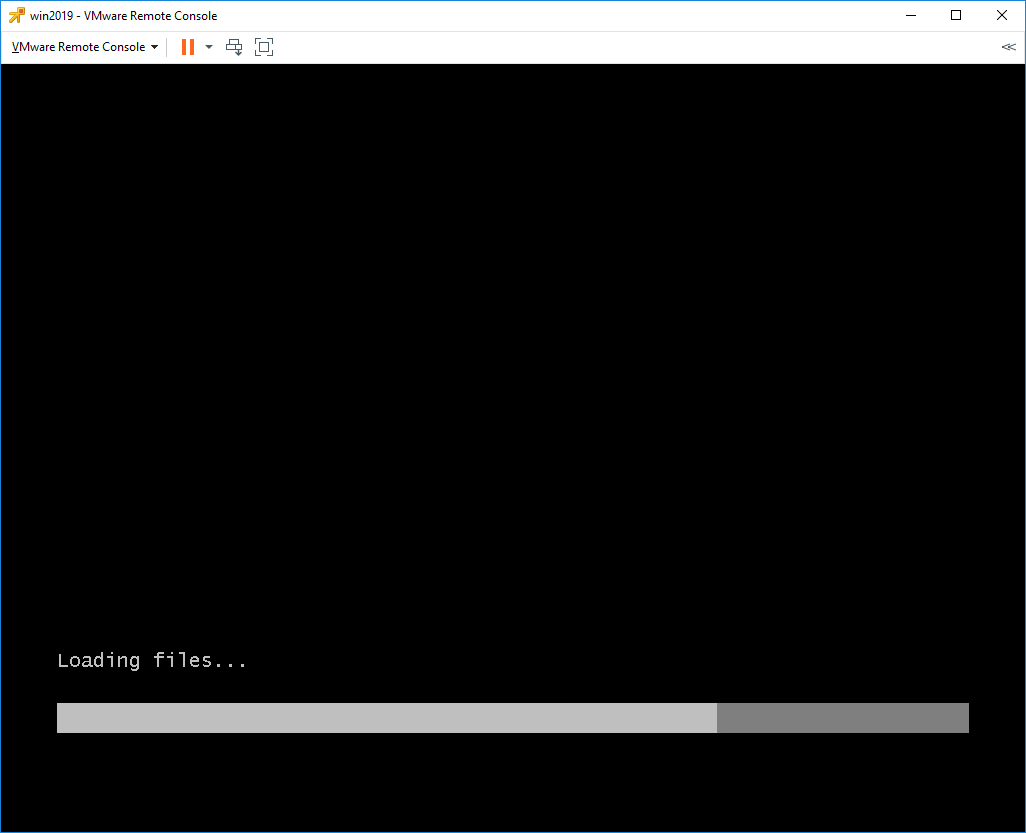
Установочный образ подцепился.

Запускается Windows Setup.
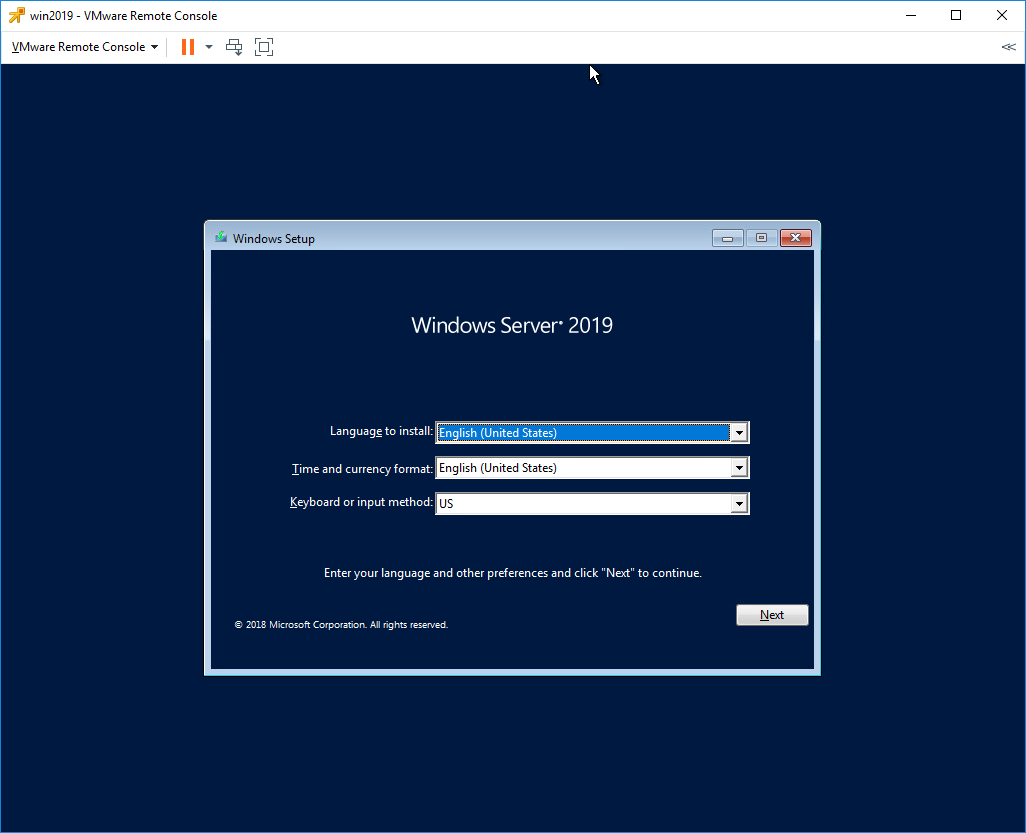
Я предпочитаю устанавливать Windows Server на английском языке, мне так привычнее. Чем меньше лишнего — тем лучше. Единственное исключение делаю для терминальных серверов, так как с ними потом будут работать юзеры.
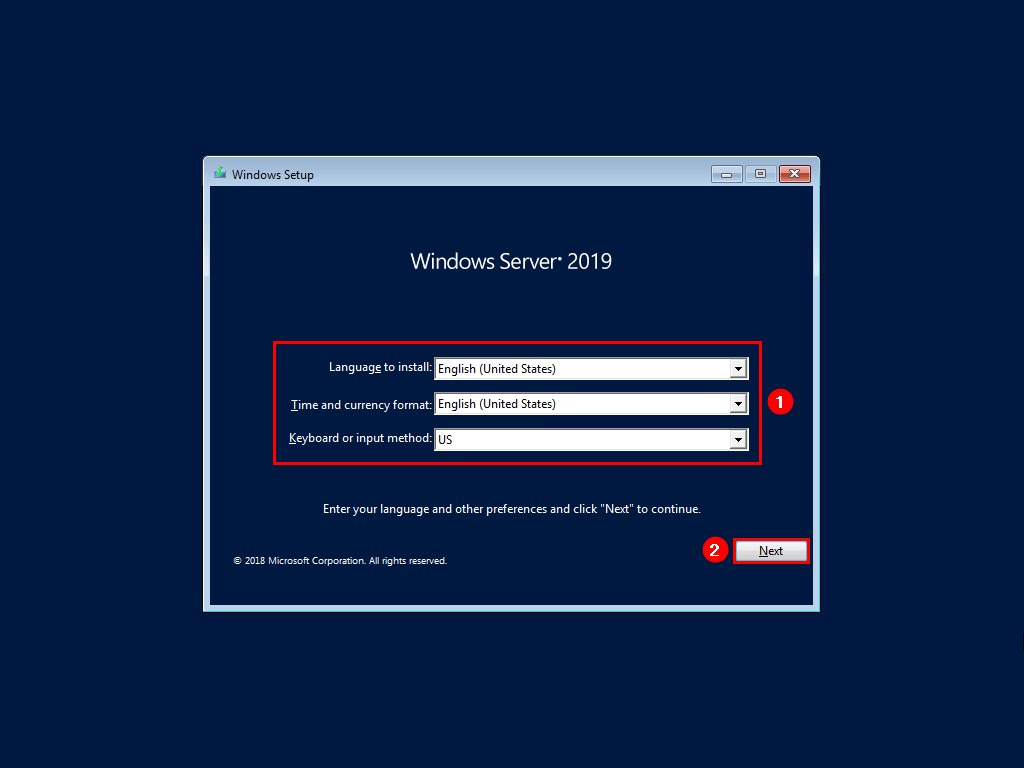
Выбираем язык установки, Next.
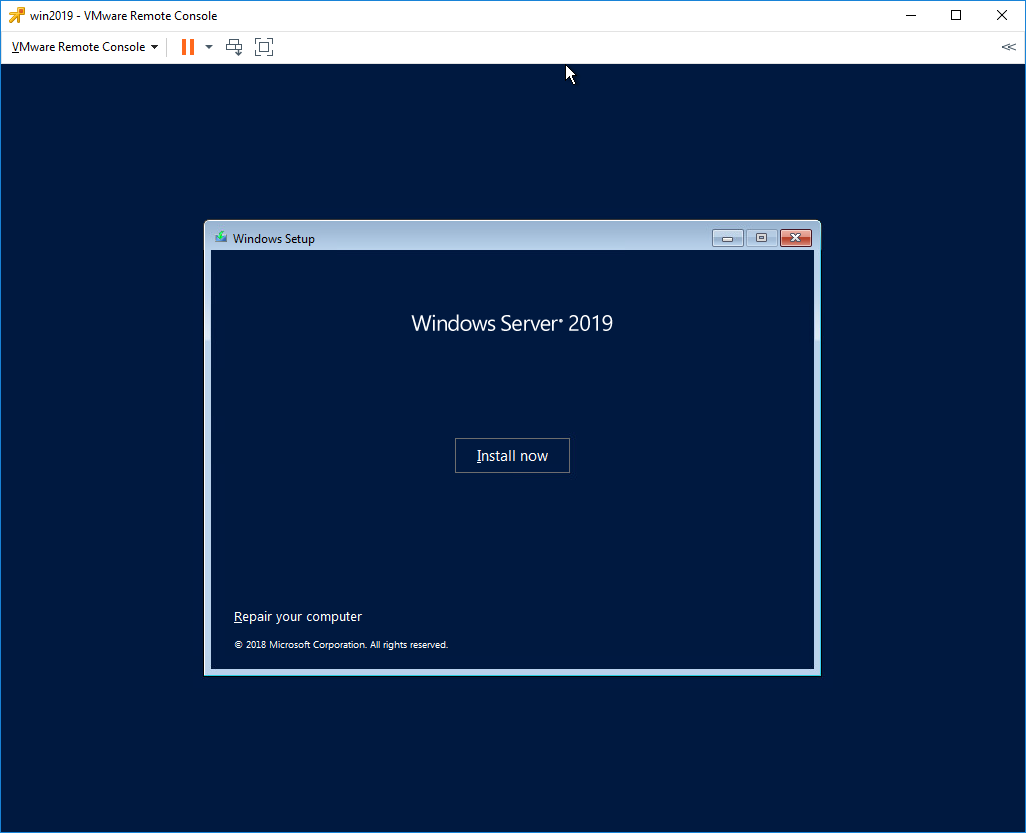
Install now.
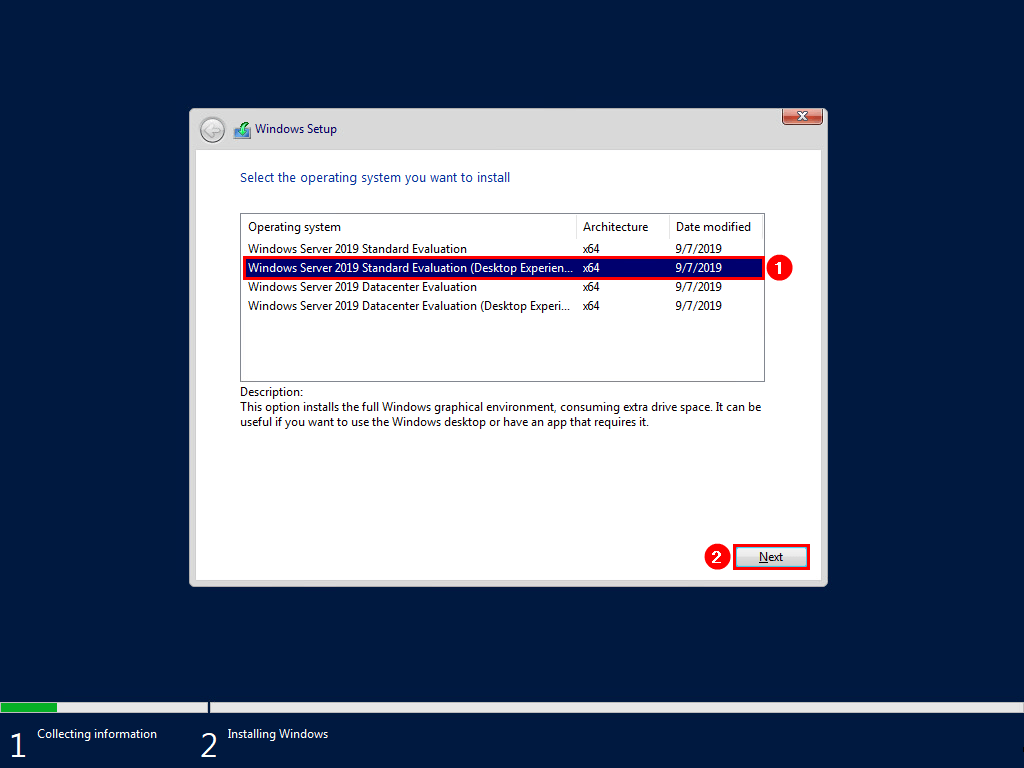
Выбираем Standard версию с GUI. Next.
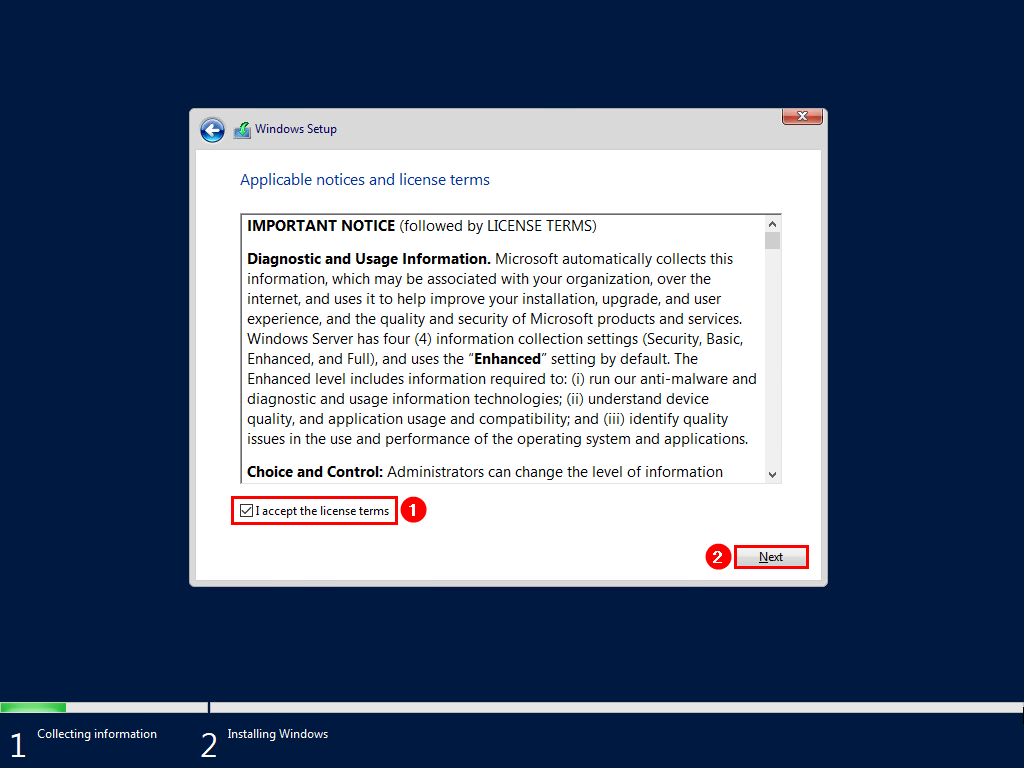
Принимаем лицензионное соглашение. Next.
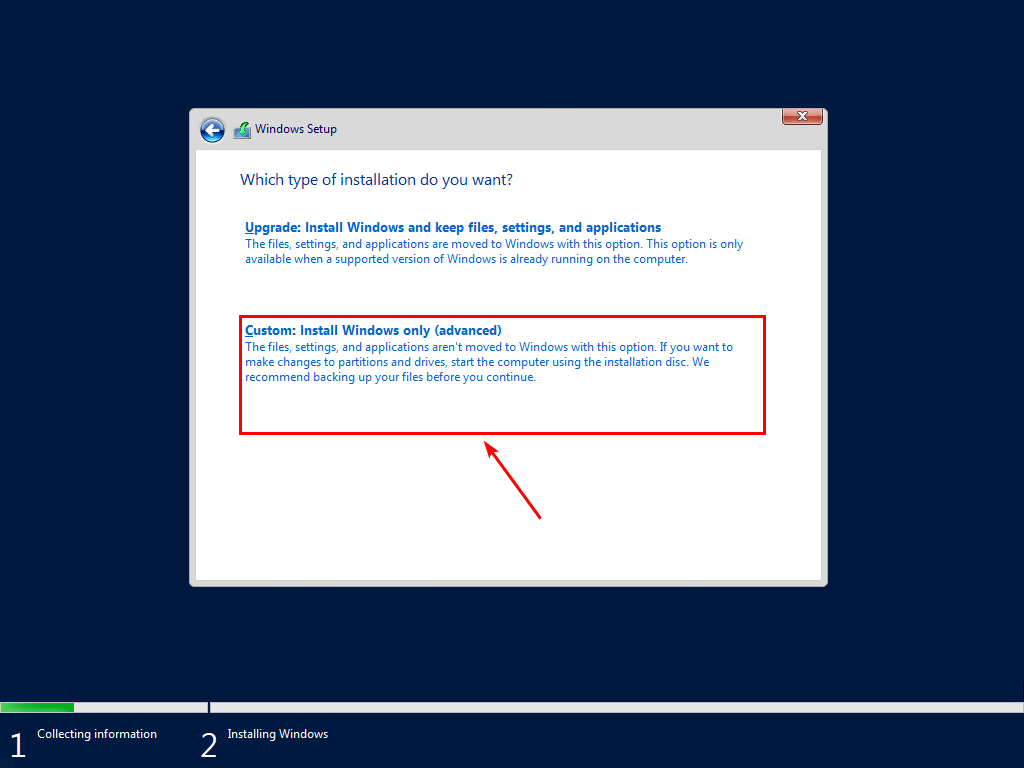
Тип установки — Custom: Install Windows only (advanced). У нас новый сервер.
Выбираем диск для установки. На виртуальной машине он у нас выделен один. Next.
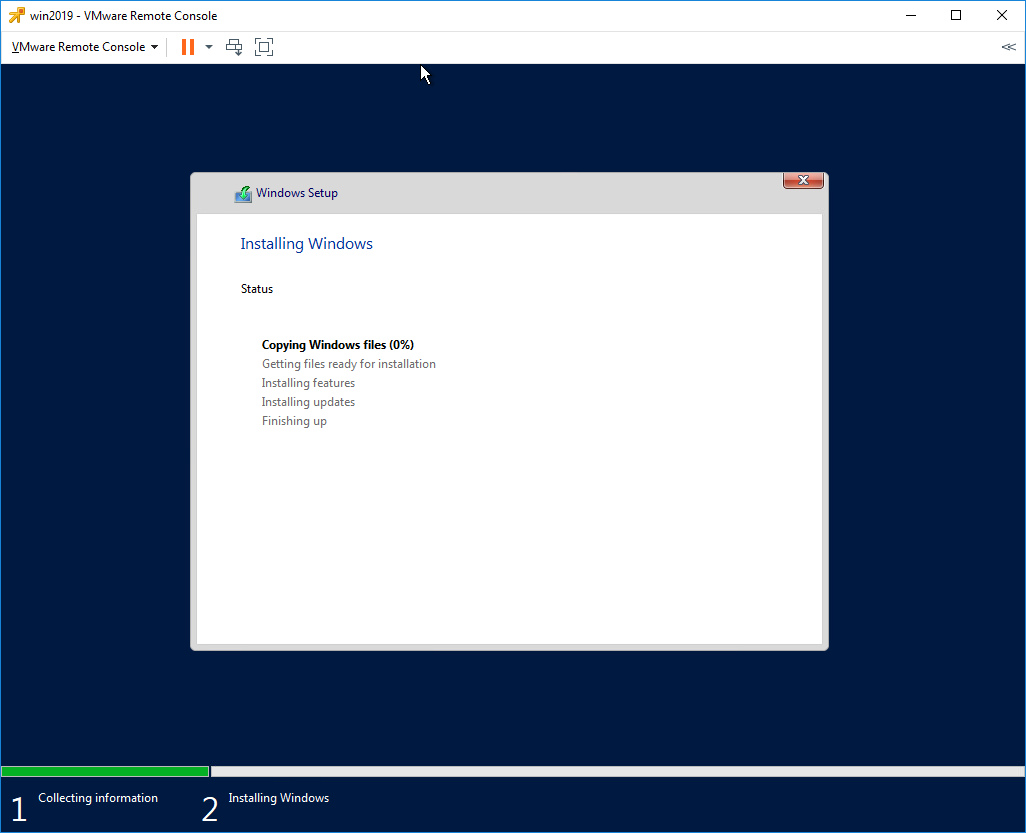
Откиньтесь на спинку кресла, начинают копироваться установочные файлы.
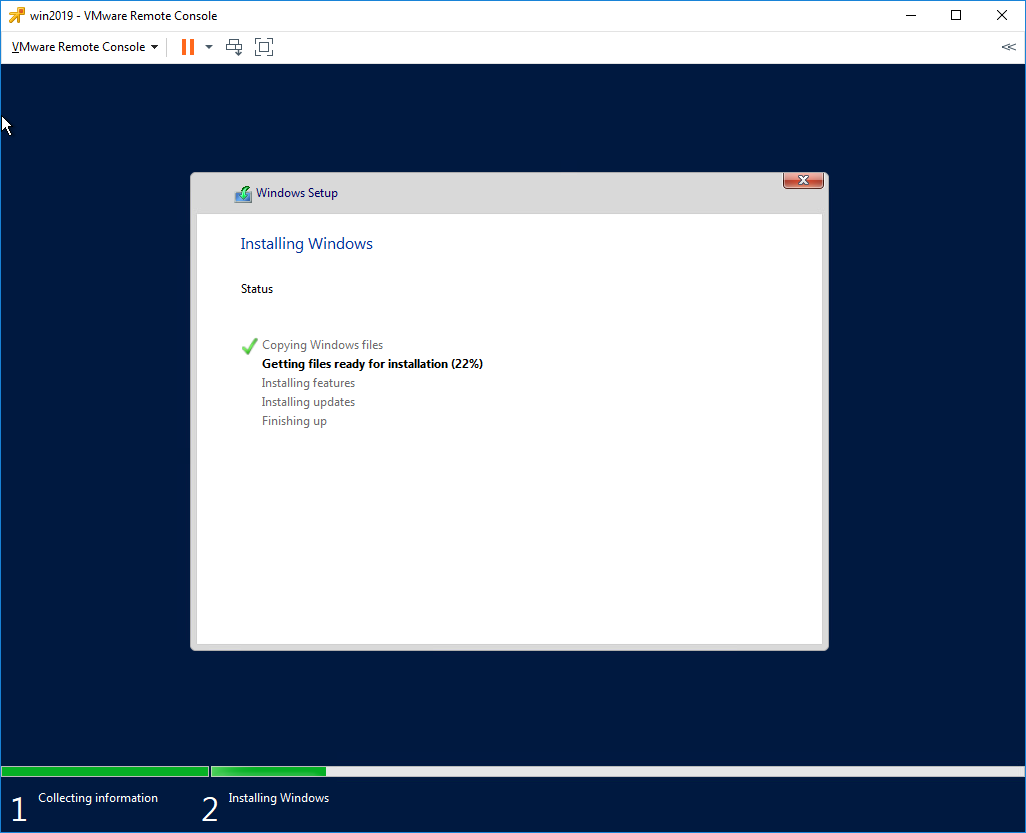
Идёт подготовка для установки Windows Server 2019.

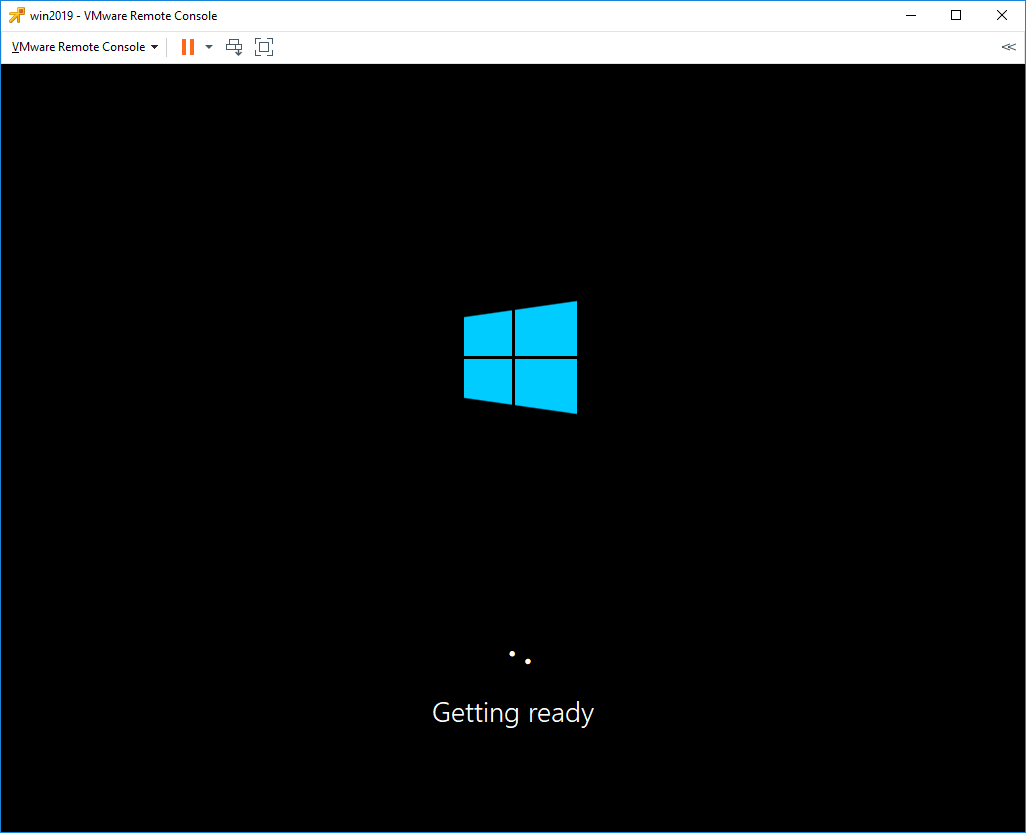
В процессе установки Windows может несколько раз перезагрузиться.

Нужно запастись терпением.
Открывается окно для установки пароля администратора.
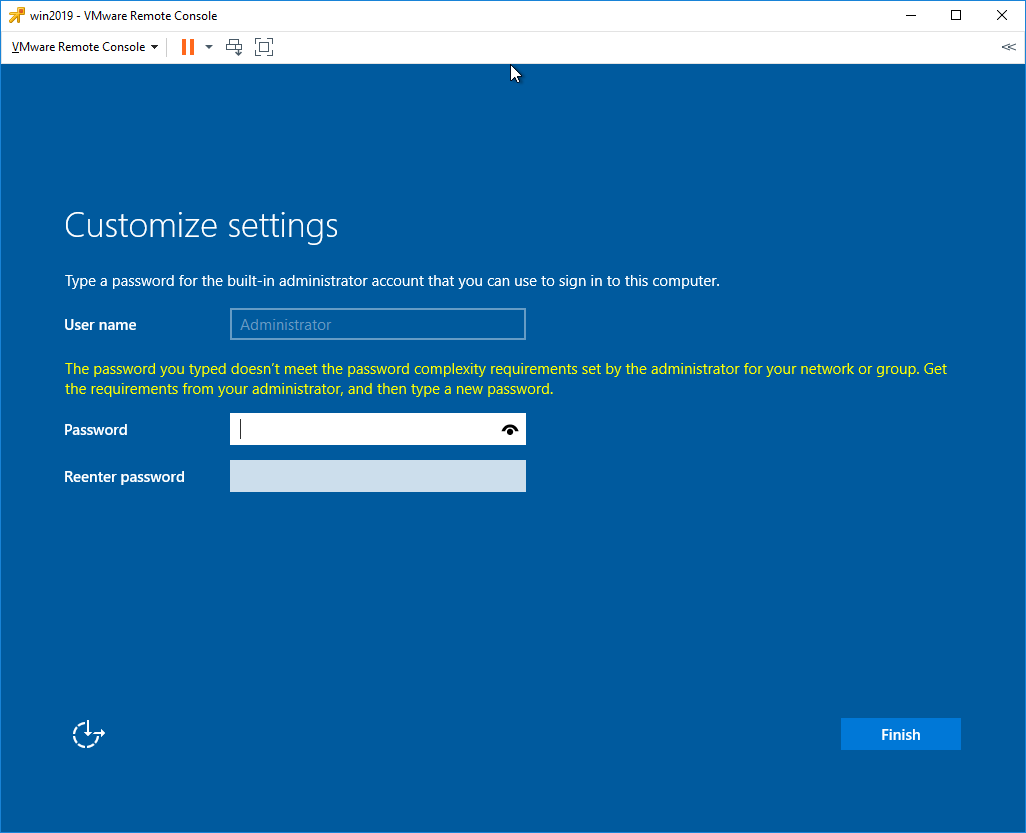
Требования к сложности пароля усилились. Два раза вводим пароль для администратора. Finish.
Первоначальная настройка завершена.
Для входа нужно нажать Ctrl+Alt+Del. Установка Windows Server 2019 завершена.
In this article, we will install Windows Server 2019 step by step on virtual machine using vSphere.

Windows Server 2019 will be rolled out by Microsoft in the second half of 2018. You can download the Windows Server 2019 Technical Preview version from the Microsoft Insider Program.
You can run the Windows Server Techical Preview version as a virtual machine on your computer using virtualization programs. The installation of Windows Server is simple and easy.
In our previous articles, we installed Server 2019 with VMware Workstation and Oracle VM VirtualBox. We also installed Project Honolulu after configuring it. You can check out our articles about Server 2019 from the links below.
- How to Install Server 2019 using VMware
- How to Install Server 2019 using VirtualBox
- How to Install Project Honolulu on Server 2019
In this article, we will install Server 2019 on the virtual machine in ESXi. If you have not downloaded the Technical Preview version before, you can check out our Server 2019 Download.
After downloading the ISO file to your computer, connect to your server or virtual machine. Upload Windows Server ISO file on VMware ESXi.
How to Run Server 2019 in Virtual Machine
Follow these steps to install it step by step in a virtual machine…
Step 1
First of all, to create a new virtual machine for Server 2019, please click on the image below to read related article.
When creating a virtual machine for Server 2019, select Windows Server 2016 for the operating system type. In ESXi 6.5.U1, 6.7, and 6.7U2, Server 2019 added to the OS type option.

Step 2
Power on the Windows Server virtual machine.

Step 3
Windows Server installation is starting…

Step 4
After configuring the system language, keyboard layout, and time for Server 2019, click Next.

Step 5
In the Windows Server installation window, click Install Now.

Step 6
In the Server 2019 product key window, click I don’t have a product key.

Step 7
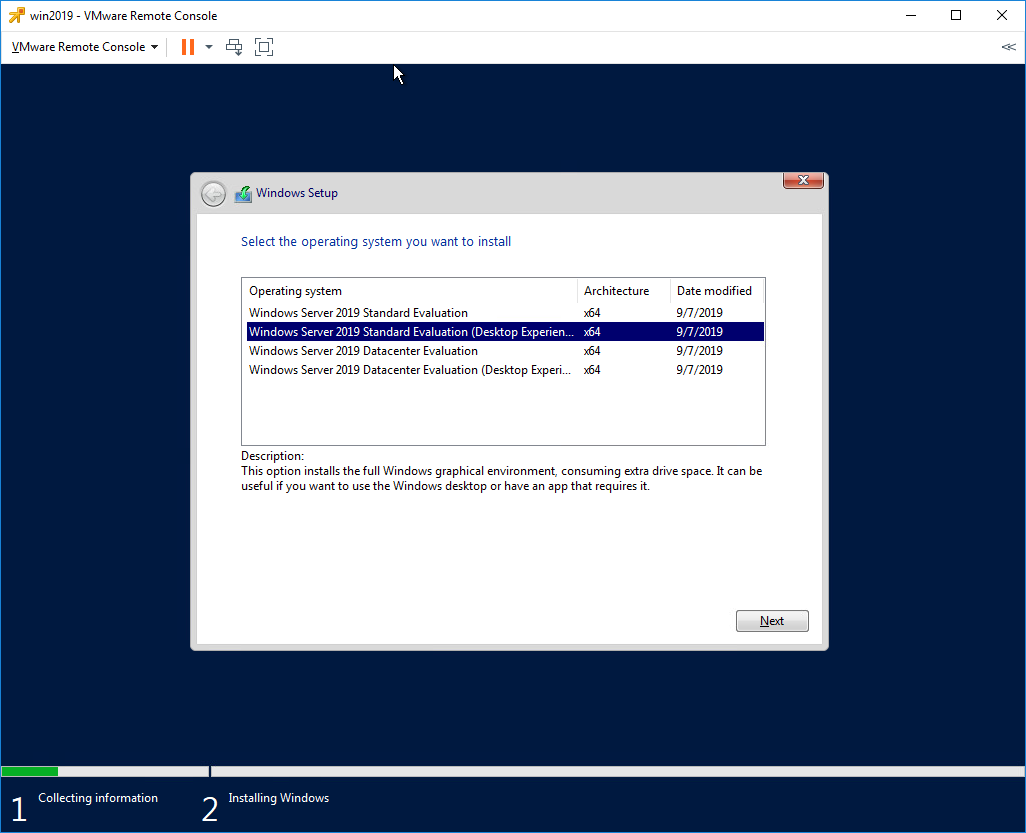
In the Operating System window, select Windows Server Standard (Desktop Experience) and click the Next button.
")
Step 8
In the Windows Setup window, click the Custom option.

Step 9
To configure the disk you created in ESXi, select Partition and click Next.

Step 10
Windows Server setup may take some time, depending on the hardware capabilities of your system.

Step 11
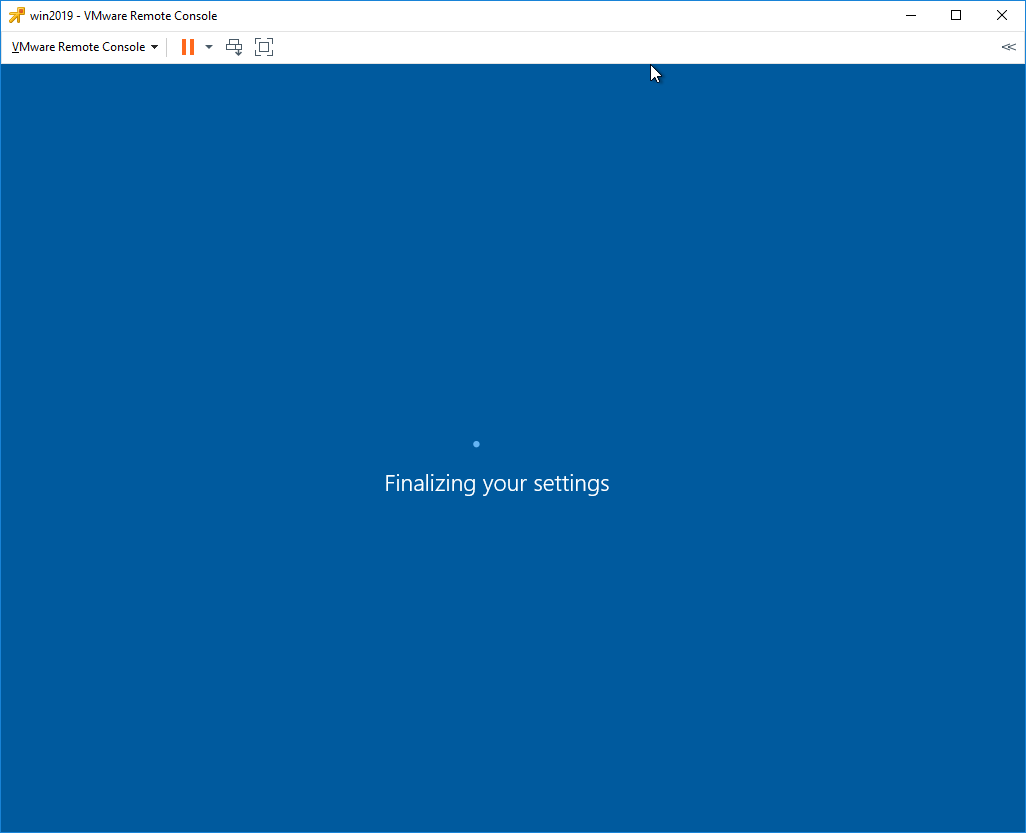
After copying the files for installation, wait while it makes the last settings.

Step 12
Create a strong password for the Server 2019 admin account and click the Finish button.

Step 13
At the Server 2019 login prompt, click Actions / Guest OS / Send Keys / Ctrl + Alt + Delete.

Step 14
Type your administrator password that you created and press Enter.

Step 15
After you have successfully installed the Server 2019 Preview, go to the next step to install VMware Tools on it.

How to Install VMware Tools on Win Server 2019
Installing VMware Tools on Windows Server 2019 is the first thing you will do. Because you will be able to use your virtual server more effectively. So click on the image below to install VM Tools step by step.

Video
To install Server 2019 + Project Honolulu + VM Tools, you can watch the video below and also subscribe to our YouTube channel to support us!
Related Articles
♦ How to Download Microsoft Project Honolulu
♦ How to Install Microsoft Project Honolulu
♦ How to Install VMware ESXi on VMware
♦ How to Upload ISO Files in ESXi
♦ How to Install Windows 10 on ESXi

TolgaBagci
Hello, I’m Tolga! I am a computer specialist who has been specializing in computer technologies for about 20 years. I provide solutions to problems encountered in many areas such as hardware, system, network, virtualization, server systems, and operating systems, and create relevant content on my website by explaining how to solve these problems. My goal is to be a reliable source of expert, quality, and trustworthy solutions for your computer problems. By following innovations and using the latest technologies, I aim to be successful in my job and provide you with the best service. Don’t hesitate to contact me for any questions or curiosity about technology. Have a nice day, stay up to date 
Microsoft Windows Server is a popular operating system running in almost every company. What if you want to install Windows Server in your home lab or an organization? Most of the time, you have a template that you can spin up within a few minutes. But sometimes, you need to install a new Windows Server manually.
In this article, you will learn how to install Windows Server 2019 on a Virtual Machine that’s running on VMware ESXi. The same steps will work if you want to install a different Windows Server version on another virtualization vendor or bare metal server.
Table of contents
- Download Windows Server ISO file
- Mount Windows Server ISO
- Install Windows Server
- Sign into Windows Server
- Conclusion
Download Windows Server ISO file
Do you already have Windows Server on a USB stick or ISO file? You can skip this step. If you don’t, download Windows Server ISO by following the below steps:
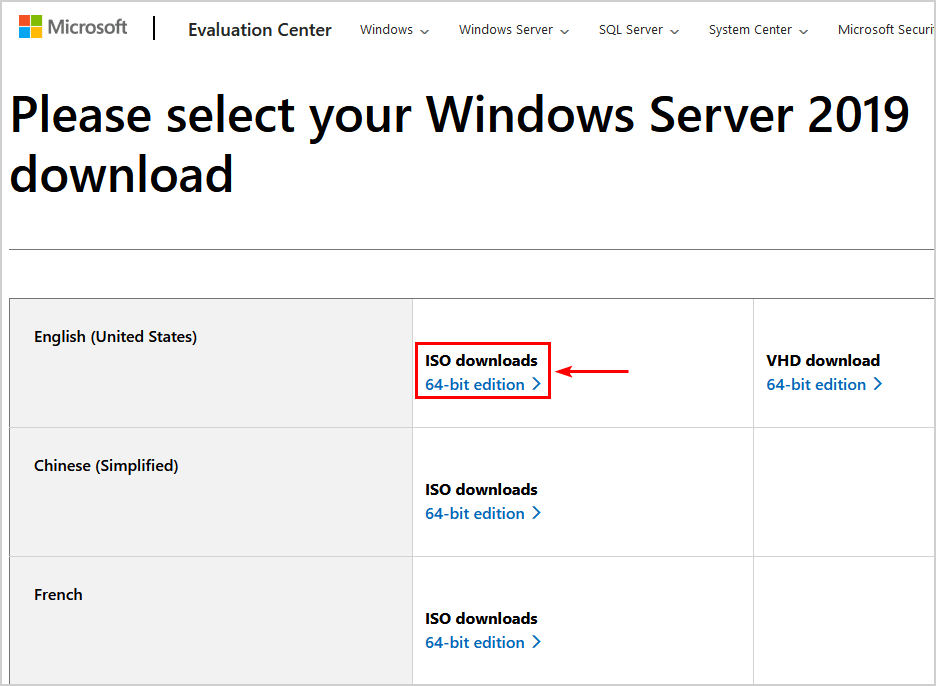
1. Download the Windows Server version from the Microsoft Evaluation Center:
- Windows Server 2012 R2
- Windows Server 2016
- Windows Server 2019
- Windows Server 2022
2. Download the 64-bit edition in the language you want.
Note: We recommend downloading Windows Server English (United States) because it’s easier to troubleshoot when issues arise.
After the Windows Server ISO download finishes, we can go to the next step.
Mount Windows Server ISO
Connect the Windows Server ISO on the Virtual machine by following the steps:
1. Upload the Windows Server ISO to the datastore in VMware.
2. Create a new VM.
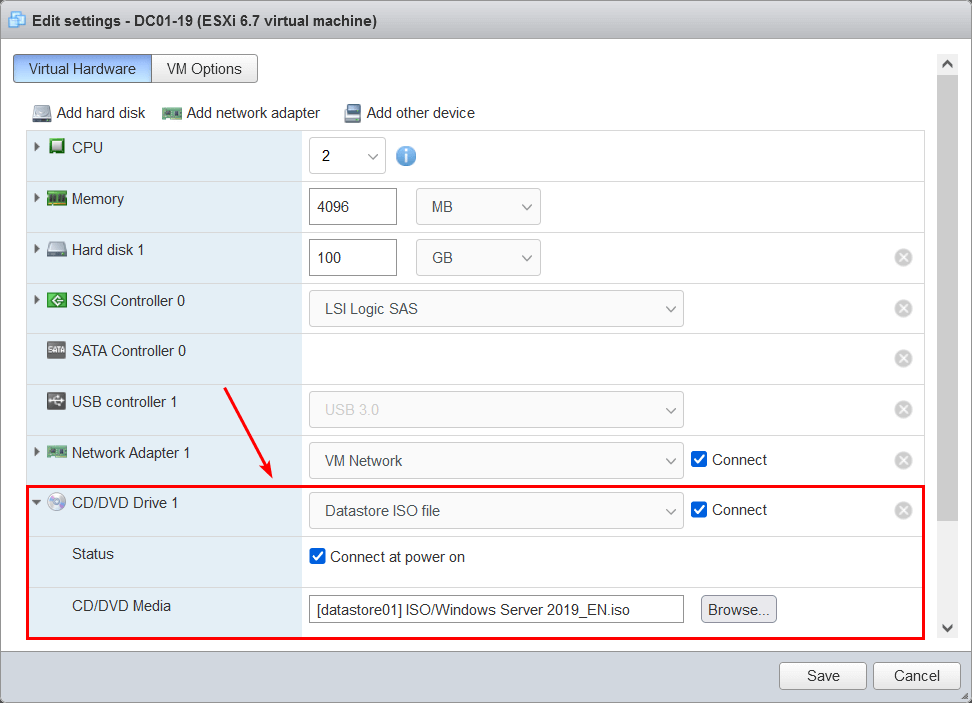
3. Edit the VM settings and connect the Windows Server ISO. Click on Save.
4. Boot the VM to start the Windows Server installation setup.
In the next step, we will install Windows Server on the Virtual Machine.
To install Windows Server, follow these steps:
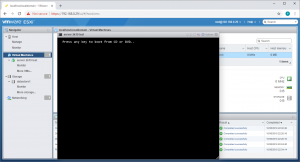
1. When the VM is powered on, pay close attention, and press any key to boot from CD or DVD.

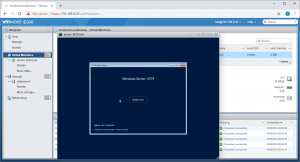
2. Windows is loading the installation setup.

3. Select the preferences and click Next.
4. Select Windows Server 2019 Standard Evaluation (Desktop Experience). Click Next.
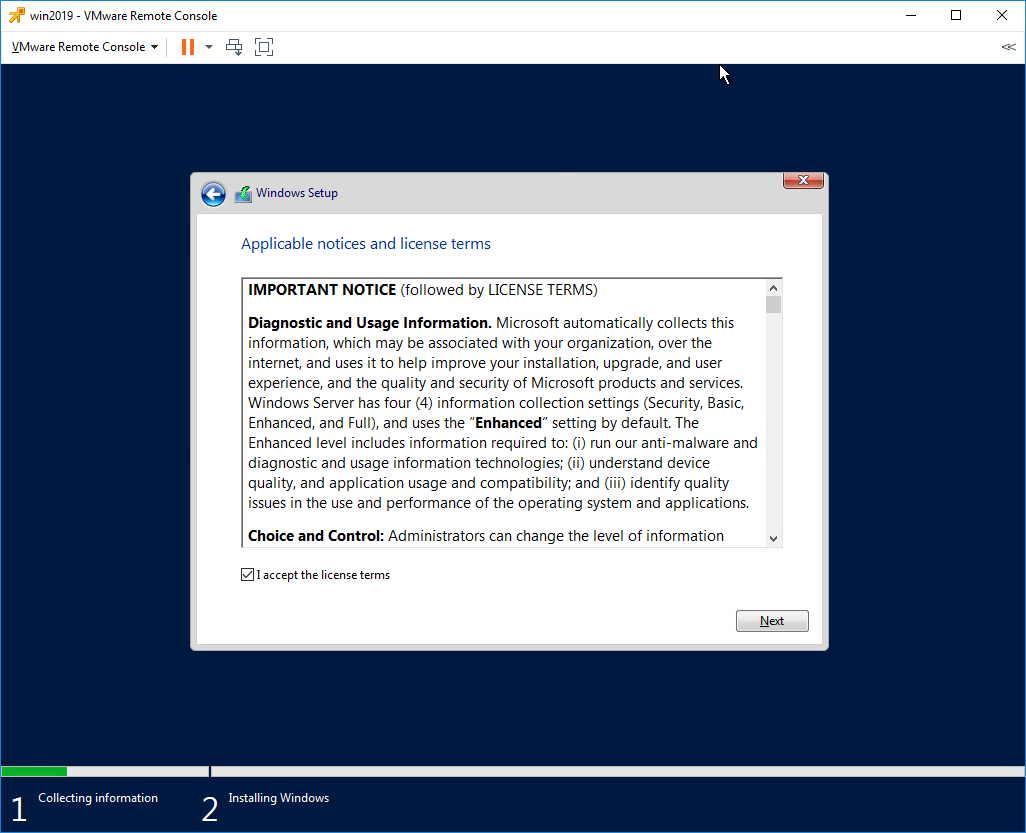
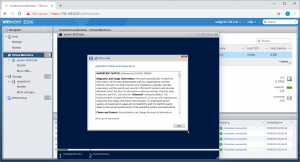
5. Accept the license terms and click Next.
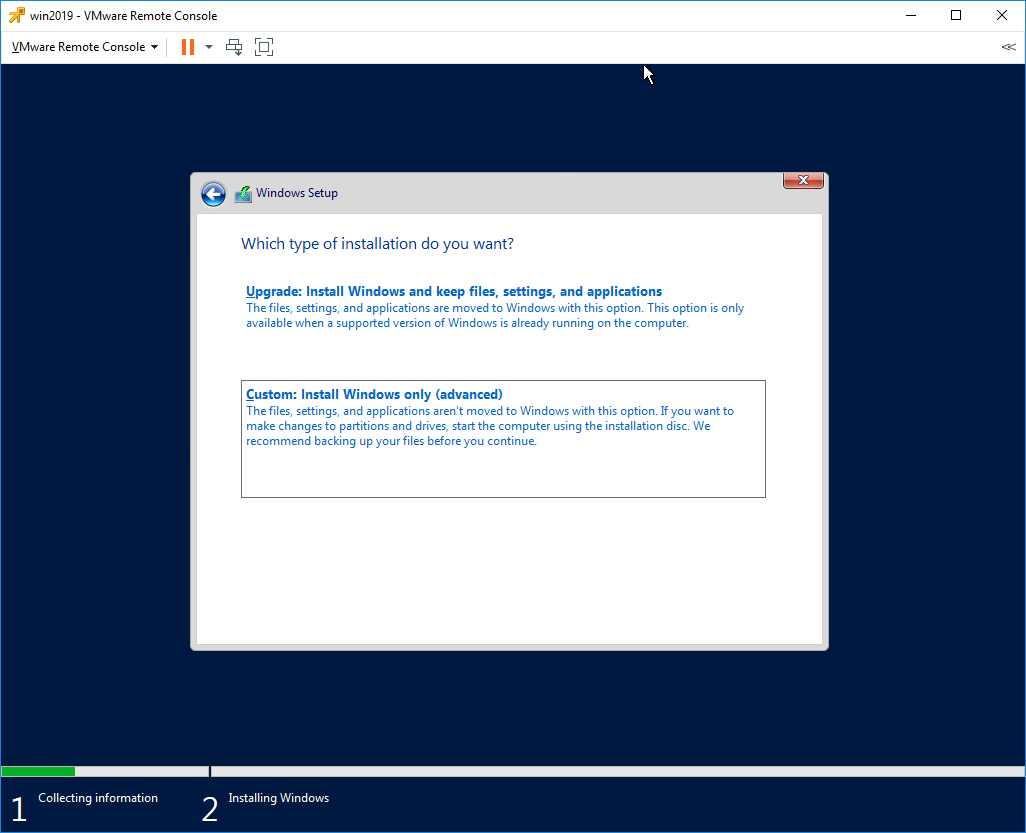
6. Click Custom: Install Windows only (advanced).
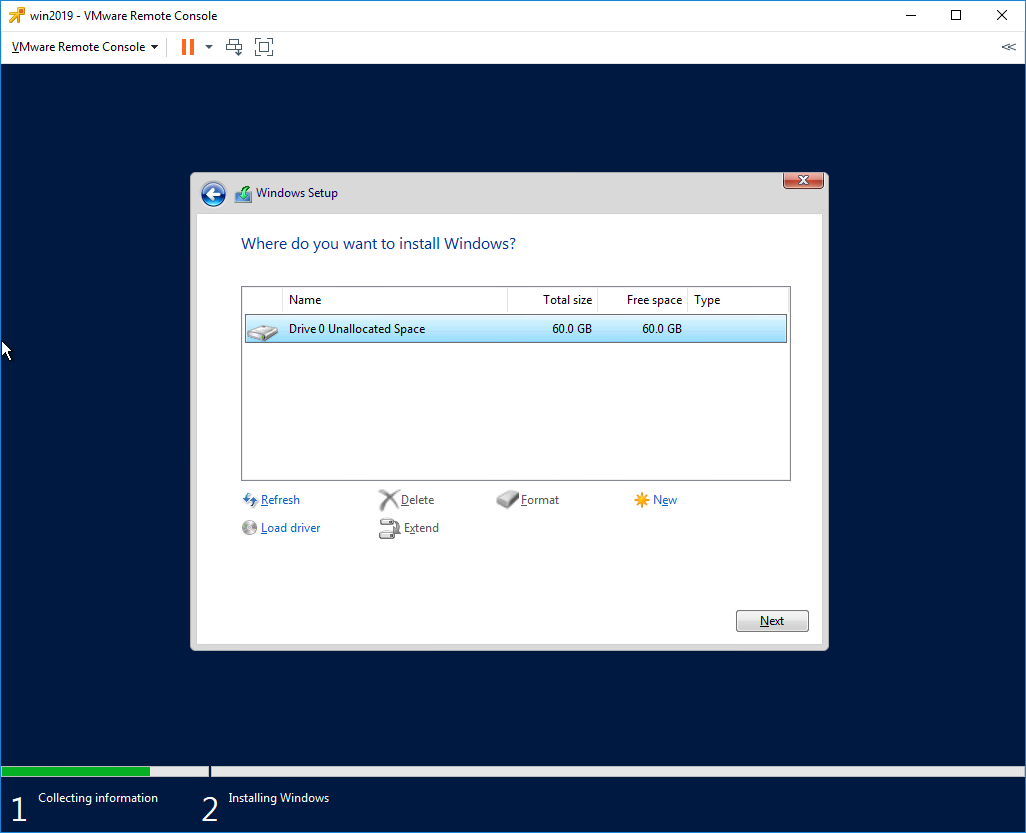
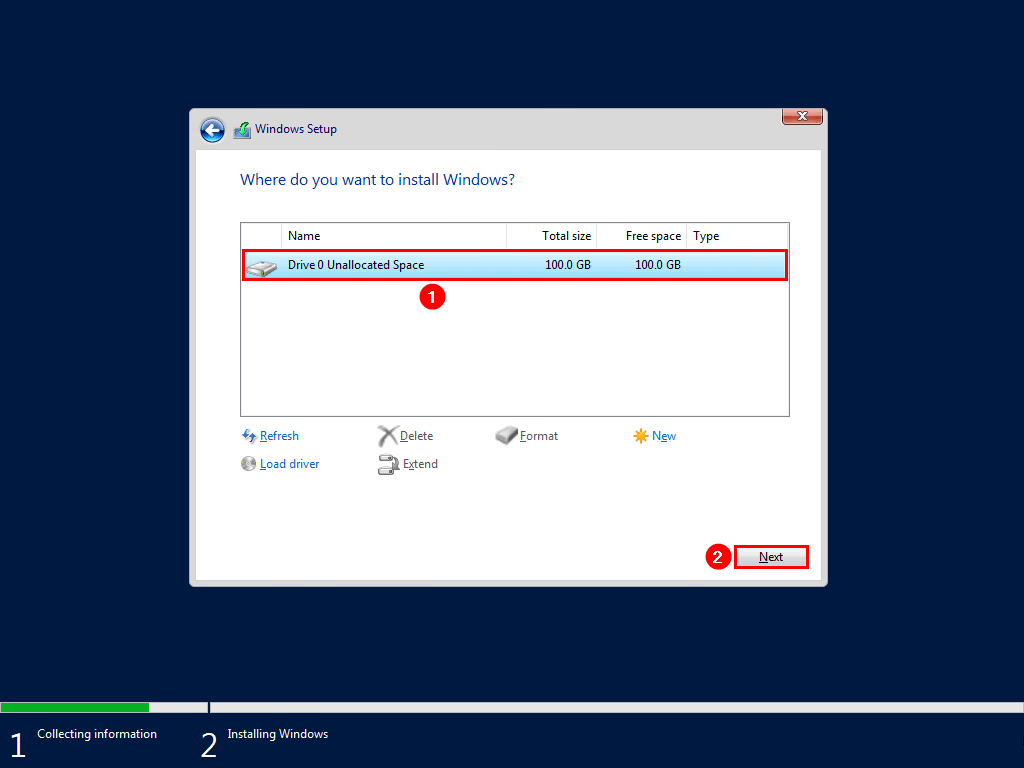
7. Click on the drive with Unallocated Space. Click Next.
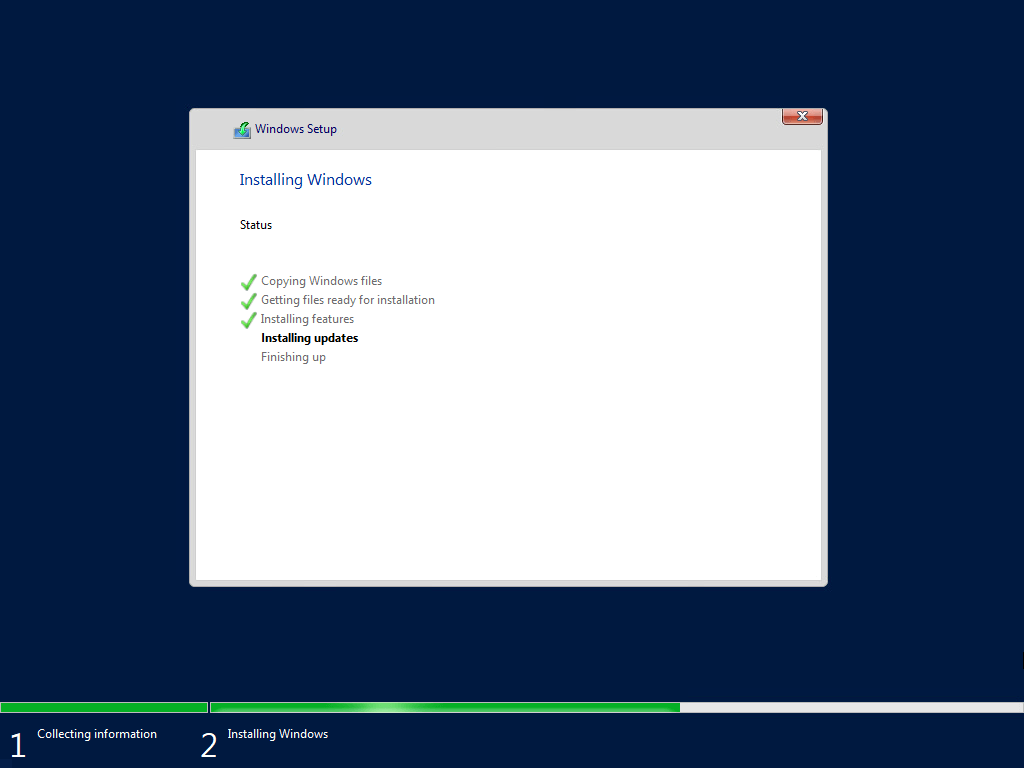
8. Windows Server installation will go through the steps:
- Copying Windows files
- Getting files ready for installation
- Installing features
- Installing updates
- Finishing up
9. Windows needs to restart to continue with the setup.
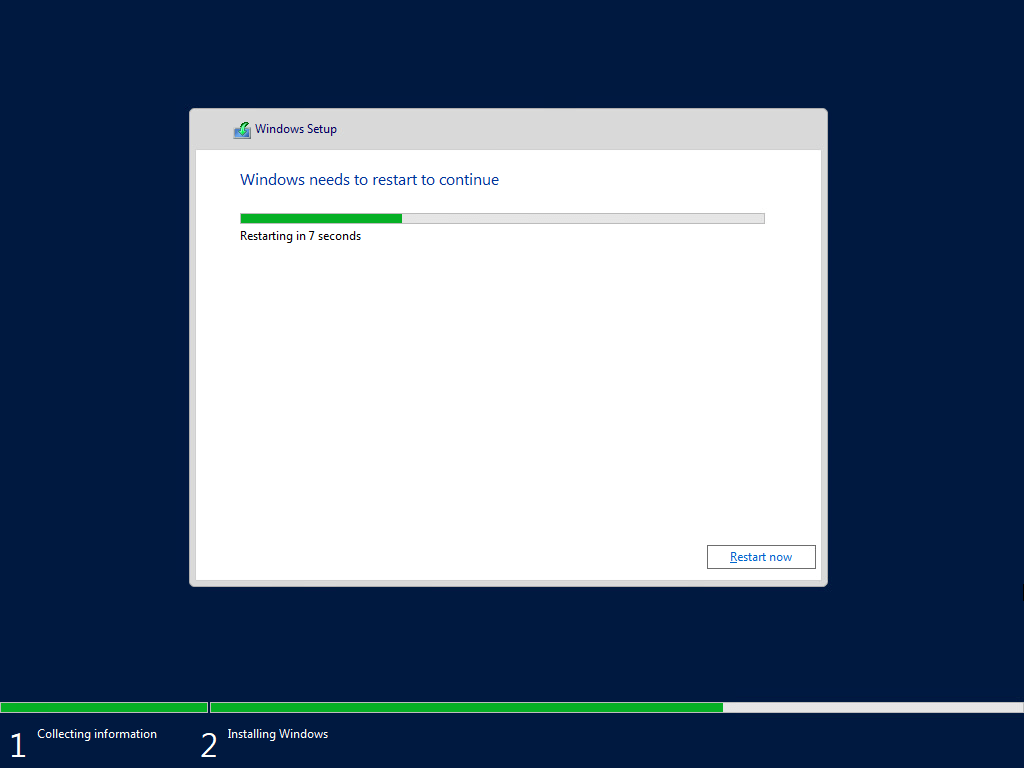
10. The Windows Server installation restarts several times and gets everything ready.

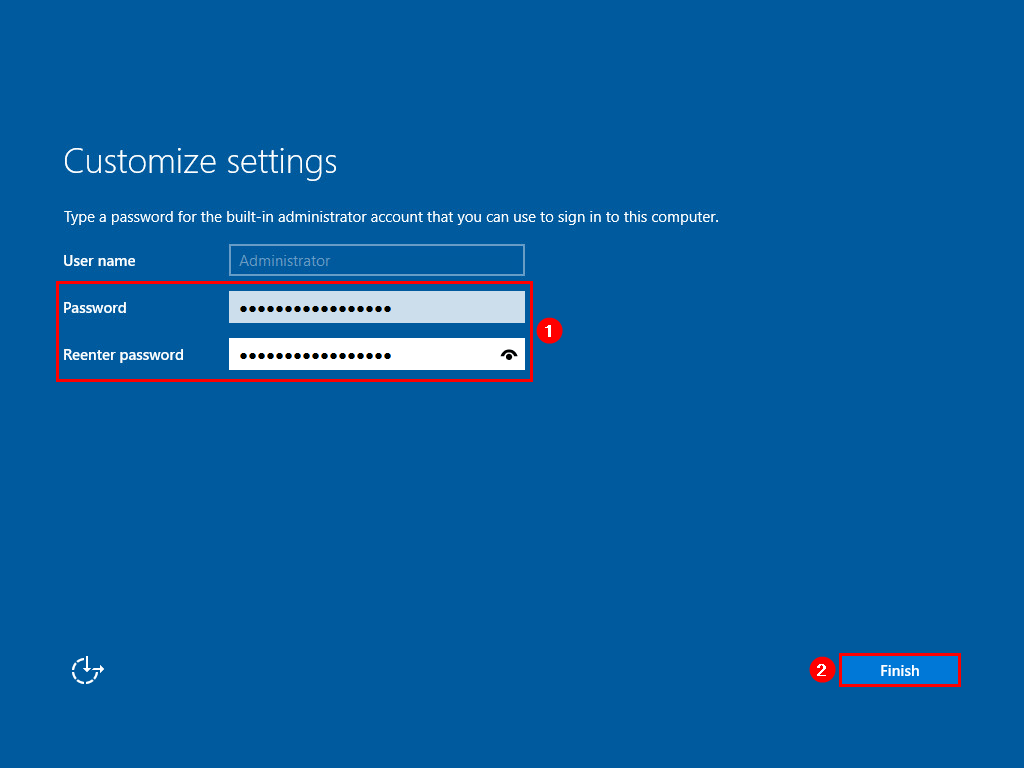
11. Fill in a password for the built-in administrator account. Click Finish.
Sign into Windows Server
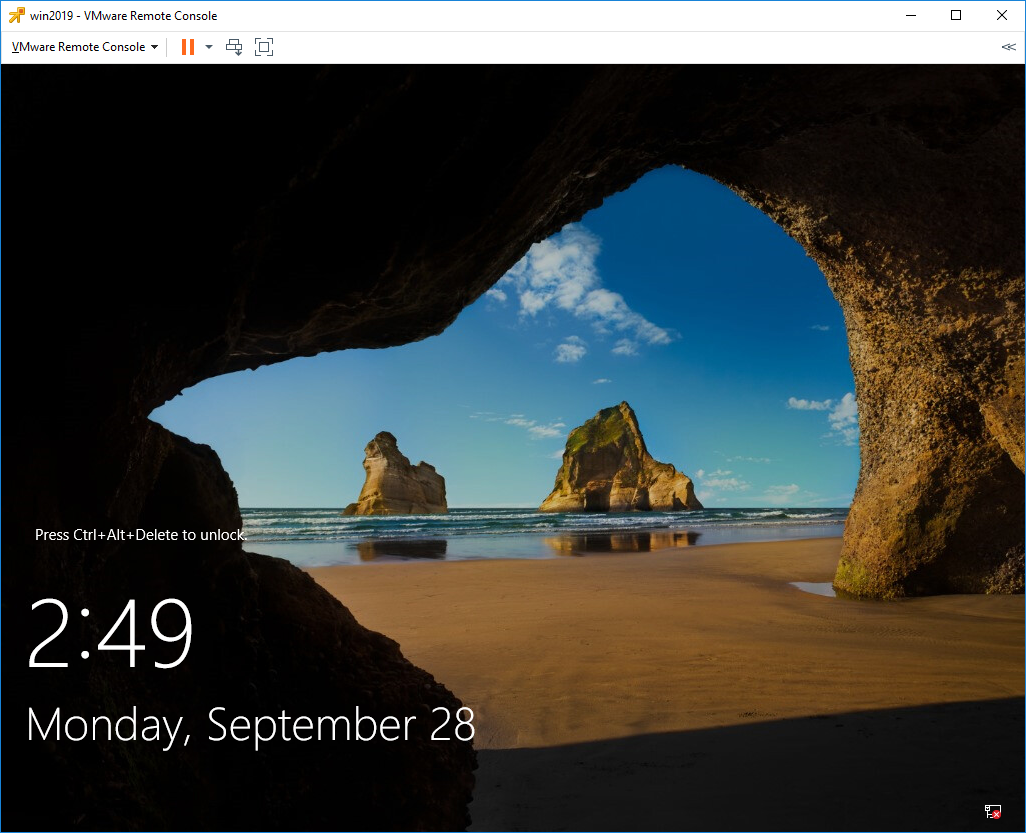
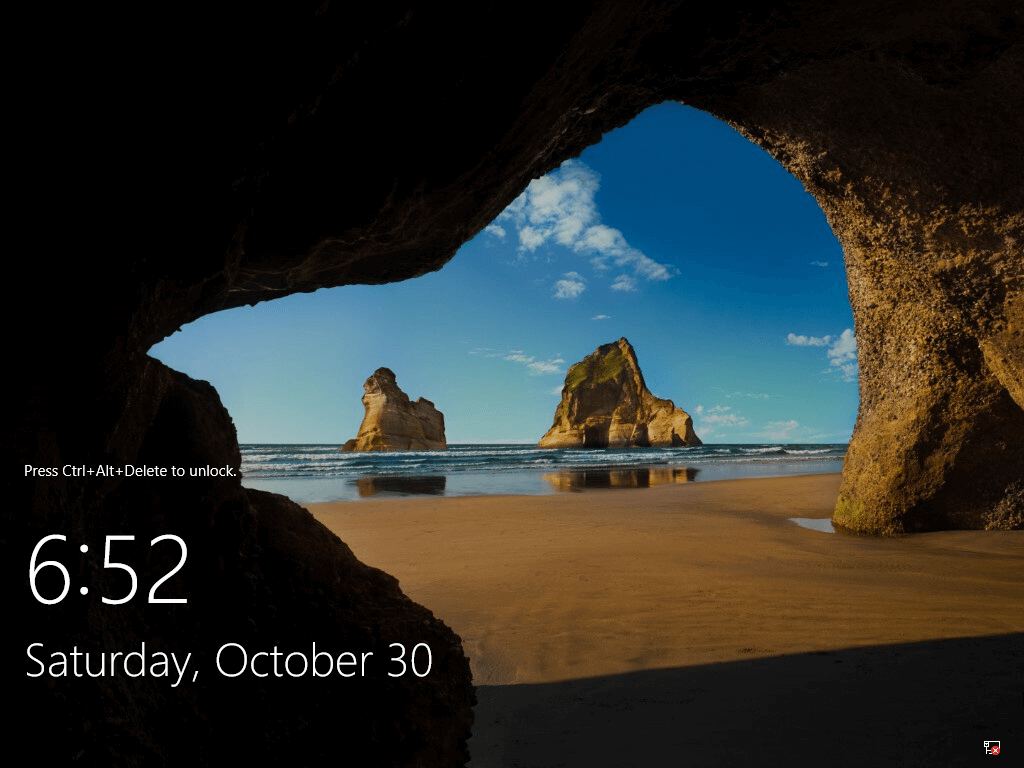
The Windows Start-up lock screen appears. Sign into Windows Server by going through the below steps:
1. Press Ctrl+Alt+Delete to unlock.
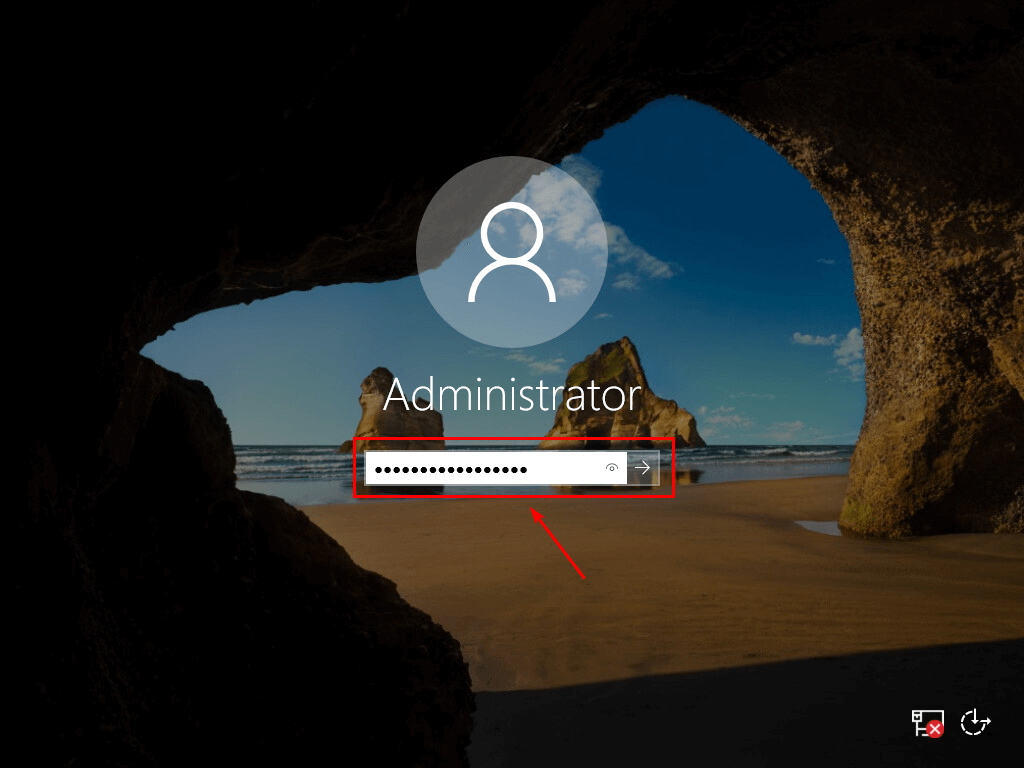
2. Fill in the administrator password, which you did enter in the previous step.
3. Server Manager starts automatically after signing in.
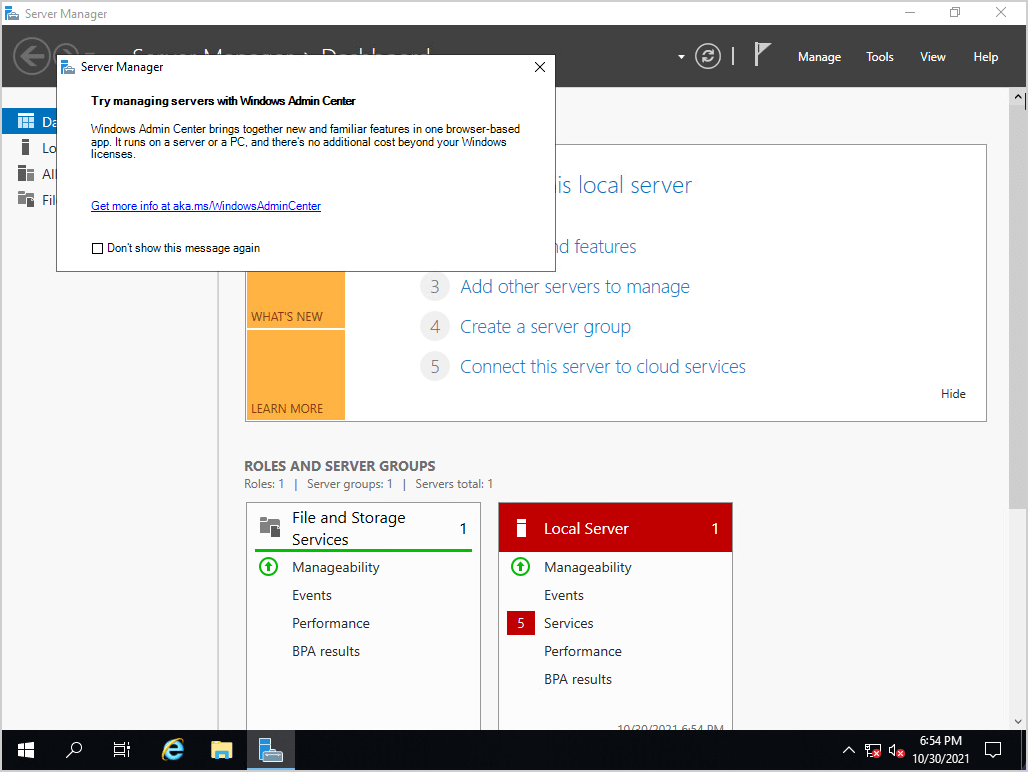
Windows Server is installed successfully on the Virtual Machine.
After installing Windows Server, you need to go through the Windows Server post-installation configuration.
Conclusion
You learned how to install Windows Server on a Virtual Machine. The same steps will work on physical servers. Microsoft made the Windows Server setup easy with two phases: collecting information and installing Windows.
Did you enjoy this article? You may also like Convert thick provisioned disk to thin on VMware ESXi. Don’t forget to follow us and share this article.
![]()
ALI TAJRAN is a passionate IT Architect, IT Consultant, and Microsoft Certified Trainer. He started Information Technology at a very young age, and his goal is to teach and inspire others. Read more »
In this how to, we cover installing Microsoft Windows Server 2019 on VMWare ESXi 6.7.
Check Out My Other Videos:
Networking Playlist –
Windows Server Playlist –
Check Out My Personal Blog Site:
Video Equipment:
Logitech Brio –
Lavalier Mic –
Video Capture Software – .
source
To see the full content, share this page by clicking one of the buttons below
Ok, So lets get a Virtual machine running on ESXi, and what better to start with than a windows server? So I jumped on Microsoft’s evaluation center website and grabbed a copy of server 2019.
With iso in hand (on disk anyway) lets connect to an ESXi host and start building.
Firing up Vmware Workstation and a n ESXi 6.7 hypervisor within, once booted we have a helpful message on screen – to manage this host go to http://192.168.0.29..
now as this is my home lab and i don’t have a planned infrastructure, my host DHCP’s, in a production environment running critical services, i would have assigned addresses, but for now that doesn’t matter.
So connecting to the server via chrome:
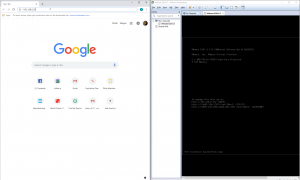
Throws a security warning, being a machine i “built” on my local network, I trust it and ignore the warning.
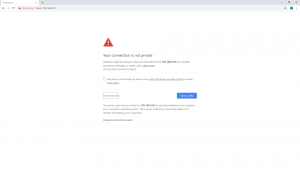
Doing so gets you to a login page.
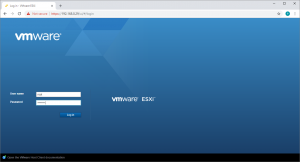
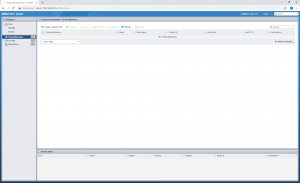
Logging in takes you to the ESXi home page with at a glance information about the server.

Clicking on virtual machines in the left shows we have no VM’s as yet, so no time like the present, lets make use of the helpful looking “Create/Register Virtual Machine” button..
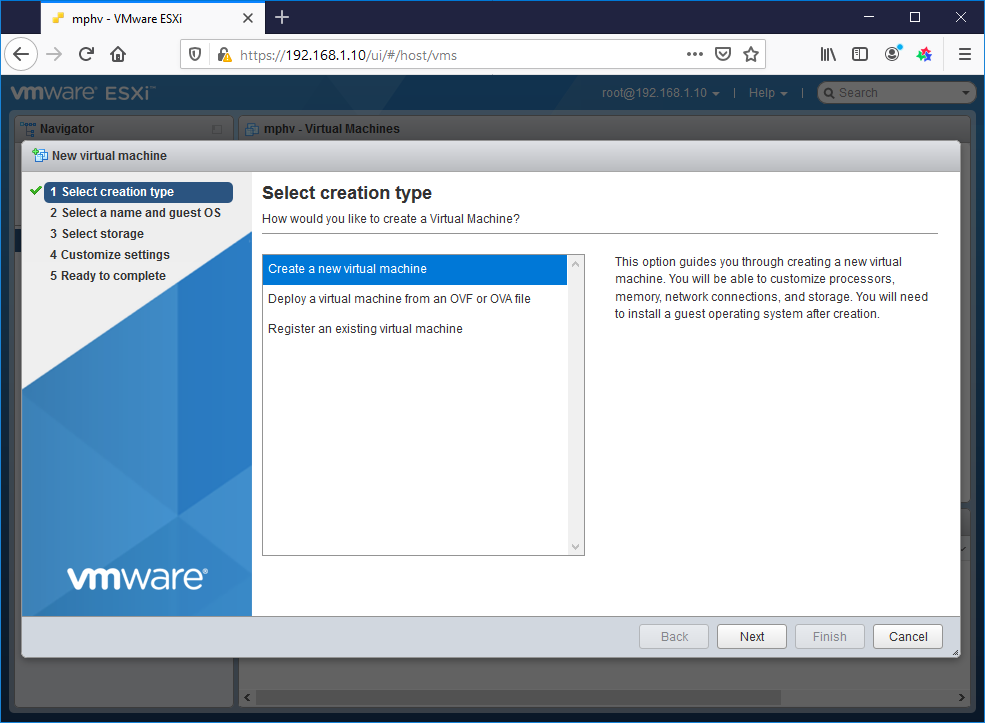
Predictably this brings up a list of options for adding a virtual machine to ESXi, either via deployment or addition of existing VM’s, or via creation of a new virtual machine. In this instance i’ll go for the latter.
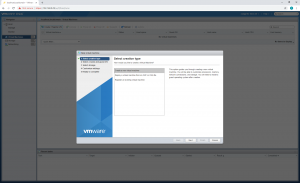
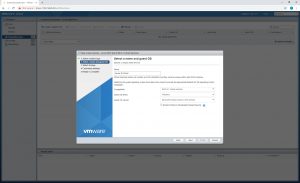
Taking you to page 2 of the new VM wizard, where i give the VM a name and select the OS type, note server 2019 is not in the list yet, but i am very confident that selecting server 2016 will have no issues whatsoever.
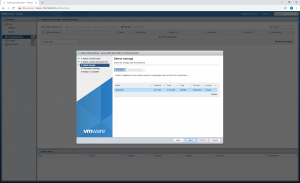
Next page we select a datastore for the VM
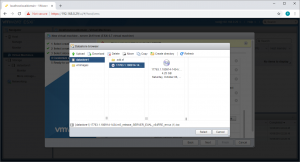
Finally a customize settings screen, with a warning about overprovisioning disk, selecting thin provisioned allows me to continue, and while i’m here, lets mount the windows server 2019 ISO.
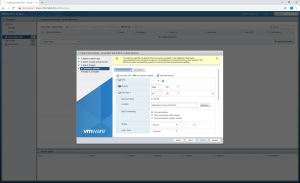
scrolling down to CD/DVD drive, selecting Datastore ISO file hitting browse.
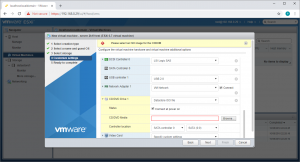
Selecting the Server ISO i have already uploaded to the datastore and hitting OK.
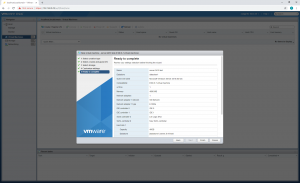
Takes us back to a summary screen where we can make any changes if necessary, otherwise click finish to create the VM.
Doing so drops us back into the Virtual Machines tab with the new addition of Server 2k19 test VM.
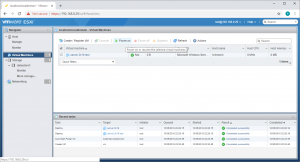
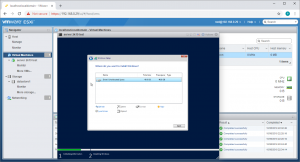
Clicking on the green play button to power on the machine, brings up a boot options screen, selecting the CD-ROM to boot the windows iso.
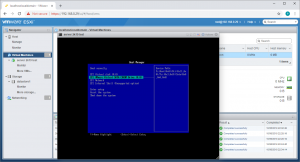
Brings up the reassuring message
and into the classic windows installer interface.
Choose your edition, (my powershell skills are not up to scratch yet so i shall go with Standard Edition with Desktop Experience)

Accept the License Agreement
Being a clean install i selected advanced
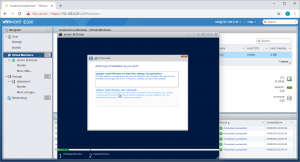
Told it to install to the only available disk
And off the installer goes
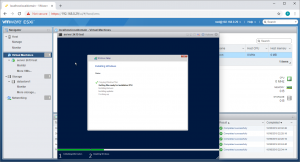
So once again a very smooth process to install windows server 2019 on ESXi, with absolute minimal user intervention required, and i’m very much looking forward to playing with server 2019.
Thanks for reading, until next time!