— Advertisement —
Hello, in this post we will talk about Apache and how to install in Windows Server 2019. This is a very popular web server; and what is it?, it is a software designed to transfer hypertext data, that is, web pages with all their elements (texts, widgets, banners, etc.) through the HTTP protocol. Specifically, Apache is a free and Open Source web server, running under GPL license and that has as an interesting feature, being multiplatform, that is to say, it can be operated in Windows, Linux, and MAC Os. In addition, it executes HTTP/1.1 protocol and for Being Open Source, anyone can modify its code. In the same way, it is maintained by the developer´s user community that works under the guidance of the Apache Software Foundation. It is still, one of the most used web servers, with almost 50% of penetration in the net
How to install and configure Apache on Windows Server 2019
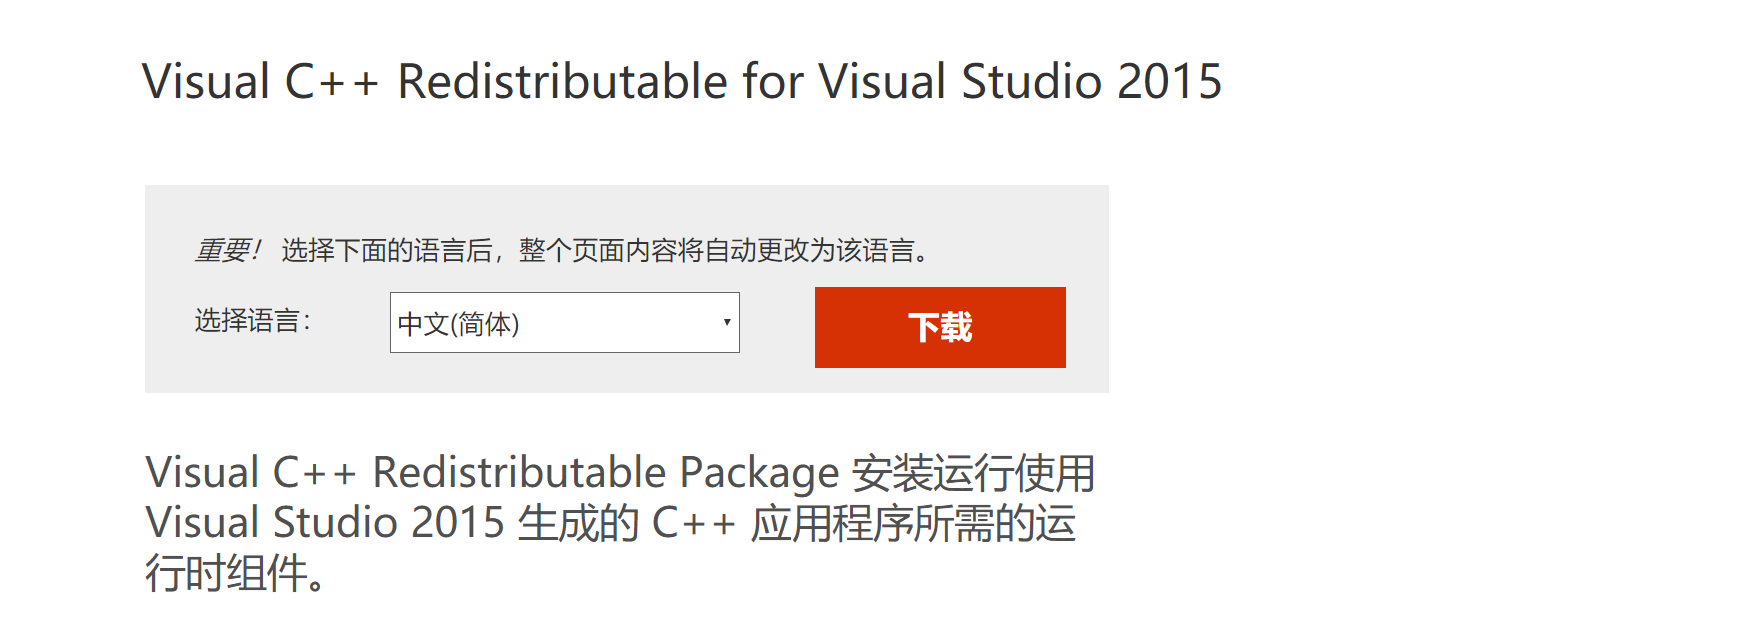
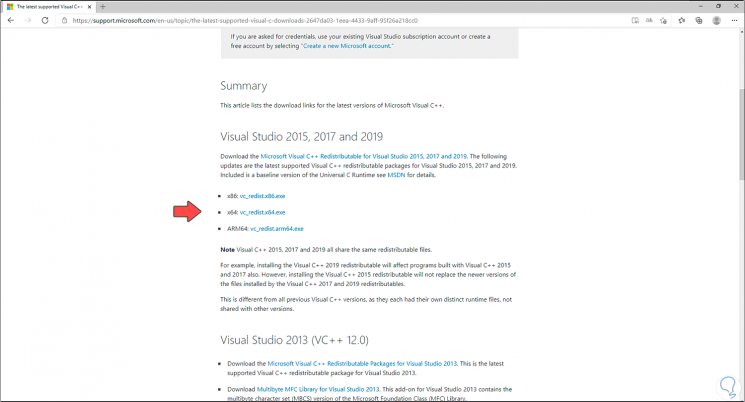
Firstly, we need to download Microsoft Visual Studio C++ 2019, we can do it from here. Please install and reboot the server.

Now, we need to download Apache. Note that, the Apache HTTP Server Project itself does not provide binary releases of software, only source code. Individual committers may provide binary packages as a convenience, in addition, we can obtain a binary package from binary distributions available on the Internet. In our particular case, we will work with Apache Lounge version. The binaries can be downloaded from here.

Installing Apache
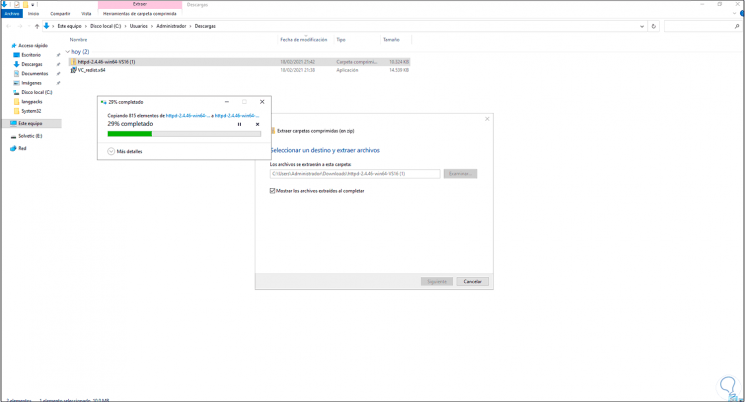
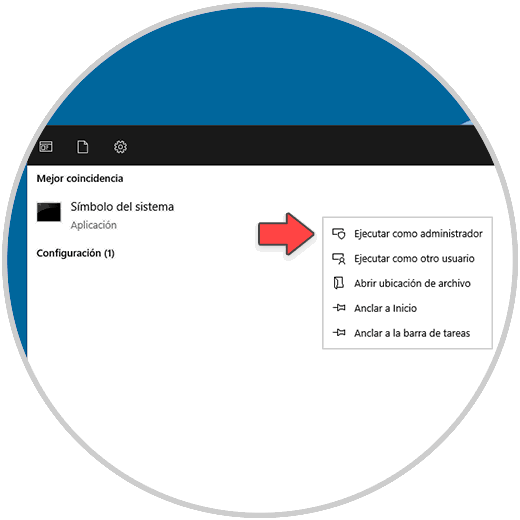
The binaries came into a ZIP file, in order to installed it, we need to unzip in the root directory of the drive, in our case it is C:\Apache24. Now open a CMD with privileges of administrator, to do that just type on search bar cmd, when Command Prompt appears, right-click on it to run as administrator.

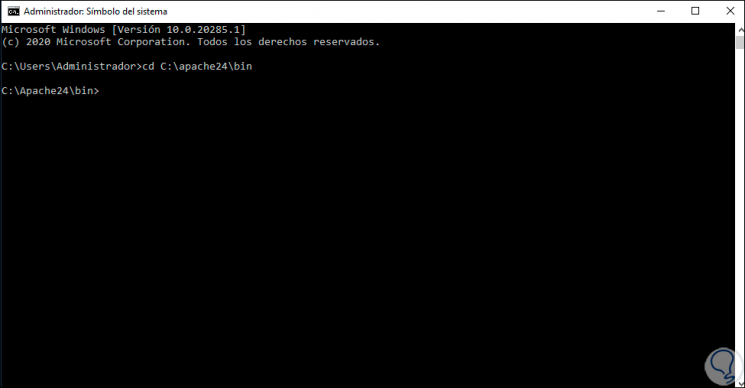
On the cmd, we have to navigate to C:\Apache24\bin by using cd command
cd..
cd Apache24
cd bin
Next, run the program by typing httpd.exe. If there are no errors, the cursor will sit and blink on the next line. Now we can check our installation by typing in browser´s address: http://localhost, a very clear message (It works) will indicate, that everything is fine.


In order to shut down Apache, we go back to CMD and press control+C.
Installing Apache as a system service
Once that we confirmed the Apache server is working and shut it down, we are ready to install it as a system service. To achieve that, we need to open a Command Prompt window as administrator in the same location before and type:
httpd.exe -k install -n "Apache HTTP Server"

Then, in another CMD window we have to enter the next command:
services.msc
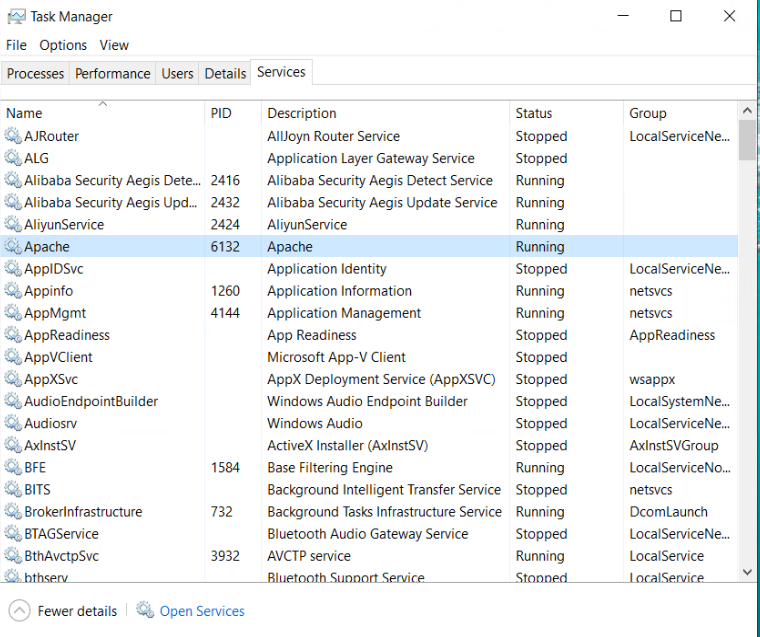
Now we can see all of windows services, look for Apache HTTP Server and check if the Startup Type is Automatic. Now restart the server, log back in again, and go to this page in the browser’s URL bar: http://localhost/
Configuring Windows’ Firewall
Ok, we already have installed Apache as system service, now we need to configure the windows´firewall to allow connections from the internet to our web server. With this intention, we must open the firewall an create a new rule. Let is see how to do it.
In this case, we click on Windows Start and type firewall to open it

Click on Inbound Rules and then in New Rule

Select Port in Rule Type and press Next.

In the next window, select TCP and Specific local ports and put this number on the input box: 80, 443, 8080 and press next.

Select Allow the connection.

Check in all the boxes, to apply rules at Domain, Private and Public.

Assing a name relatively to the rule we just created. For example: Allow incoming connections in Apache and click finish.

Now we can try connecting from another device, by open in a browser the IP address of our server. In my case http://192.168.1.59/. Well, as can be seen, our apache server is configured and ready to use. From now, we can install PHP module or MySQL. Also, we invited you to check our tutorial about FTP servers
In this article, we want to teach you How To Install and Configure Apache on Windows Server 2019.
Apache is the most widely used web server software. It is open-source software available for free. It is fast, reliable, and secure.
Also, it can be highly customized to meet the needs of many different environments by using extensions and modules.
Most WordPress hosting providers use Apache as their web server software. However, WordPress can run on other web server software as well.
- How To Install and Configure Apache on Windows Server 2019
How To Install and Configure Apache on Windows Server 2019
To set up Apache on your Windows Server 2019, you can follow the steps below.
First, you need to download Apache from the ApacheLounge.
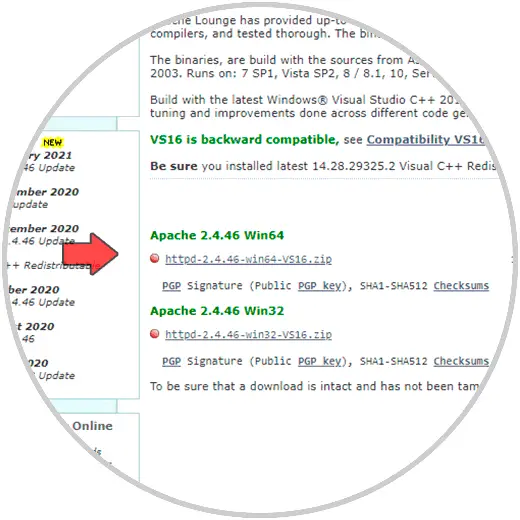
Depending on your Windows Server, choose the 32 or 64-bit version of windows.
Note: Be sure you installed the latest 14.30.30704 Visual C++ Redistributable for Visual Studio 2015-2022.
When your download is completed, open your downloaded file and extract it to a suitable location like c:/Apache24 or etc.
Now you need to make some configuration changes.
Configure Apache
Now that you have extracted Apache on your Windows server, you need to configure it.
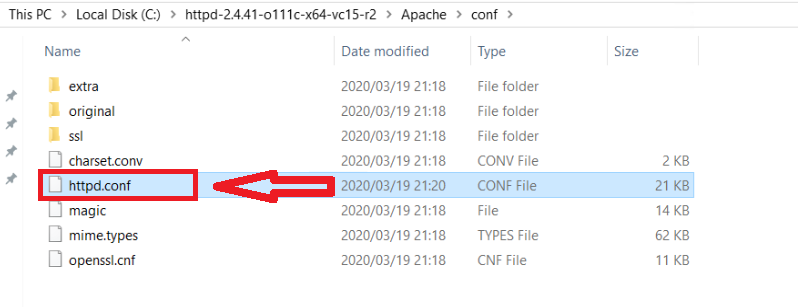
Open the conf subdirectory and open the httpd.conf file with a text editor like notepad.
We assume that you have extracted the file in the c:/Apache24.
You need to update the ${SRVROOT} variable point to the new location like this:
Define SRVROOT "C:/Apache24"
Also, you need to locate the following lines and change them to the new location that you have extracted Apache:
ServerRoot "C:/Apache24"
DocumentRoot "C:/Apache24/htdocs"
<Directory "C:/Apache24/htdocs">
ScriptAlias /cgi-bin/ "C:/Apache24/cgi-bin/"
After that you need to uncomment and set the server name point to your server name or its IP address:
ServerName www.example.com:80
Next, locate the following line and add the “ExecCGI” in front of it:
Options Indexes FollowSymLinks ExecCGI
After that, find the line below and uncomment it by removing the # from the beginning of the line:
AddHandler cgi-script .cgi
And also add the following line:
AddHandler cgi-script .pl
At the end of the file add the following line:
ScriptInterpreterSource Registry
When you are done, save and close the file.
Now you can start Apache on your Windows Server 2019.
Open a command/PowerShell prompt in the “bin” folder at the location where you extracted Apache.
In a command prompt you can start Apache with the following command:
httpd.exe
You can start Apache in a PowerShell prompt with the following command:
& "c:\Apache24\bin\httpd.exe"
Now you can verify that your Apache is running on your server by typing 127.0.0.1 in your web browser.
http://127.0.0.1
You will see:
If you see this in your web browser means that your Apache is running on your Windows Server 2019.
Conclusion
At this point, you learn to set up and configure Apache on Windows Server 2019.
Hope you enjoy using it.
1. Во-первых, если ваш сервер новый, вы должны сначала установить следующие два компонента, в противном случае будут сообщаться различные ошибки.
①、Это официальный сайт:https://www.microsoft.com/zh-CN/download/details.aspx?id=48145
② Рекомендуется загрузить и установить оба
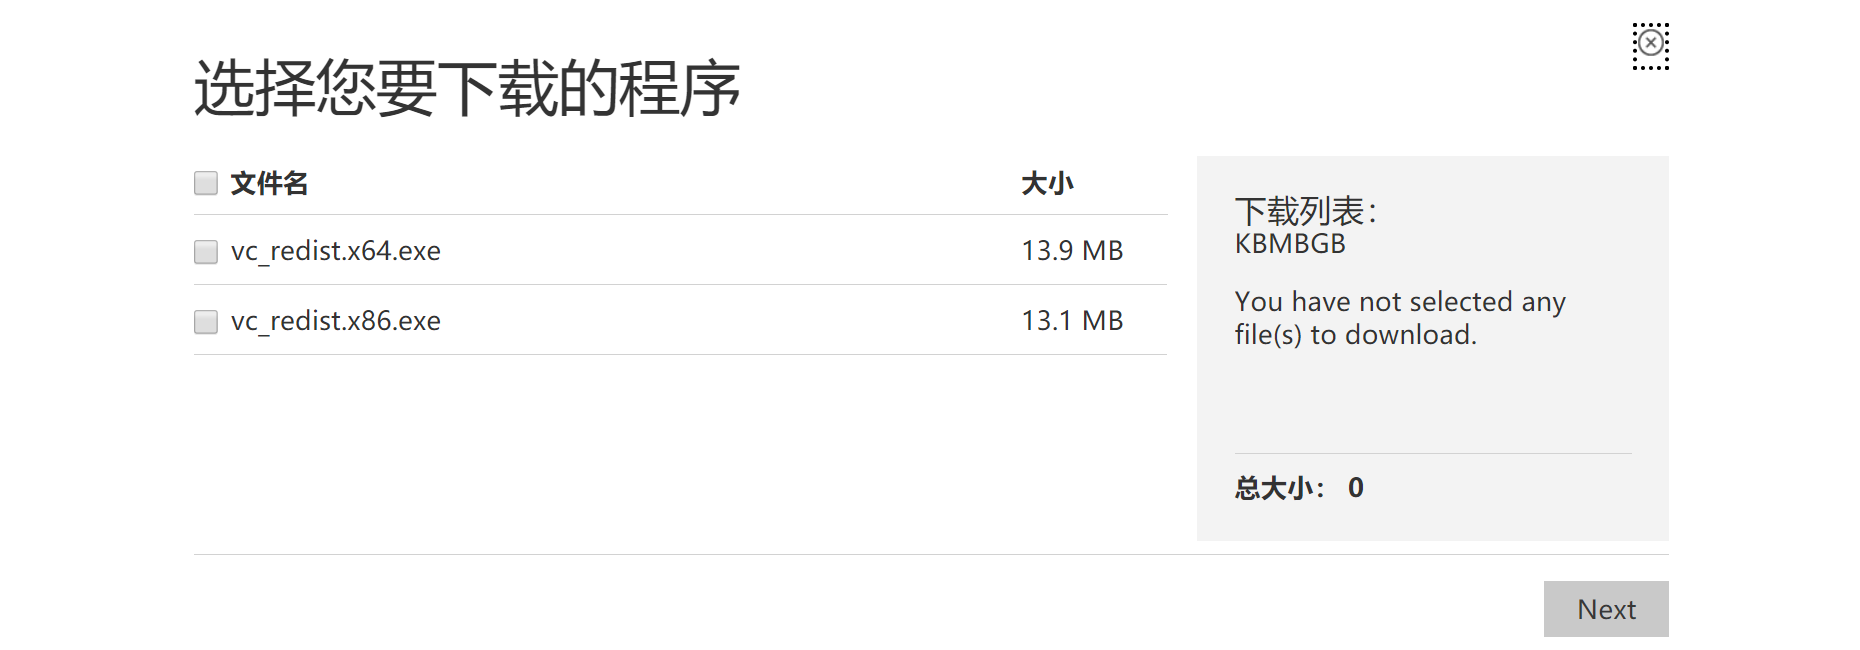
③. Иногда страница загрузки может не открываться, редактор помещает ссылку для скачивания ниже
vc_redist.x86.exe https://download.microsoft.com/download/9/3/F/93FCF1E7-E6A4-478B-96E7-D4B285925B00/vc_redist.x86.exe
vc_redist.x64.exe
https://download.microsoft.com/download/9/3/F/93FCF1E7-E6A4-478B-96E7-D4B285925B00/vc_redist.x64.exe
Редактор искал ссылку на 2019 год:
Microsoft Visual C++ Redistributable for Visual Studio 2019
VC_redist.x64 (2019).exe
VC_redist.x86 (2019).exe
VC_redist.arm64(2019).exe ← Это ARM
Если это не новый сервер, и эти два компонента можно игнорировать. . .
2. Загрузите сервер HTTP-сервера Apache с официального сайта Apache.
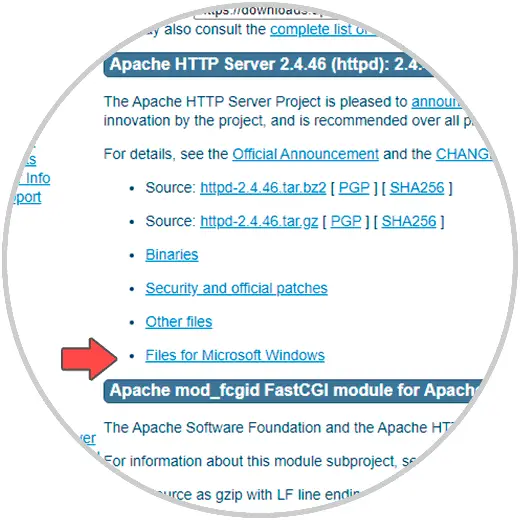
①、Адрес официального сайта Apache:http://httpd.apache.org/
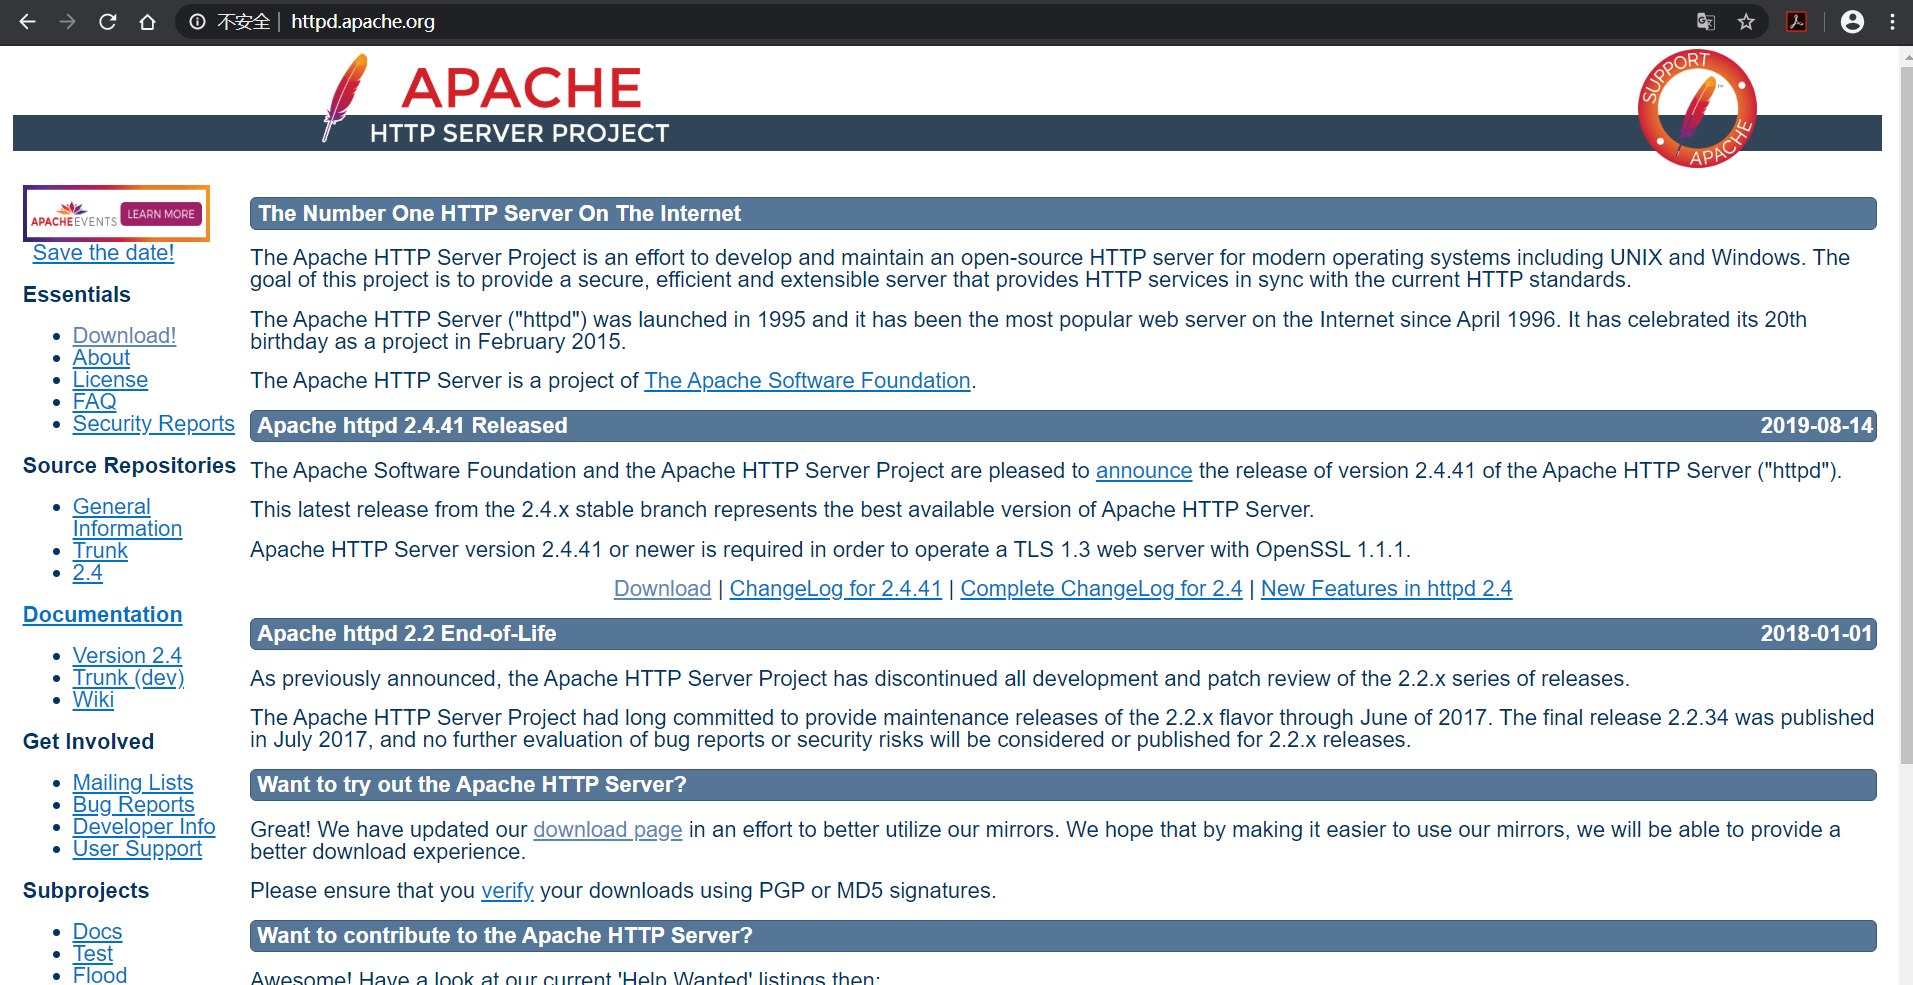
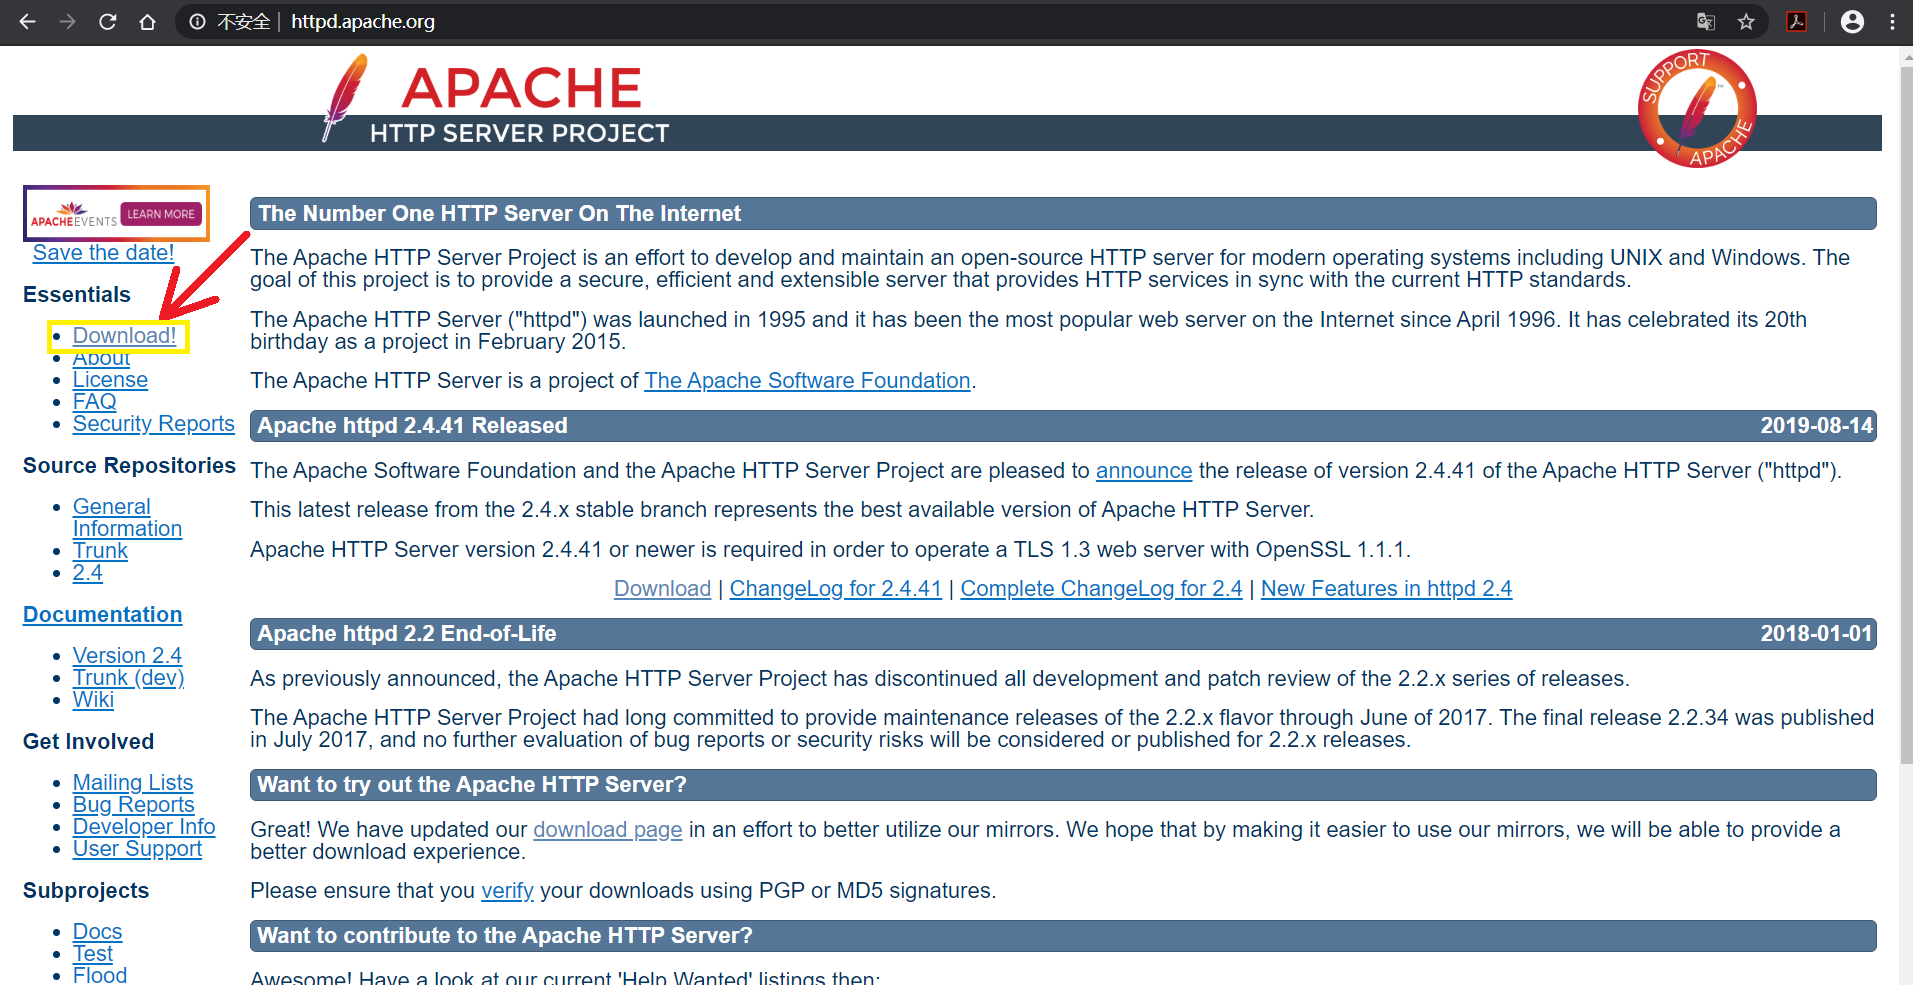
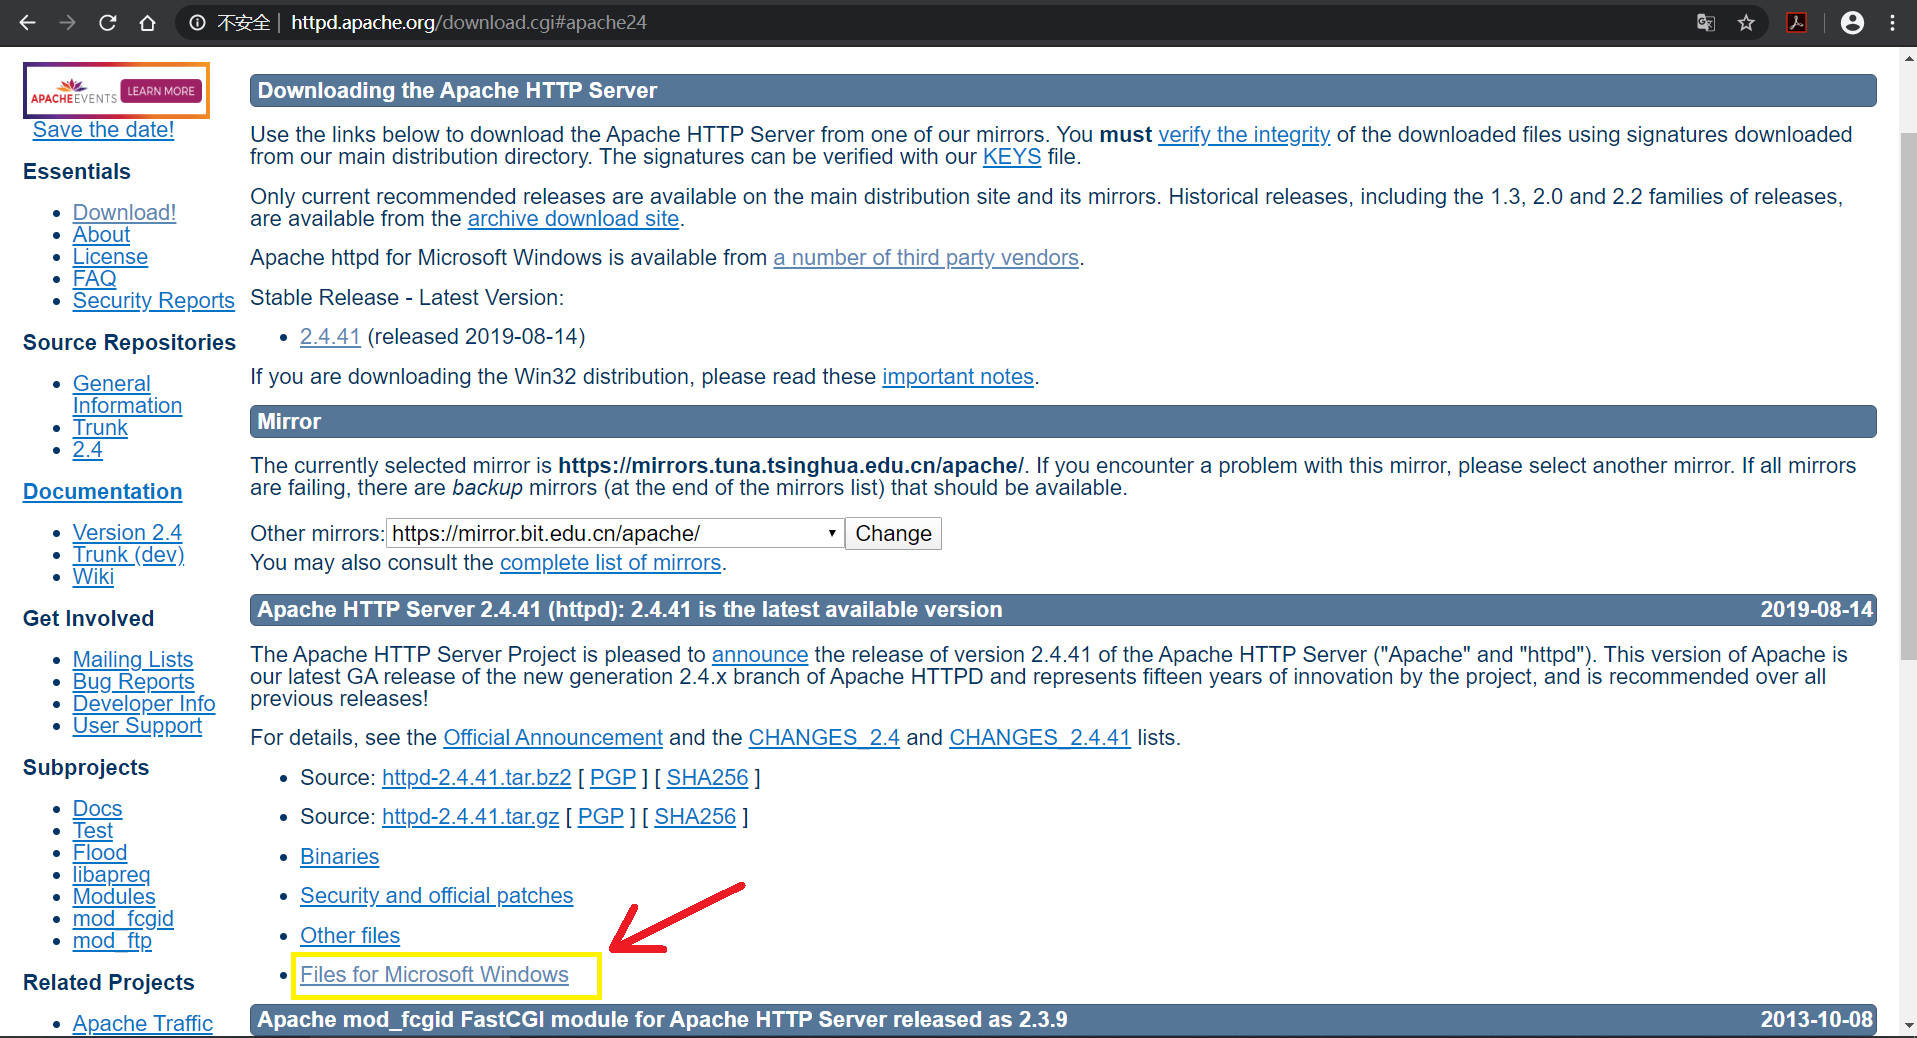
②. Зайдите на официальный сайт и нажмите, чтобы скачатьDownload!
③, щелкнитеFiles for Microsoft Windows
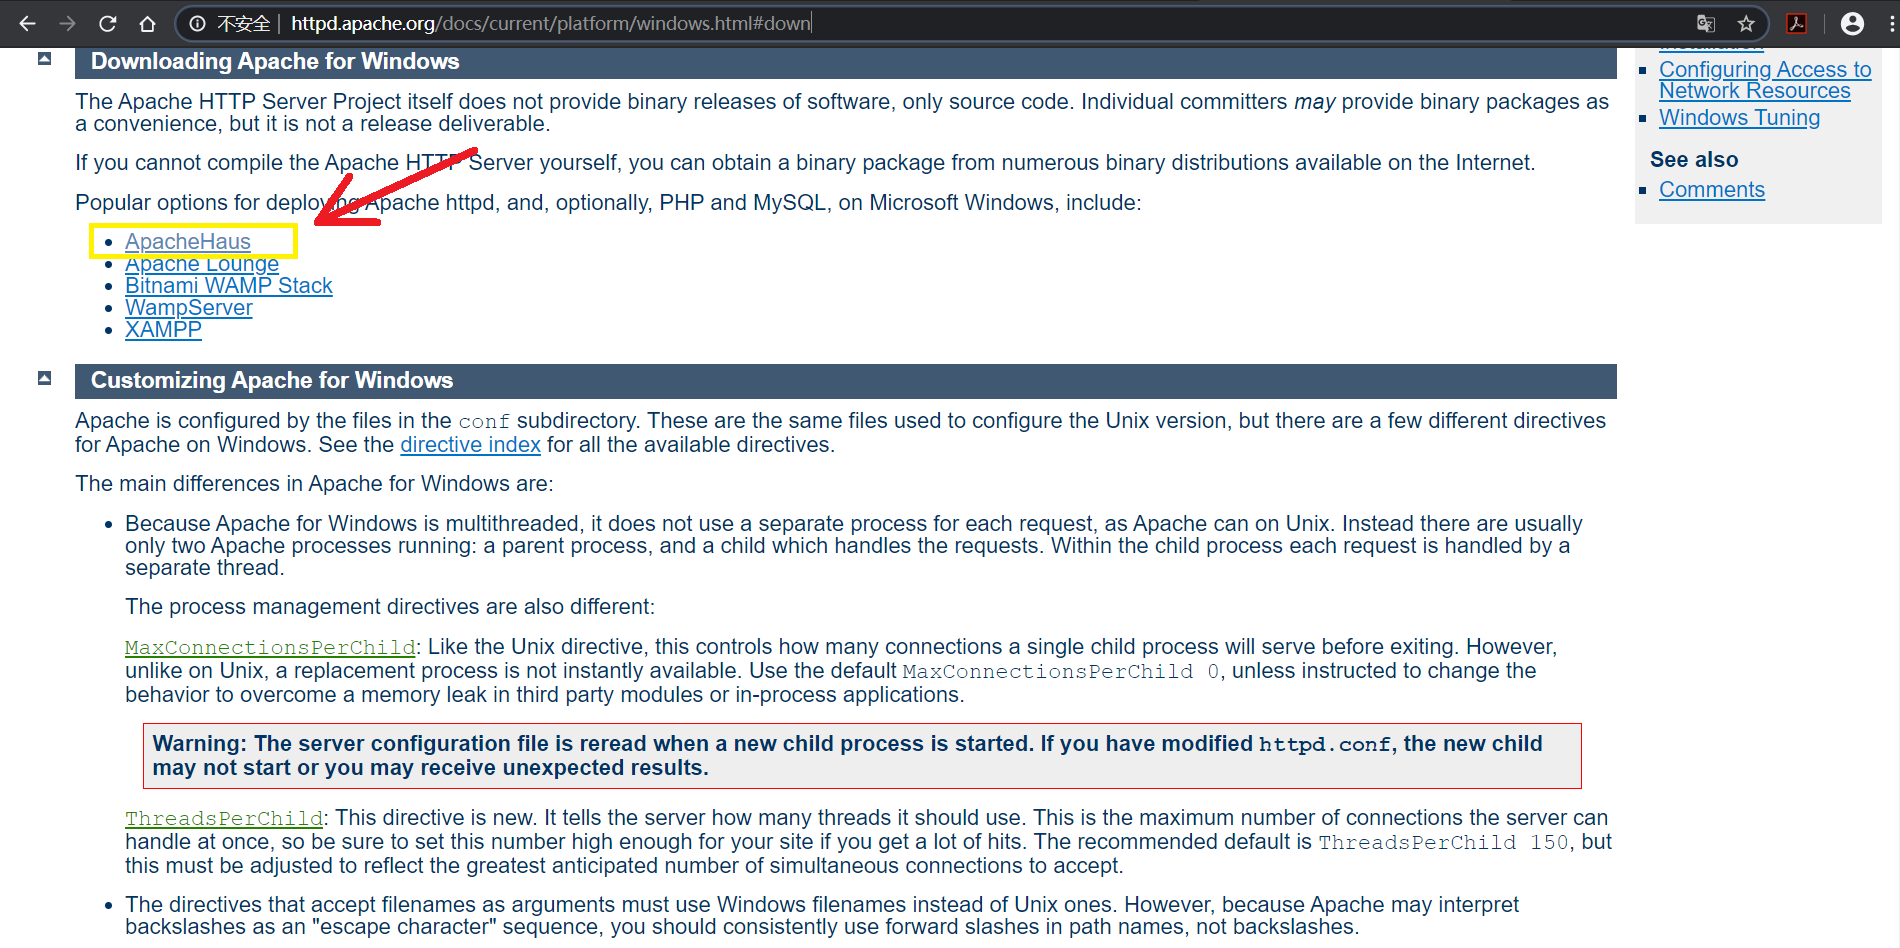
④, затем выберитеApacheHaus Да, другие версии можно скачать в соответствии с вашими потребностями
⑤, затем загрузите соответствующую версию в соответствии с системой
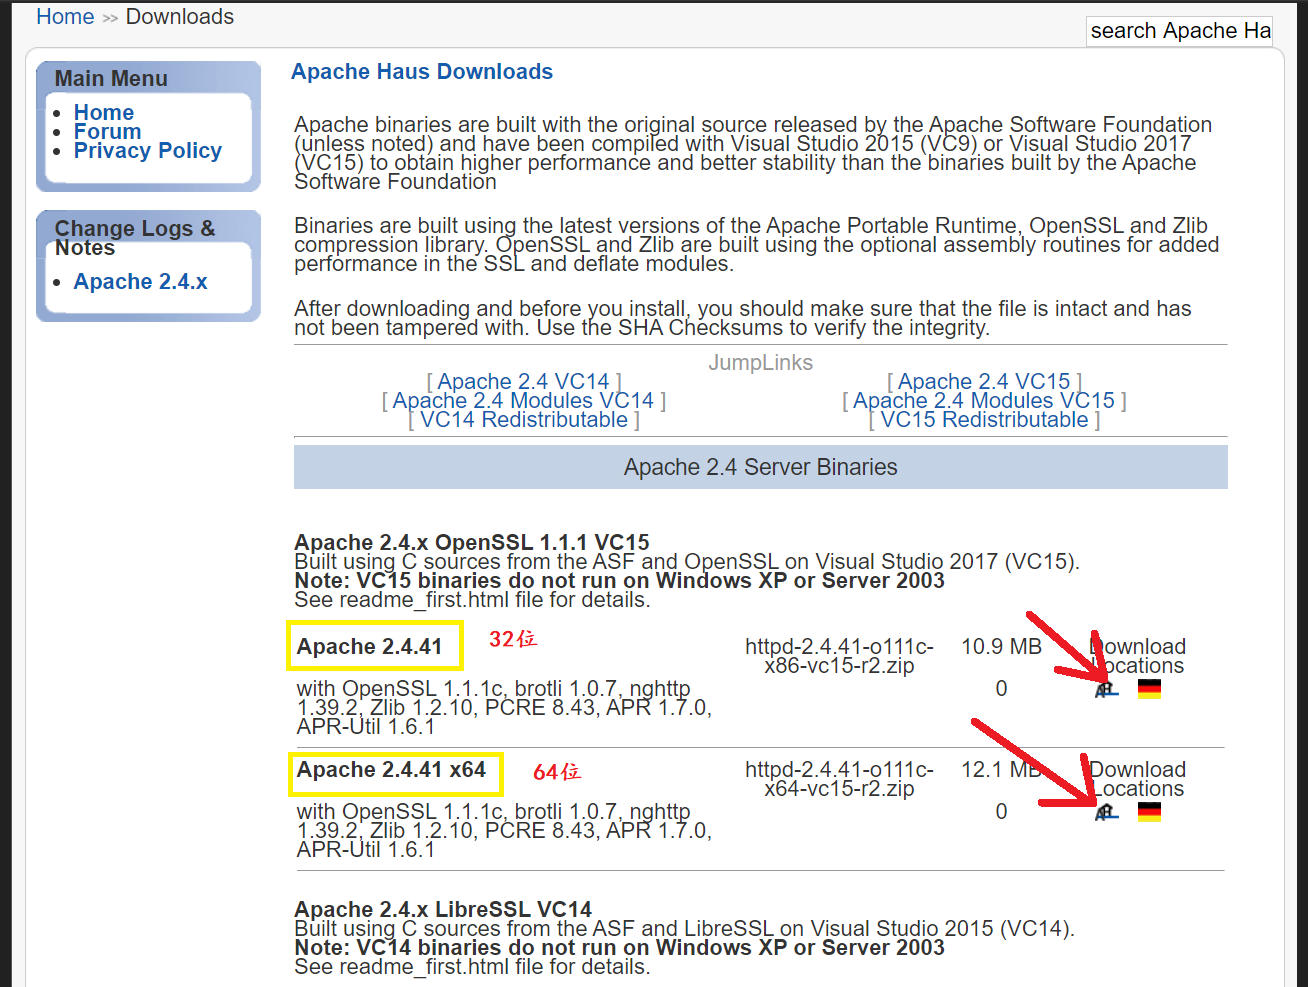

⑥. Ссылка следующая:
httpd-2.4.41-o111c-x86-vc15-r2.zip 32
https://www.apachehaus.com/downloads/httpd-2.4.41-o111c-x86-vc15-r2.zip
httpd-2.4.41-o111c-x64-vc15-r2.zip 64
https://www.apachehaus.com/downloads/httpd-2.4.41-o111c-x64-vc15-r2.zip
Три, установка и настройка
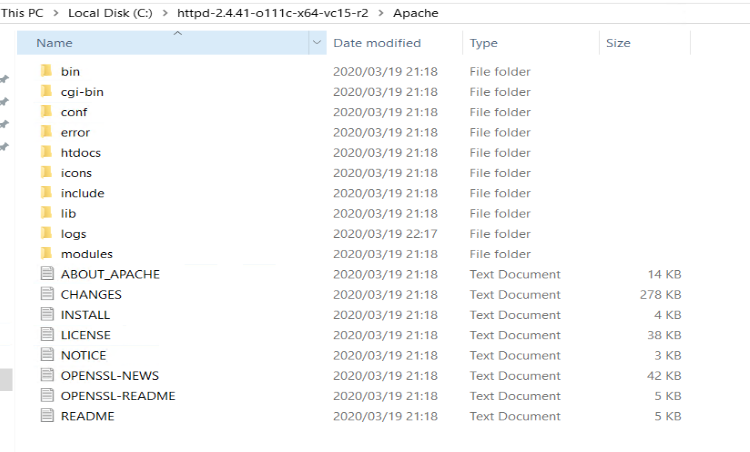
①, разархивируйте, как показано ниже
②, модификация конфигурационного файла
Войдите в каталог conf, откройте файл httpd.conf и измените конфигурацию по умолчанию:
По умолчанию:
Define SRVROOT "/Apache24"
ServerRoot "${SRVROOT}"
изменить на:
Define SRVROOT "C:/httpd-2.4.41-o111c-x64-vc15-r2/Apache"  Вот твой собственный путь! ! !
ServerRoot "${SRVROOT}"
Если вы не измените его, если вы поймете, я закину вам кучу английского.
httpd.exe: Syntax error on line 39 of D:/Android_Develop_Tools/httpd-2.4.41-x64-
vc15-r2/Apache24/conf/httpd.conf: ServerRoot must be a valid directory
②. После завершения настройки с помощью Windows PowerShell перейдите в каталог bin его каталога установки и используйте режим администратора для запуска.
Microsoft Windows [Version 10.0.17763.1098]
(c) 2018 Microsoft Corporation. All rights reserved.
C:\Users\Administrator>cd C:\httpd-2.4.41-o111c-x64-vc15-r2\Apache\bin
C:\httpd-2.4.41-o111c-x64-vc15-r2\Apache\bin>
③, первое использованиеhttpd -t Проверьте правильность файла конфигурации
C:\httpd-2.4.41-o111c-x64-vc15-r2\Apache\bin>httpd -t
Syntax OK
Примечание. Если вы не установите два компонента на первом шаге, упомянутом выше, он сообщит, что выполнение кода не может быть продолжено из-за VCRUNTIME140.dll, что означает отсутствие VCRUNTIME140.dll.
④, запустите установку: httpd -k install -n Apache
C:\httpd-2.4.41-o111c-x64-vc15-r2\Apache\bin>httpd -k install -n Apache
Installing the 'Apache' service
The 'Apache' service is successfully installed.
Testing httpd.conf....
Errors reported here must be corrected before the service can be started.  ← Если ошибки не последовало, ее можно игнорировать......
 Напоминание: перед запуском службы необходимо исправить ошибки, указанные здесь.
⑤, установка завершена, запускаем службу.
метод первый: Введите Windows PowerShellhttpd.exe -k start Вот и все.
Метод второй: Откройте корзину в каталоге установки и нажмите ApacheMonitor.

Метод третий: Вы можете найти Apache в сервисе для запуска
Вы закончили, вы можете найти другую информацию об Apache на следующем веб-сайте.
Apache — один из самых популярных веб-серверов в мире, широко применяемый для размещения веб-сайтов и приложений. Установка и настройка Apache на Windows Server 2019 может быть задачей, требующей некоторого времени и внимания, но знание основных шагов позволит сделать этот процесс гораздо проще.
Шаг 1: Скачивание Apache
Первым шагом является загрузка установочного файла Apache с официального сайта. После этого, запустите установку на вашем сервере.
Шаг 2: Запуск установки
После загрузки установочного файла, откройте его и выполните все необходимые действия для начала установки. Вы можете выбрать опции установки в зависимости от ваших требований и предпочтений.
Шаг 3: Настройка Apache
После установки Apache необходимо выполнить его начальную настройку. Для этого откройте конфигурационный файл Apache и произведите необходимые изменения для вашего сервера.
Примечание: Обратите внимание на настройки, связанные с портом и директорией корневого каталога вашего сайта. Они могут потребовать изменения в зависимости от ваших потребностей.
Шаг 4: Тестирование сервера
После настройки Apache выполните его запуск и проведите тестирование, чтобы убедиться, что он работает корректно. Откройте веб-браузер и введите в адресной строке localhost или IP-адрес вашего сервера. Если вы увидите страницу приветствия Apache, значит, установка и настройка прошли успешно.
Следуя этим шагам, вы сможете успешно установить и настроить Apache на Windows Server 2019. Помните, что Apache может быть использован для размещения одного или нескольких веб-сайтов, а также для развертывания различных приложений.
Содержание
- Подготовка к установке Apache
- Загрузка Apache
- Установка Apache
- Настройка Apache
- Запуск и проверка работы Apache
Подготовка к установке Apache
Перед установкой Apache в Windows Server 2019 необходимо выполнить несколько подготовительных действий.
1. Управление правами пользователя: Убедитесь, что вы вошли в систему под учетной записью администратора или имеете административные привилегии.
2. Проверка необходимых предустановленных компонентов: Проверьте, есть ли на вашем сервере предустановленные компоненты, необходимые для работы Apache, такие как Visual C++ Redistributable 2015 и Microsoft Visual C++ Redistributable для Visual Studio 2017. Если они отсутствуют, установите их и перезагрузите сервер.
3. Выбор платформы Apache: Перейдите на официальный сайт Apache и выберите нужную платформу для загрузки. Обратите внимание на архитектуру вашего сервера (32-битная или 64-битная) и загрузите соответствующий установочный файл.
4. Проверка наличия установочного пакета Windows: Убедитесь, что на вашем сервере уже установлен установочный пакет Windows Installer. Если его нет, загрузите его с официального сайта Microsoft и выполните установку.
После выполнения всех подготовительных шагов вы готовы перейти к установке Apache на Windows Server 2019.
Загрузка Apache
Для установки Apache на Windows Server 2019, вам необходимо скачать установочный файл с официального сайта Apache Software Foundation.
- Перейдите на официальный сайт Apache Software Foundation: https://httpd.apache.org/
- На главной странице найдите раздел «Downloads» и выберите секцию «Apache HTTP Server».
- На странице загрузки выберите желаемую версию Apache HTTP Server, совместимую с Windows Server 2019.
- Выберите зеркало загрузки, наилучшее для вашего региона.
- Скачайте установочный файл Apache HTTP Server в формате .msi.
После загрузки установочного файла, вы готовы приступить к установке и настройке Apache.
Установка Apache
Шаг 1: Скачайте установочный пакет Apache с официального сайта Apache Foundation. Выберите соответствующую версию для Windows Server 2019 и сохраните файл на вашем компьютере.
Шаг 2: Запустите установочный файл и следуйте инструкциям мастера установки. Выберите язык установки и нажмите «Далее».
Шаг 3: Прочитайте лицензионное соглашение, ознакомьтесь с условиями использования Apache и принимайте их, если вы согласны. Нажмите «Далее».
Шаг 4: Выберите путь для установки Apache на вашем сервере. Рекомендуется использовать путь по умолчанию, который будет предложен мастером установки. Нажмите «Далее».
Шаг 5: Выберите компоненты, которые вы хотите установить с Apache. Большинство пользователей оставляют эти настройки по умолчанию и нажимают «Далее».
Шаг 6: Укажите имя сервера и номер порта, который будет использоваться для доступа к серверу. У вас также будет возможность указать доменное имя, если оно у вас есть. Нажмите «Далее».
Шаг 7: Выберите тип установки. Рекомендуется выбрать «Typical», чтобы установить основные компоненты Apache. Нажмите «Далее».
Шаг 8: Настройте директорию для хранения конфигурационных файлов Apache. Опять же, рекомендуется оставить эту настройку по умолчанию и нажать «Далее».
Шаг 9: Проверьте настройки установки и нажмите «Установить», чтобы начать установку Apache.
Шаг 10: После завершения установки нажмите «Готово» и запустите Apache Web Server на вашем сервере Windows Server 2019.
Теперь вы готовы использовать Apache для хостинга сайтов и развертывания веб-приложений на вашем сервере Windows Server 2019.
Настройка Apache
После успешной установки Apache на Windows Server 2019, необходимо выполнить настройку сервера для обеспечения его корректной работы. В этом разделе мы рассмотрим основные шаги настройки Apache.
1. Откройте файл конфигурации Apache, который находится по пути C:\Apache24\conf\httpd.conf.
2. Настройте основные параметры сервера, такие как:
| Параметр | Значение по умолчанию | Описание |
|---|---|---|
| ServerName | localhost:80 | Имя и порт сервера |
| DocumentRoot | C:/Apache24/htdocs | Путь к корневой директории |
| Directory | C:/Apache24/htdocs | Директория, из которой сервер будет брать файлы |
3. Установите необходимые модули для работы сервера. Вы можете включить или выключить модули, изменяя директивы LoadModule в файле конфигурации.
4. Настройте доступ к файлам сервера. Вы можете установить различные правила доступа с использованием директивы <Directory> в файле конфигурации. Например:
<Directory "C:/Apache24/htdocs">
Options Indexes FollowSymLinks
AllowOverride All
Require all granted
</Directory>
5. Проверьте наличие фаервола на вашем сервере и разрешите доступ к порту 80 (или другому порту, если вы установили его), чтобы позволить пользователям подключаться к веб-серверу.
6. Перезапустите Apache, чтобы применить все настройки:
C:\Apache24\bin\httpd.exe -k restart
7. Проверьте работу Apache, открыв веб-браузер и введя в адресной строке localhost или IP-адрес вашего сервера. Если веб-страница отображается корректно, значит Apache успешно настроен и работает.
Теперь вы можете приступить к разработке и размещению своих веб-приложений на сервере Apache!
Запуск и проверка работы Apache
После установки Apache на Windows Server 2019, мы можем проверить его работу, запустив веб-сервер и открыв его веб-страницу по умолчанию.
Для запуска Apache воспользуйтесь следующими шагами:
- Откройте командную строку. Введите команду «CMD» в поле «Выполнить» или найдите командную строку через меню «Пуск».
- Перейдите в каталог с установленным Apache. Введите команду «cd C:\Program Files\Apache Group\Apache2» (если вы использовали стандартный путь установки).
- Запустите веб-сервер. Введите команду «httpd.exe» и нажмите Enter. Если все настроено правильно, вы увидите сообщение о запуске Apache и отсутствие ошибок.
После запуска Apache можно протестировать его работу:
- Откройте веб-браузер. Можно использовать любой установленный браузер.
- Введите адрес веб-сервера. В адресной строке браузера введите «http://localhost» или «http://127.0.0.1» и нажмите Enter.
Если все настроено правильно, вы увидите веб-страницу по умолчанию Apache. Обычно это страница с надписью «It works!», что означает успешный запуск веб-сервера.
Теперь вы можете быть уверены, что Apache работает на вашем Windows Server 2019 и готов к дальнейшей настройке и использованию для размещения веб-сайтов.
Install Apache on Windows Server 2022, 2019
Windows Server 2022 (in the Insider phase) is composed of numerous roles and functions that facilitate the management of objects in the domain, but it is possible to add many more functionalities to the server to carry out special tasks, one of these options is to install Apache on Windows Server..
Apache Server gives us the opportunity to set up an open source HTTP server so that users can host and manage their applications, this is achieved with a secure and extensible server where HTTP services are available that are compatible with today’s HTTP standards.
Apache Server
Apache Server offers us features such as:
- Asynchronous support.
- General Purpose Expression Analyzer
- Integration of more than 20 new modules
- Loading multiple MPMS at runtime
- Includes the FastCGI daemon as a startup utility
- Administration of logs or events
- Allows the configuration of a virtual hosting based on IP
- We can add access restrictions to certain files and more
We are going to see how to install Apache on Windows Server 2022 to increase its functionalities..
To stay up to date, remember to subscribe to our YouTube channel! SUBSCRIBE
Install Apache on Windows Server 2022, 2019
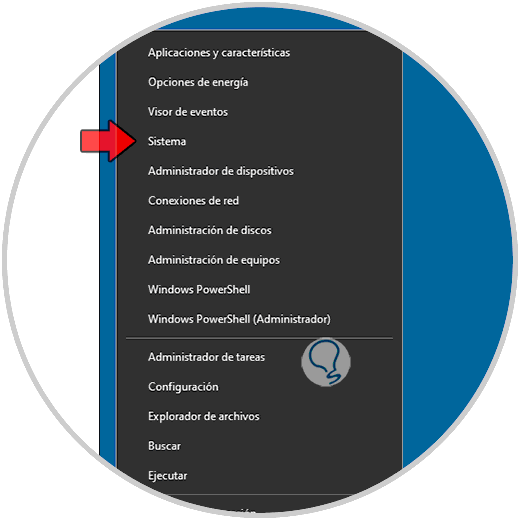
Step 1
We right-click on the Start menu and select the «System» option:
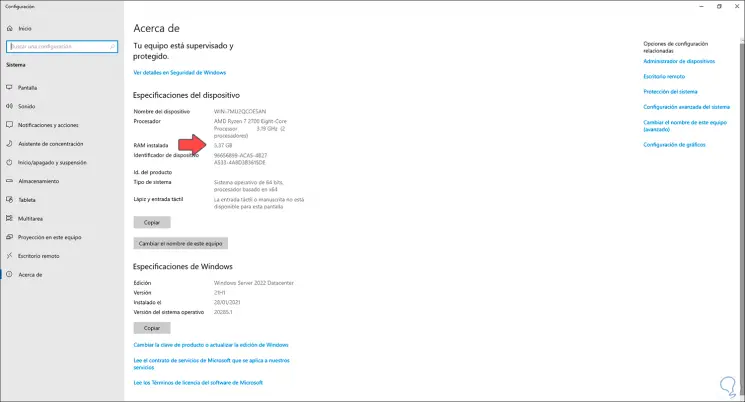
Step 2
This in order to see the architecture of the system, in this case 64-bit:
Step 3
Now we go to the C ++ website:
C ++
Step 4
There we download the latest version Suitable based on the architecture of our server:
Step 5
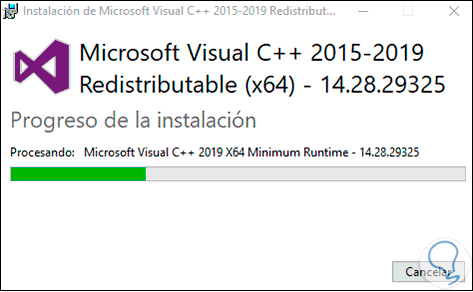
Run the installer once the download is finished, the following wizard will open:

Step 6
We accept the license and click «Install» to start the process:
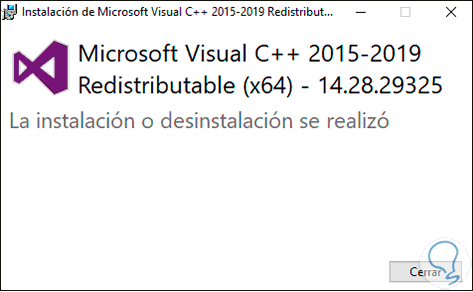
Step 7
At the end we will see the following. We click Close to exit the wizard.
Step 8
Now we go to the Apache URL in the following link:
Apache
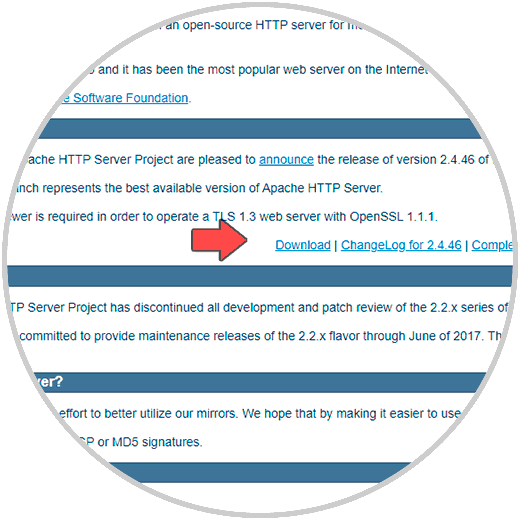
Step 9
We click on «Download» and then we will see the following:
Step 10
There we click on the line «Files for Microsoft Windows» to be redirected to the following window:
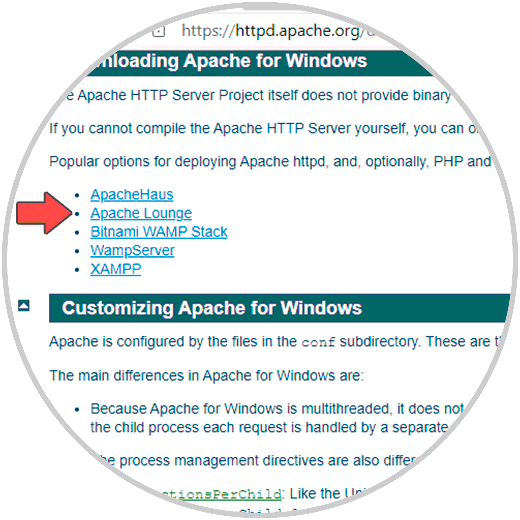
Step 11
We click on «Apache Lounge» to download the ZIP file:
Step 12
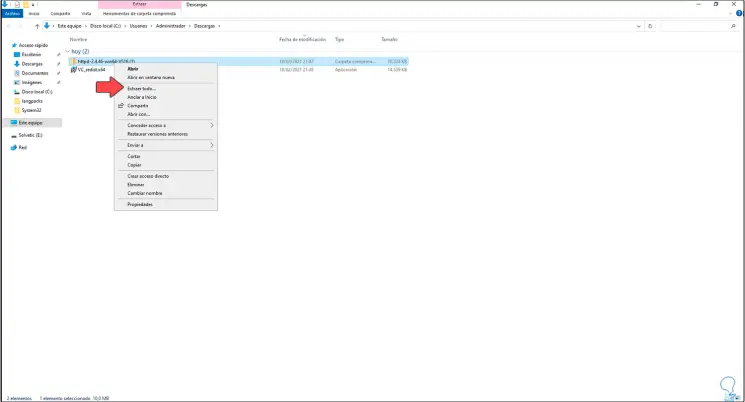
Apache Lounge takes care of delivering binaries for Windows in an up-to-date way.
Once downloaded we go to the path and extract the content of the file by right clicking and selecting «Extract all»:
Step 13
The extraction process will start:
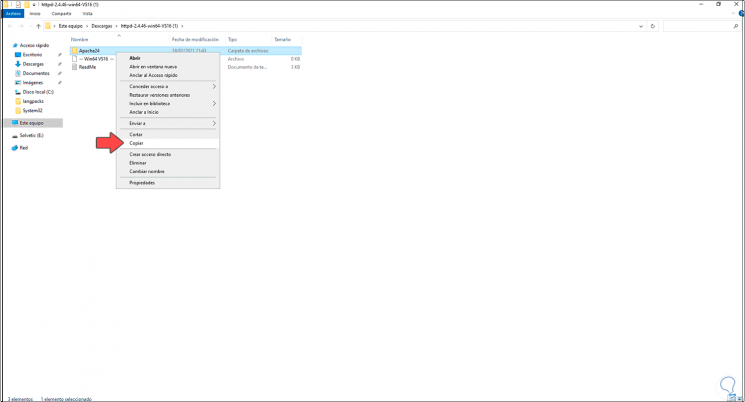
Step 14
We copy the Apache folder:
Step 15
We paste this in drive C:

Step 16
We access the folder to see its content:
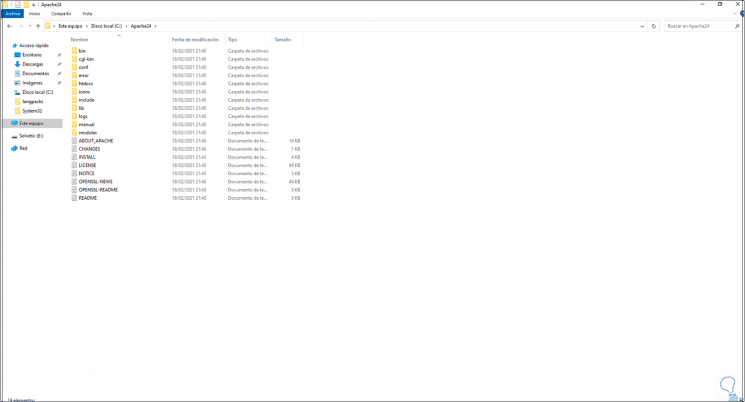
Step 17
We access the command prompt as administrator:
Step 18
In the console we enter «cd C: \ apache24 \ bin \»:
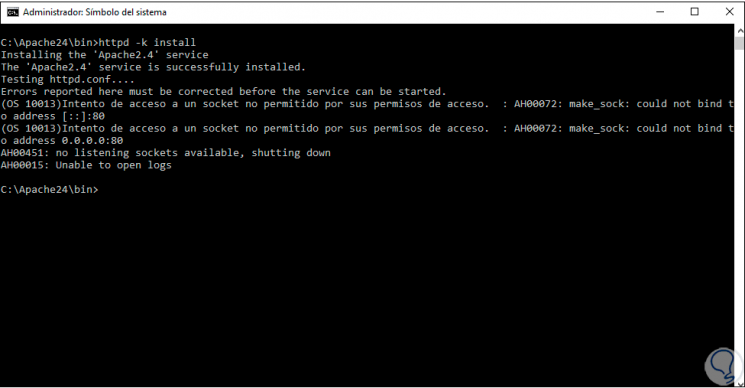
Step 19
We install Apache with the command «httpd -k install»:
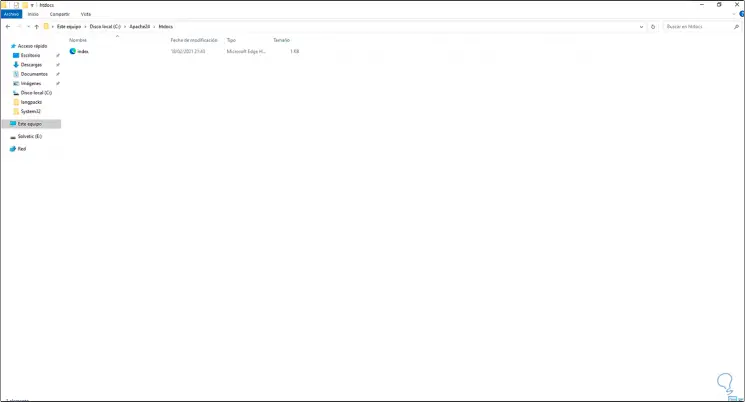
Step 20
After this we go to the Apache folder and open «htdocs» where we see the index file:
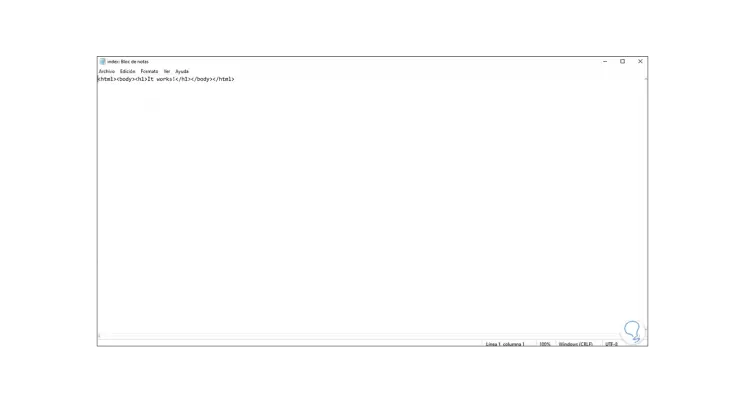
Step 21
With the notepad, observe the content of the index which will be the one we see when accessing from a browser:
Step 22
Now we enter «services» in the Start menu:
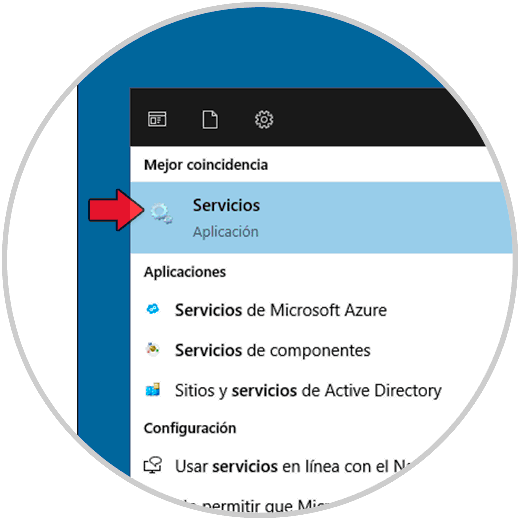
Step 23
We right click on Apache 24 and select the «Start» option:
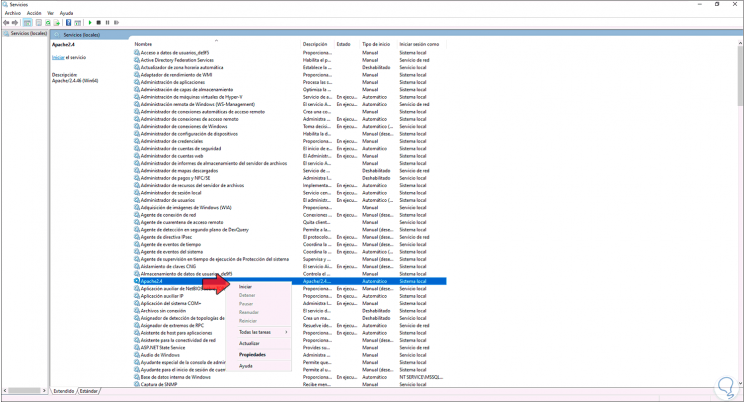
Step 24
After this, a After browser we enter «localhost» and we will see the text of htdocs:

This has been the process to install Apache on Windows Server 2022.