-
В разделе «Дата и время» вы можете разрешить Windows 10 автоматически устанавливать время и часовой пояс или настроить их вручную.
-
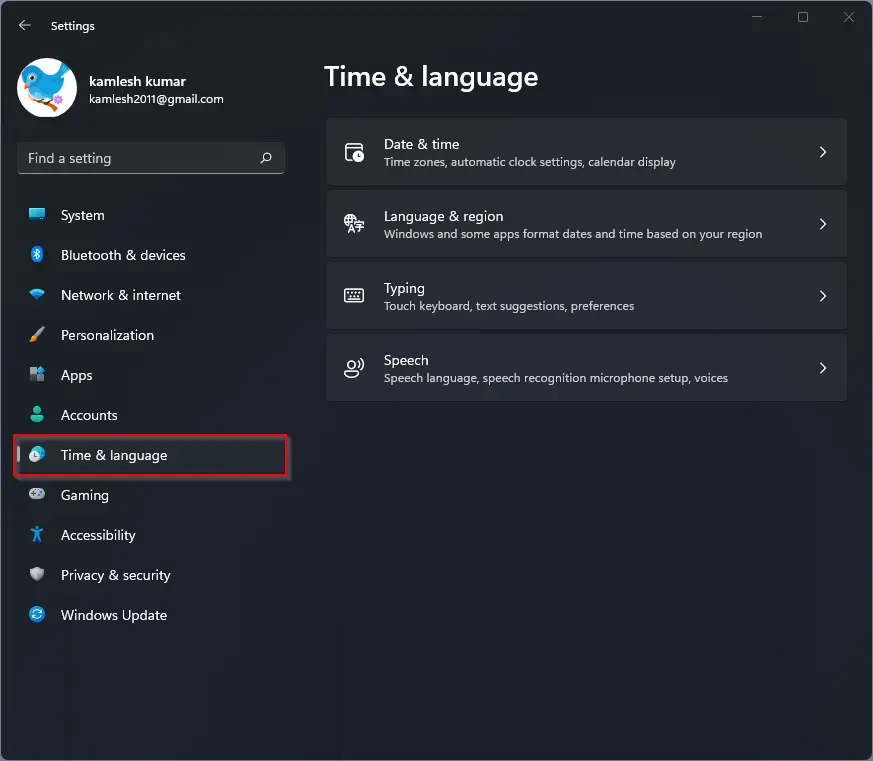
Чтобы установить время и часовой пояс в Windows 10, перейдите в раздел Пуск > Параметры > Время и язык > Дата и время.
Переход в раздел параметров даты и времени
Нужна дополнительная помощь?
Нужны дополнительные параметры?
Изучите преимущества подписки, просмотрите учебные курсы, узнайте, как защитить свое устройство и т. д.
В сообществах можно задавать вопросы и отвечать на них, отправлять отзывы и консультироваться с экспертами разных профилей.
May 29, 2017 updated by
Leave a reply »
Windows 10 doesn’t update date and time automatically? Windows 10 set time zone automatically not working? By default, Windows 10 determines your location based on your IP address, and this location will be used to set your time zone. But, if Windows has problem detecting your IP address accurately, it may set a wrong time zone and you have to turn off the “Set Time Zone Automatically” feature. In this tutorial we’ll show you 2 simple ways to enable or disable “Set Time (Zone) Automatically” in Windows 10.
Method 1: Enable or Disable “Set Time (Zone) Automatically” in Windows 10 Using Settings
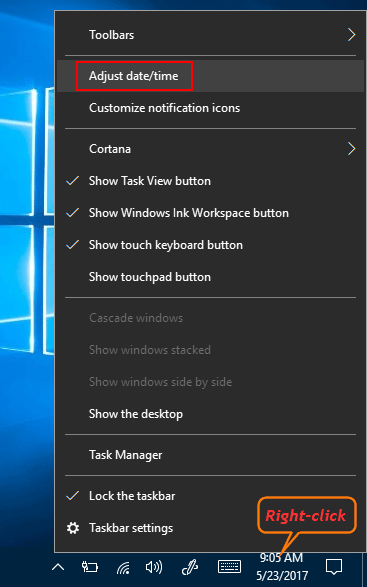
- Right-click on the time display on bottom-right of the taskbar and then choose “Adjust date/time“.

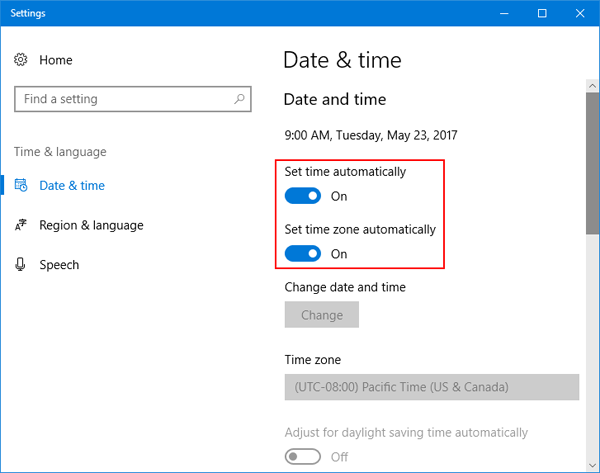
- This will open the Date & time page in the Settings window. In the right pane you can see these two settings: “Set time automatically” and “Set time zone automatically“.

- Just toggle slider button to the On or Off position.
Method 2: Enable or Disable “Set Time (Zone) Automatically” in Windows 10 Using Registry Editor
- Press the Windows logo key + R to open the Run box. Type regedit and hit Enter.

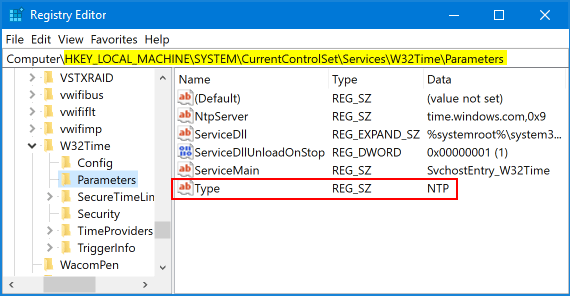
- When the Registry Editor opens, navigate to the following key:
HKEY_LOCAL_MACHINE\SYSTEM\CurrentControlSet\Services\W32Time\Parameters - In the right pane you can see a string value named Type. If you want Windows 10 to set time automatically, set its value data to NTP. To disable automatic time synchronization, change its value to NoSync.

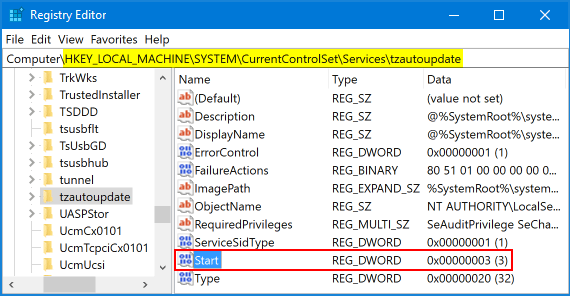
- In order to enable or disable “Set Time Zone Automatically” in Windows 10, navigate to the following key:
HKEY_LOCAL_MACHINE\SYSTEM\CurrentControlSet\Services\tzautoupdate - Double-click the 32-bit DWORD “Start” in the right pane. Set its value data to 3 if you want to make Windows 10 set time zone automatically. If you want to disable “Set Time Zone Automatically” in Windows 10, just set the value to 4.
- Reboot your computer for the registry changes to take effect.

- Previous Post: How to Change Mail Notification Sound in Windows 10
- Next Post: 2 Ways to Prevent Uninstalling Apps from Windows 10 Start Menu
Your Windows 10 laptop or desktop computer has a lot of settings that you can adjust so that everything behaves the way you would like. This includes things like deciding which apps launch automatically when you start the computer, but it also includes things like how the time is determined.
While you are able to manage the time on the computer manually, it can be tedious to update the time yourself if you change time zones or during Daylight Savings Time. Additionally, some websites may not function correctly if your time is not correct. Our guide below will show you how to have Windows 10 handle the time automatically so that you don’t need to worry about it.
How to Enable Automatic Time Updates in Windows 10
The steps in this article were performed on a laptop computer using the Windows 10 operating system. Once you have completed these steps your computer will automatically keep the time updated based on your current location.
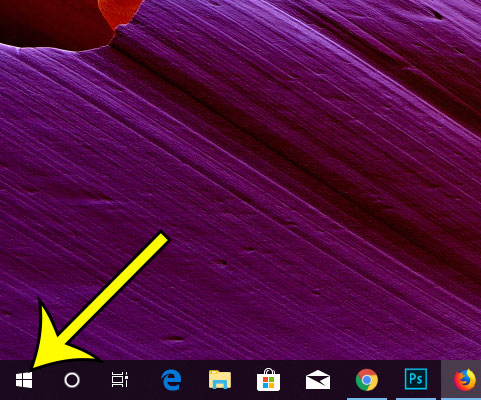
Step 1: Click the Start button at the bottom-left of the screen.
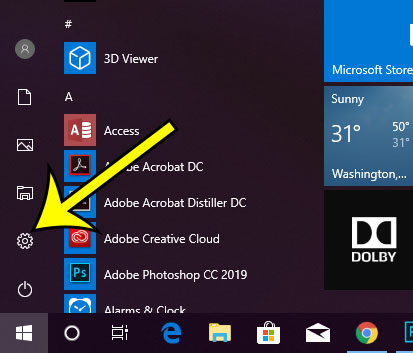
Step 2: Select the gear icon.
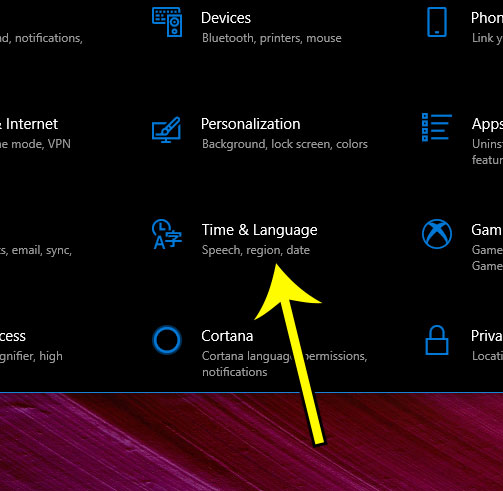
Step 3: Choose the Time & language option.
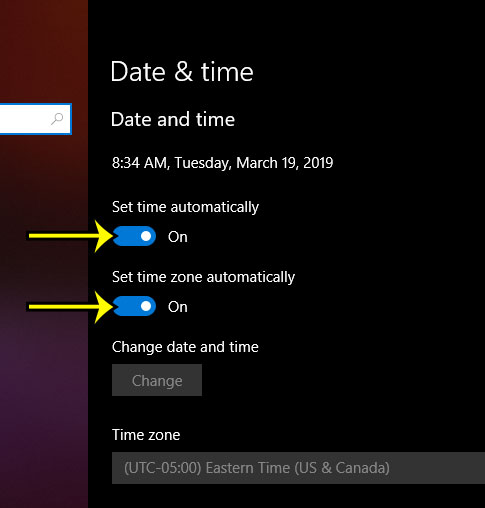
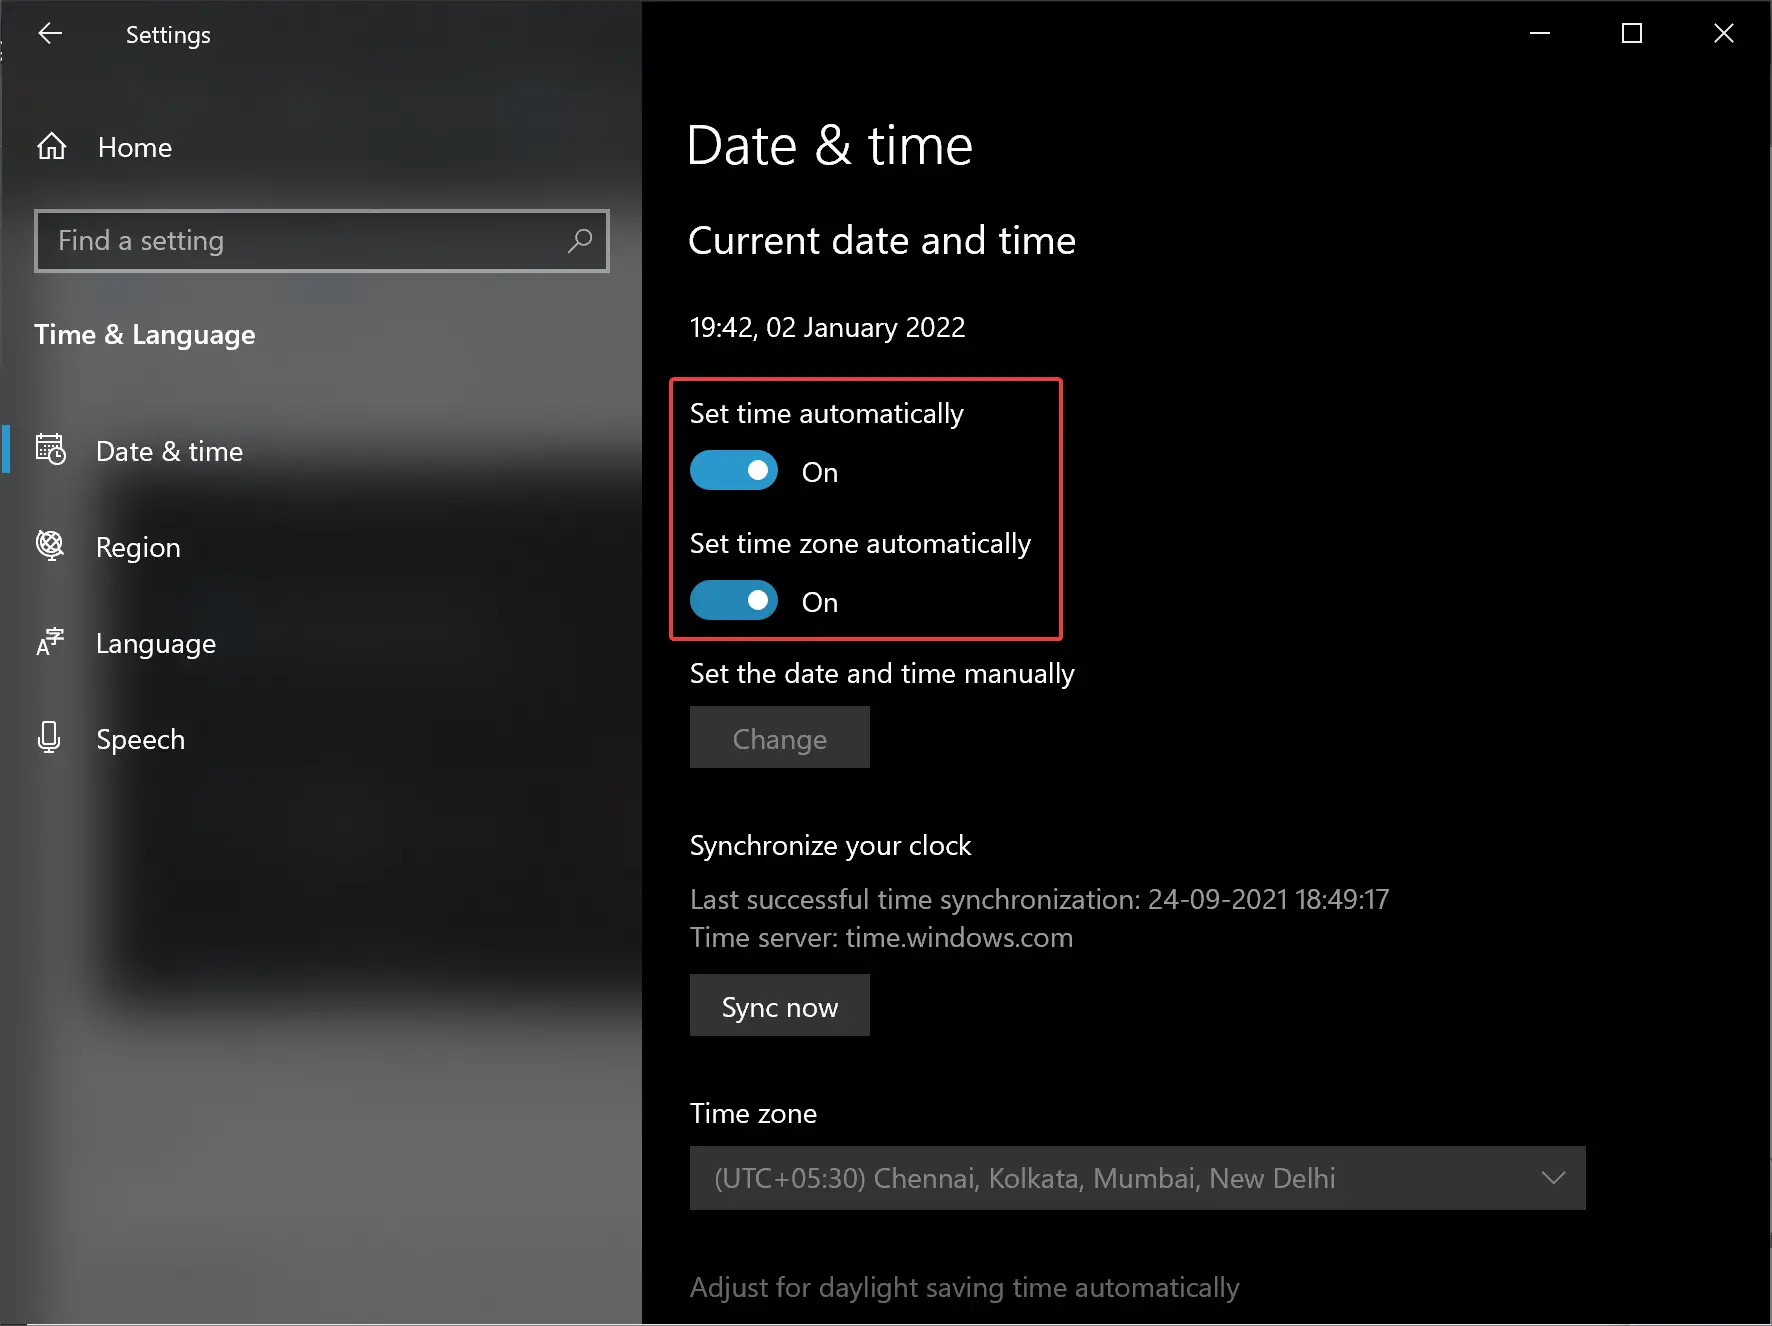
Step 4: Enable the options for Set time automatically and Set time zone automatically.
Are you about to copy a lot of files to your computer, or install some large applications? Learn how to see your available storage in Windows 10 to ensure that you have enough space on your computer for everything.

Kermit Matthews is a freelance writer based in Philadelphia, Pennsylvania with more than a decade of experience writing technology guides. He has a Bachelor’s and Master’s degree in Computer Science and has spent much of his professional career in IT management.
He specializes in writing content about iPhones, Android devices, Microsoft Office, and many other popular applications and devices.
Read his full bio here.
Several new features and settings are available on Windows 11/10; one of them is the ability to set the Time Zone automatically. While you can select the time zone manually by using the Time Zone drop-down option, you can also set it to automatically. This feature is beneficial if you travel a lot. Depending on the physical location of your device, Windows 11/10 will set the time of your system.
In this gearupwindows article, we will guide you on setting up Time Zone automatically in Windows 11 and 10. Here is how to do it.
How to Set Time Zone Automatically in Windows 11?
To set the time zone automatically in Windows 11, do the following:-
Step 1. First, press Windows + I keys on the keyboard to open the Settings app.
Step 2. Select the Time & language option in the left sidebar when Windows Settings appear on your computer.
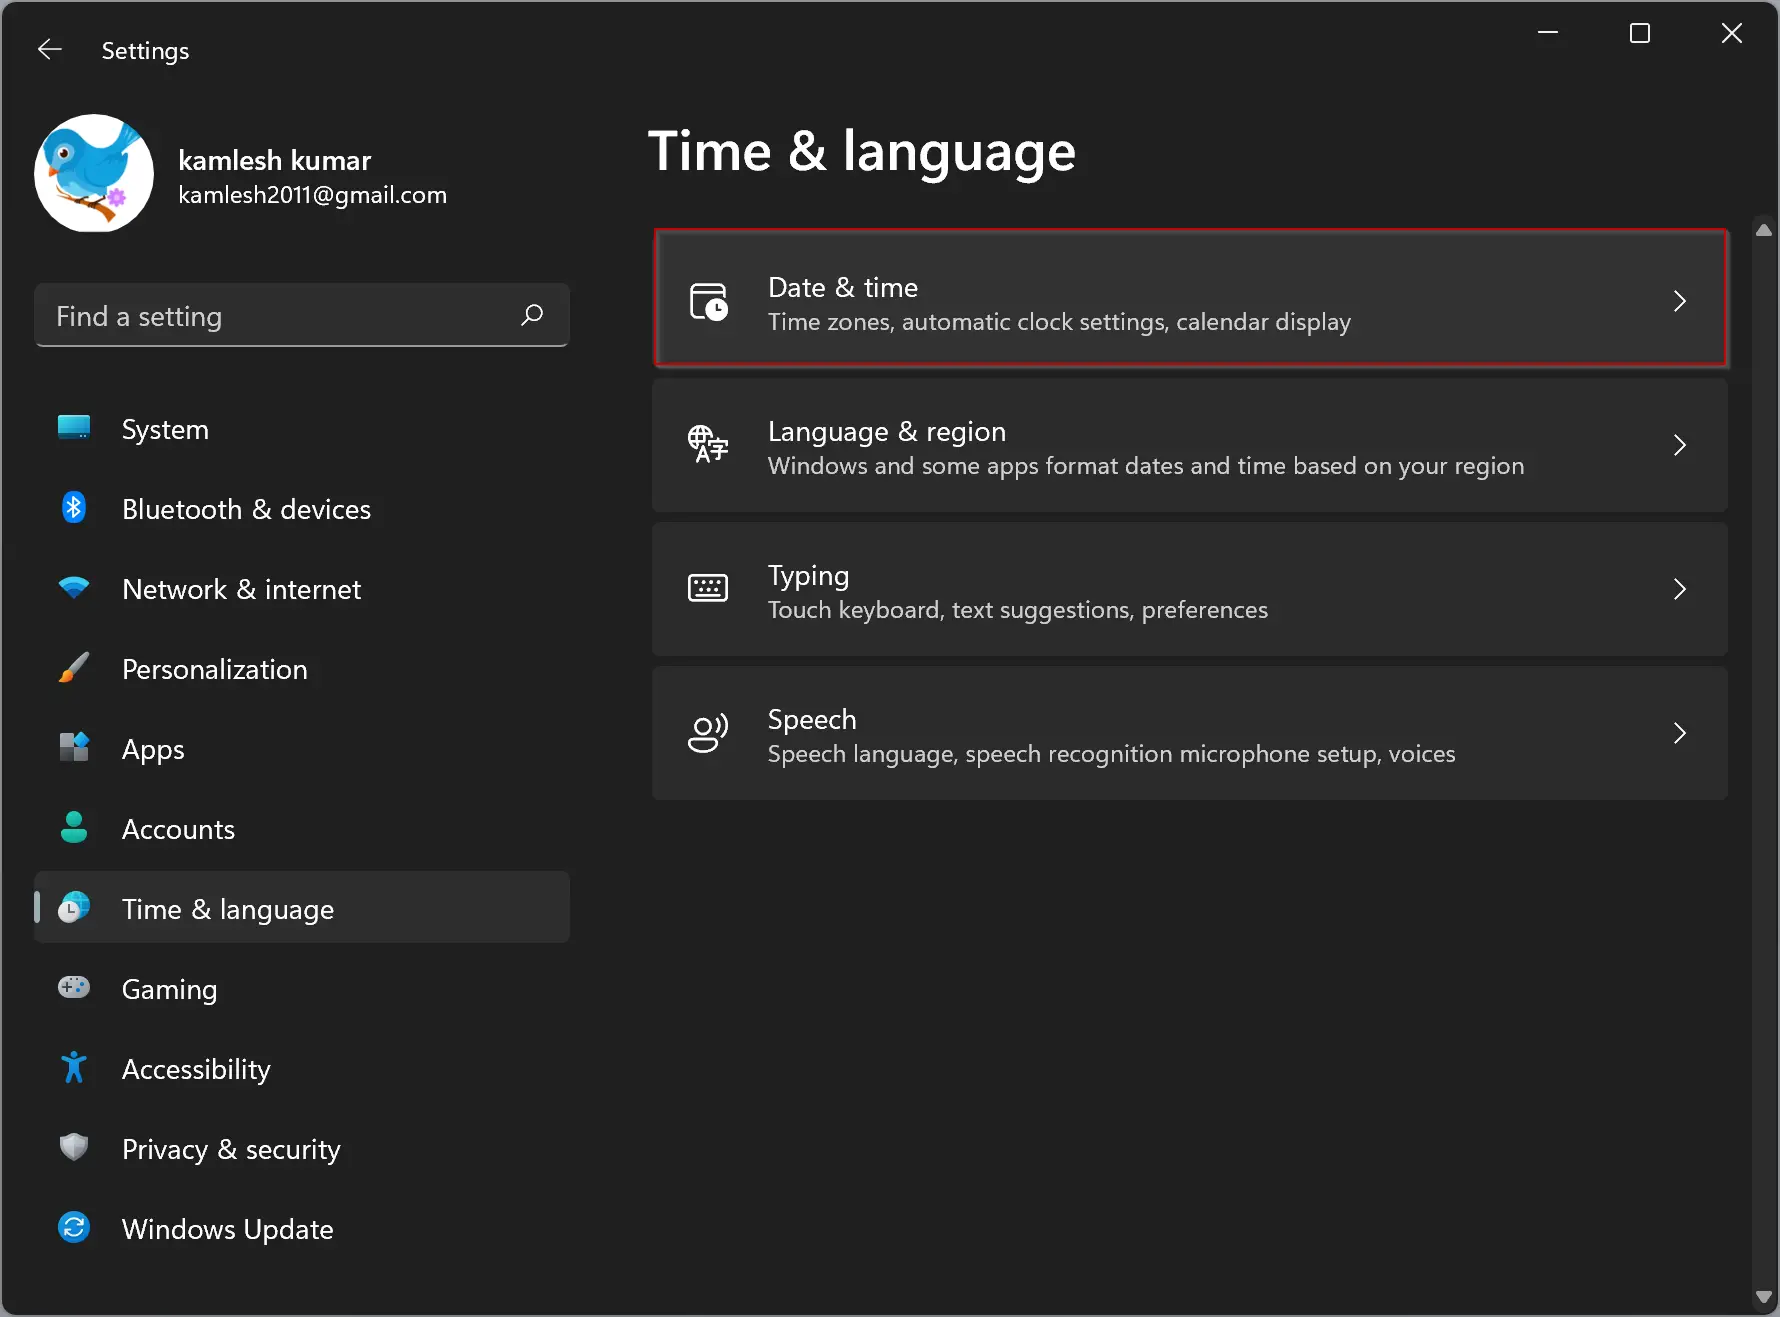
Step 3. After that, click the Date & time tile on the right-side pane on the “Time & language” settings page.
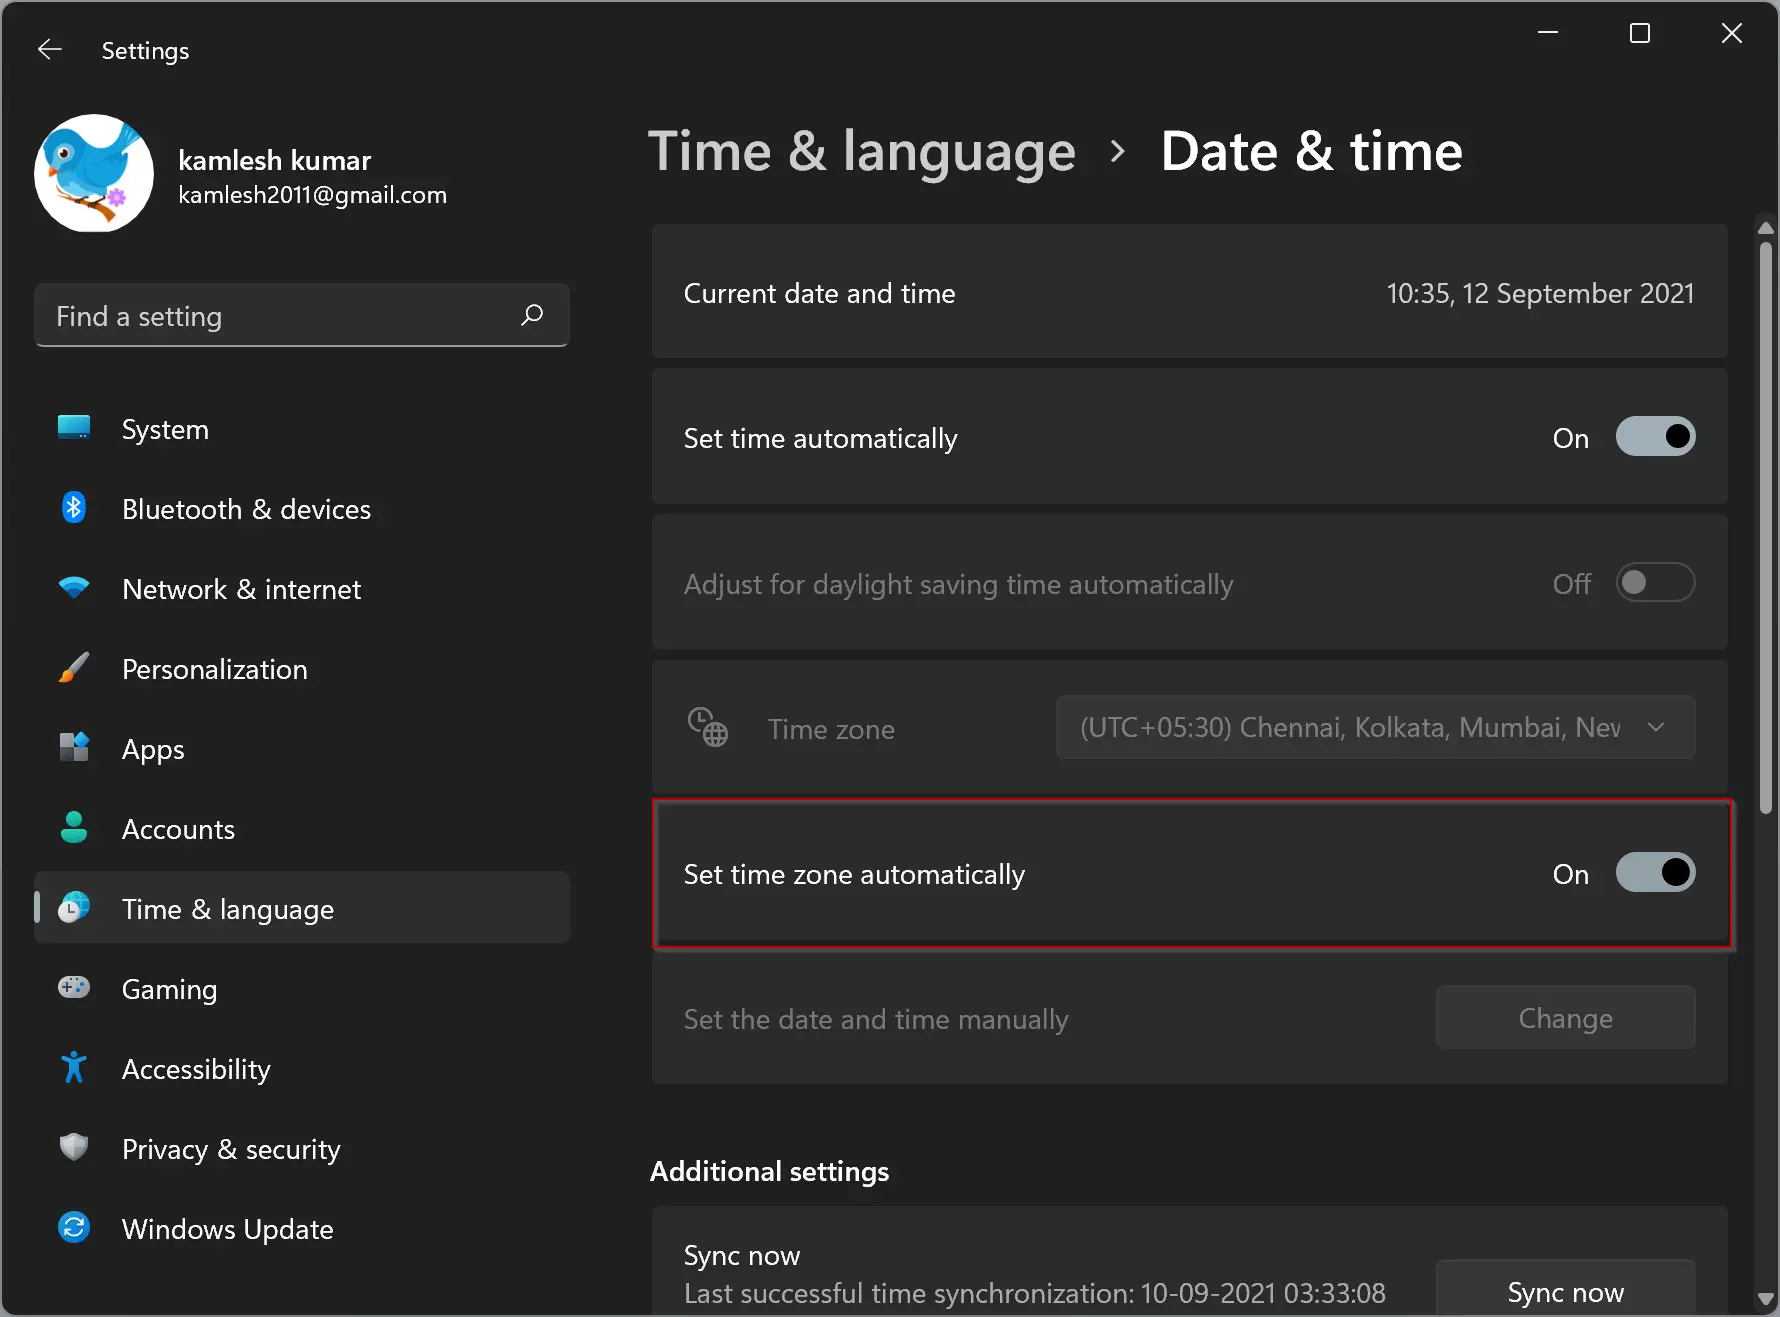
Step 4. Finally, turn on the toggle beside the Set time zone automatically option.
After completing the above steps, when your computer is online and connected to the internet, the time zone and time will be synced according to the device’s physical location.
How to Set Time Zone Automatically in Windows 10?
To set the time zone automatically in Windows 10, do the following recommended steps:-
Step 1. At first, open the Settings app.

Step 2. Then, click on Time & Language.
Step 3. Finally, turn on the toggle beside Set time automatically and Set time zone automatically.
Once you complete the above steps, Windows 10 will sync time and time zone from the Microsoft server based on your current location of the device.
Conclusion
In conclusion, setting the time zone automatically on your Windows 11/10 device is a useful feature that can save time and avoid confusion when traveling. With just a few simple steps, you can set up your system to automatically adjust the time zone based on your device’s physical location. This article provides easy-to-follow instructions on how to enable the “Set time zone automatically” feature on both Windows 11 and Windows 10.
![]()
Download Article
![]()
Download Article
Do you commonly travel between time zones and hate that your Windows 10 computer doesn’t update your time to adjust for these time differences? Well, with a flick of a switch, you can have your computer adjust to your area’s new time zone automatically!
- Before you start: This article will be doable only if you have already updated to the November 2015 version (or newer) of Windows 10. Learn how to check for updates here. If Windows tells you that you are up-to-date, you’re all set to go.
-

1
-
2
Go to the Time & language category. This section contains pretty much all the time, language, and region settings in Windows.
Advertisement
-
3
Ensure that the Date & time section is selected.
-
4
Toggle the switch under «Set time zone automatically» to On
. With this setting on, the manual time zone settings disable so you can’t change them by yourself. Don’t worry—your computer will automatically manage these settings.
-
5
Toggle the switch under to «Set time automatically» On
(optional). This will ensure that the time for the chosen time zone is correct.
-
6
Test it when you move into another time zone. Your time zone should update your time within a couple of moments.
- If it didn’t update to the new time zone, restart your PC or sign out and back in. You can also turn off and on the «Set time zone automatically» switch in settings.


Advertisement
Add New Question
-
Question
How do I change the minutes?

Start > Settings > Time and Language. If Set Time Automatically is on, turn it off. Then select Change Date and Time, click Change, and insert your time.
-
Question
I have Windows 10, but there is no option for update time zone automatically. It only has a setting for adjusting for daylight savings time automatically.
You may have an outdated version of Windows 10. You should Check for Updates, and install any that are available.

Ask a Question
200 characters left
Include your email address to get a message when this question is answered.
Submit
Advertisement
Video
Thanks for submitting a tip for review!
Things You’ll Need
- Device running Windows 10
About This Article
Thanks to all authors for creating a page that has been read 67,705 times.