I have installed Wmware Workstation Pro 16.1 on Windows 11 22H2
I have created a VM with Windows 7 and I am attempting to install Vmware Tools to improve performance.
I tried the default option from the context menu as well as installing manually via Wmware tools ISO and via the EXE installer — all to no avail. When the installer is started, Windows 7 errors with «vmware installation launcher has stopped working»
I installed the updates mentioned here: https://communities.vmware.com/t5/VMware-Fusion-Discussions/VMWare-Tools-fails-to-install-Windows-7/… as well as I also installed all available Windows 7 updates.

Here is information from Event Viewer:


I already wasted 2 days to fight with this. Any suggestions how to resolve?
Table of Contents
Install security updates on Windows 7
Before installing the VMware Tools on Windows 7 virtual machine. There’re some secuity updates need to install first. Otherwise, you would ger the following error:
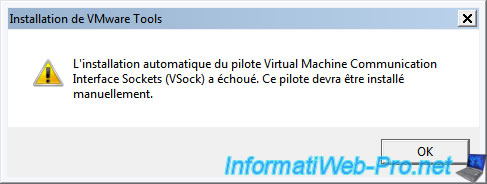
- Setup failed to install the VSock Virtual Machine Communication Interface Sockets driver automatically. This driver will have to be installed manually.
- Setup failed to install the Memory Control driver automatically. This driver will have to be installed manually.

1️⃣ So, before you begin, you need to download then install the following KB. Download the security updates for Windows 7 from below link:
2️⃣ Without the VMware Tools installed, you cannot copy/paste or grad/drop files from the host to the virtual machine. So, we’ve created a iso image file then you can mount it into the virtual machine easily.
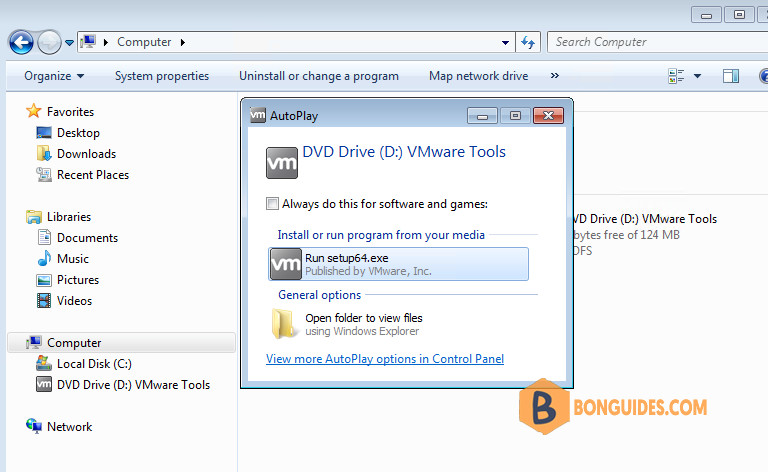
3️⃣ Browse to the downloaded iso image file. The file would be mounted into your VM automatically.
4️⃣ Once the iso image is mounted, let open it then install the security updates then restart your VM.
Install VMware Tools
In some cases, the Install VMware Tools option is greyed out and you cannot install the tools for the virtual machine. In this case, we cannot install the VMware Tools on our Windows 7 virtual machine.
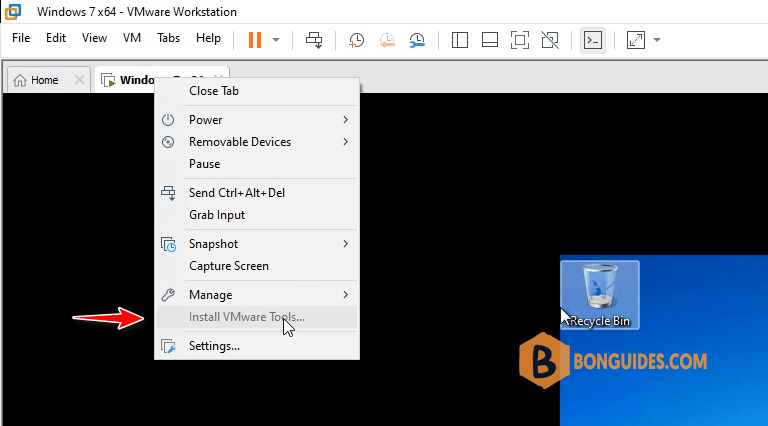
When the VMware Tools isn’t installed. the VM screen gets smaller, and you cannot copy/paste between VM and the physical machine. Drag/ drop and shared folder features also not working.
Fix the Install VMware Tools Greyed out
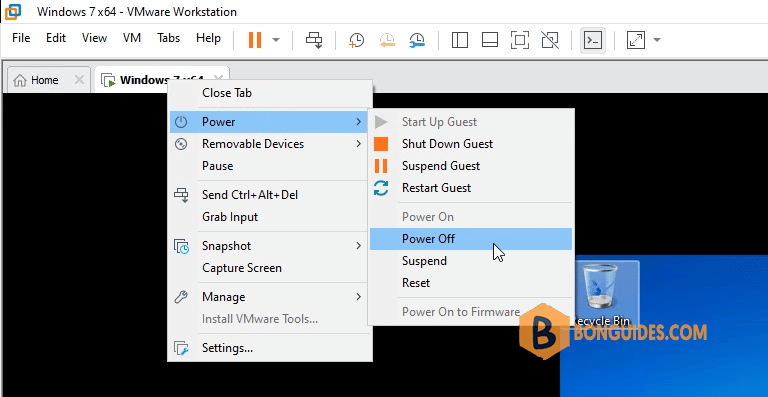
1️⃣ First, power off the virtual machine that you want to install VMware Tools.
2️⃣ When the VM is not running, let’s edit virtual machine settings.
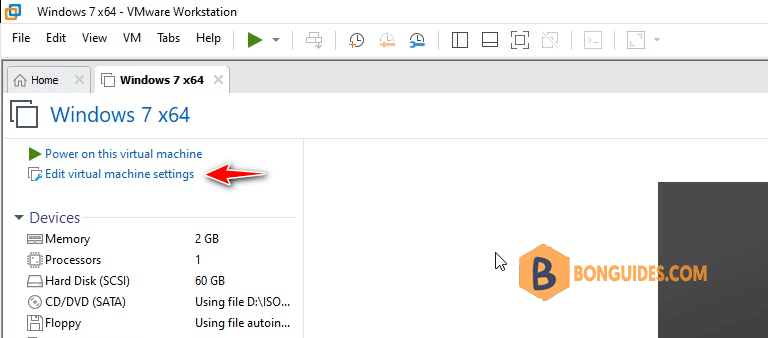
3️⃣ In the virtual machine settings page, select the Floppy then remove it. Click OK to save the changes then turn on the virtual machine.
Note
You get it because you install this VM in typical auto mode instead of custom mode.

4️⃣ Once the VM started, as you can see, you can install the VMware Tools normally.
Install the VMware Tools manually
In case if the first method doesn’t work. You can try to install the VMware Tools manually.
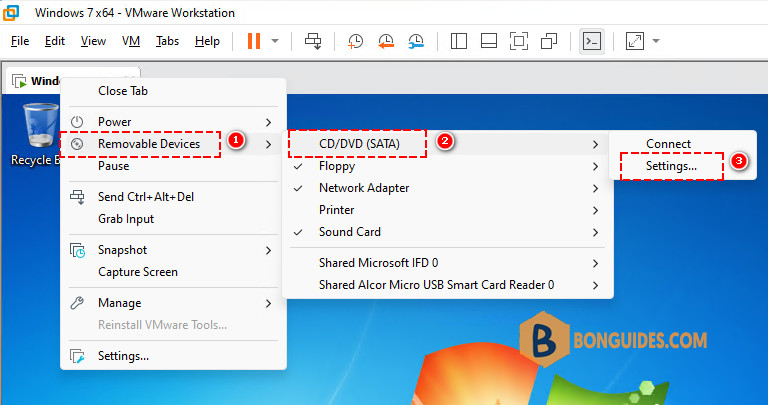
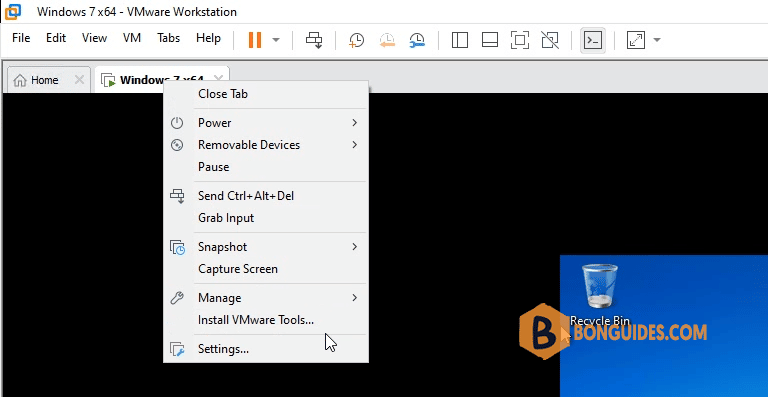
1️⃣ Right click on the VM tab > Removeable Devices > CD/DVD (SATA) > Settings…
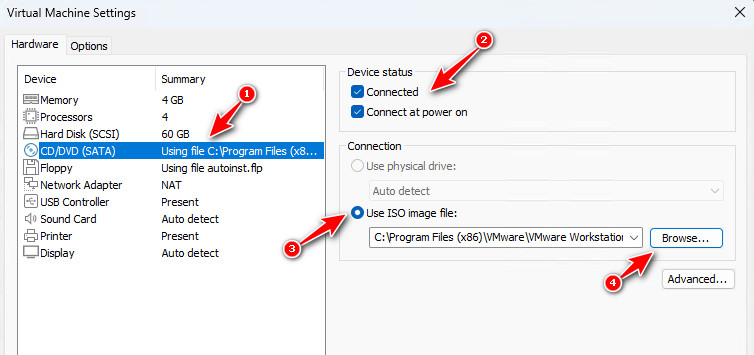
2️⃣ In the VM settings page, select CD/DVD > Select the checkboxes > Select the radio button Use ISO image file > Then click Browse… button.
3️⃣ Navigate to the installation location of VMware Workstation then select the file named windows.iso (Disk Image File). This is the VMware Tools iso image for Windows.
C:\Program Files (x86)\VMware\VMware Workstation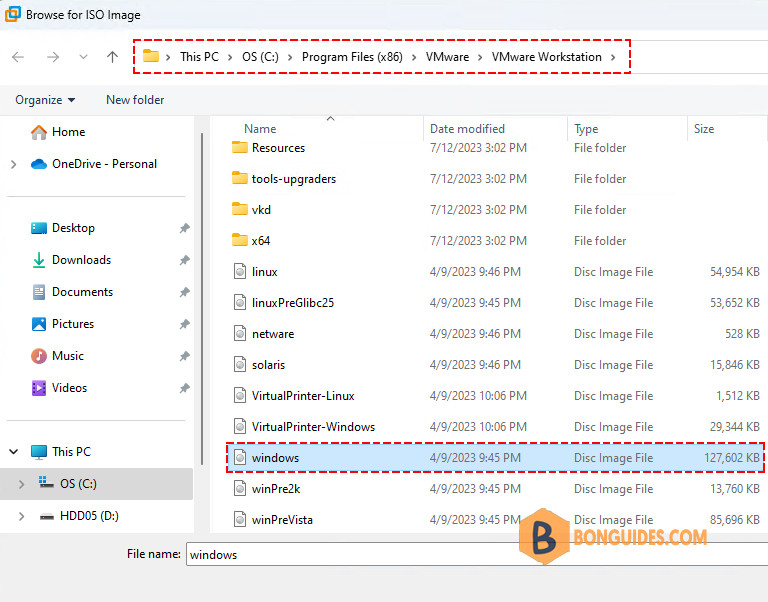
4️⃣ Click OK, then go back to the VM. The file would be mounted into the VM automatically. From here, you can install the VMware Tools as normal.
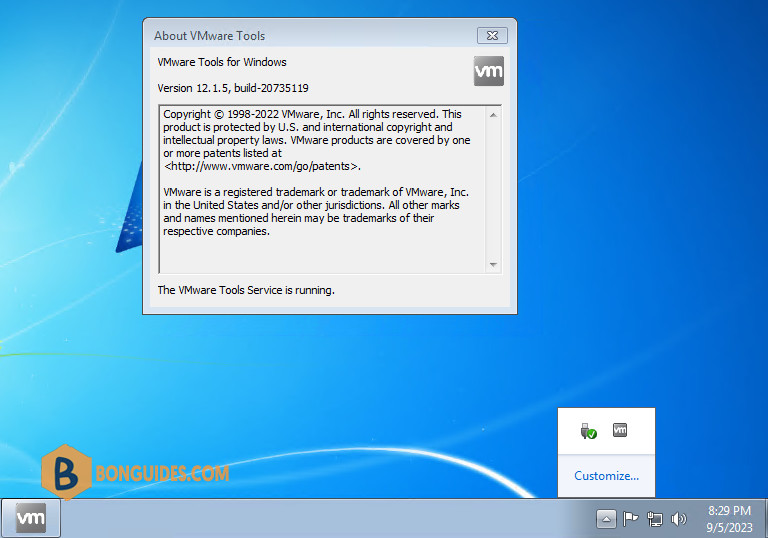
Once the tools have been installed, restart the VM. You can check the VMware Tools Services from the VM Windows taskbar (see the below screenshot).
Previously, when you installed Windows 7 SP1 as a guest OS, you could install VMware Tools without problem.
However, since VMware Workstation 16, some warnings and an error occur if the guest OS is not up to date.
- Warnings displayed when installing VMware Tools on Windows 7
- Installation of prerequisites
- Install VMware Tools on Windows 7
1. Warnings displayed when installing VMware Tools on Windows 7
To begin, warnings will be displayed regarding the installation :
- VSock Virtual Machine Communication Interface Sockets driver
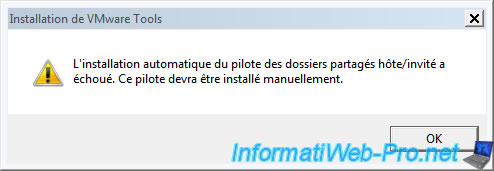
- Host Guest Shared Folders driver
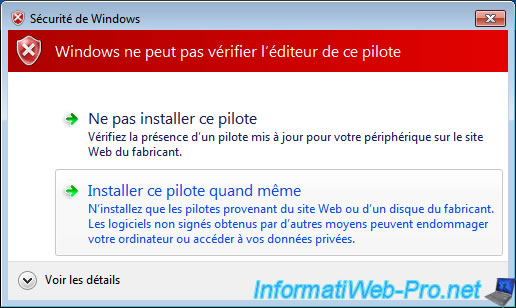
Then, you will get a «Windows can’t verify the publisher of this driver software» error.
This is because VMware has updated the certificates used to sign these drivers using the SHA-2 encryption algorithm. Except that this algorithm is not supported by default by Windows 7.
2. Installation of prerequisites
To find out about the prerequisites required for installing the VMware Tools of VMware Workstation 16 on Windows 7, simply consult the informations regarding VMware Tools 11.1.5.
As you can check on the VMware site, you will see that this new version of VMware Tools requires Windows 7 SP1 with the KB4474419 update.
To get started, install Windows 7 SP1 if you haven’t already.
Otherwise, download the service pack 1 of Windows 7 from the Microsoft Update catalog and install it in the virtual machine.

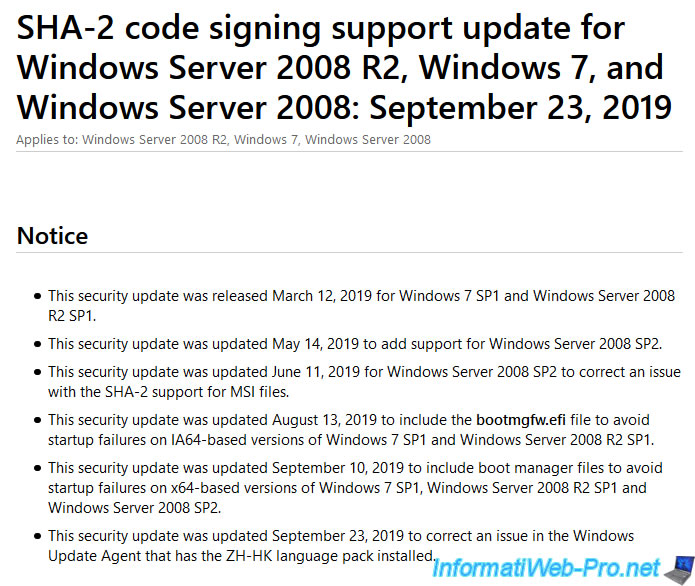
If you click on the «KB4474419» link referenced on the VMware site, you will arrive on a page : SHA-2 code signing support update …
As you can see, this update will add support for the SHA-2 algorithm for code signing.
This will allow Windows 7 to be able to correctly check the signature of the various drivers that will be installed by VMware Tools in your virtual machine.
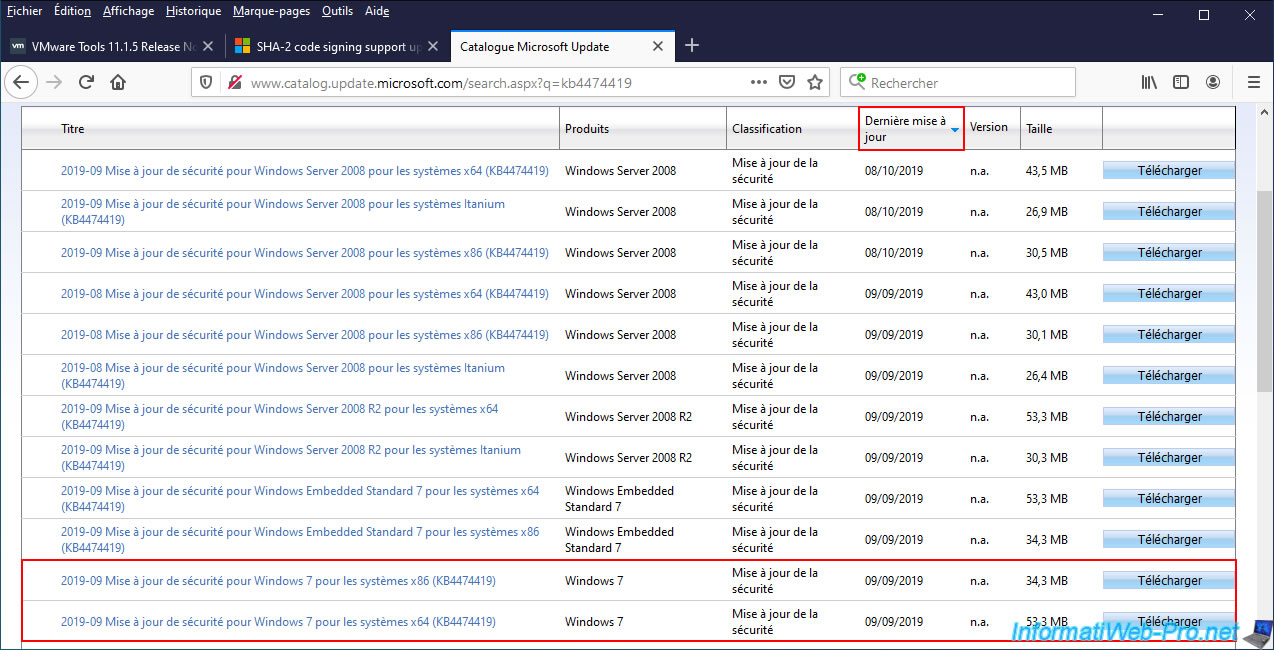
To download this update, you can use Windows Update or download it manually from the Microsoft Update Catalog by clicking on this link : KB4474419.
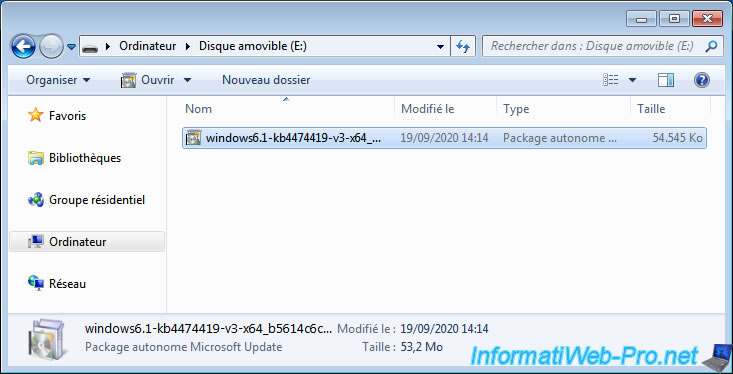
On the site that appears, sort the list by date of the last update to find the most recent version of this Windows update and download the one adapted to the architecture of Windows 7 that you have installed :
- Windows 7 x86 : Windows 7 in 32-bit
- Windows 7 x64 : Windows 7 in 64-bit
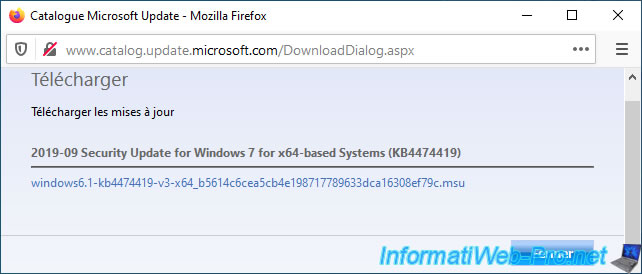
Once you click on the «Download» button, you will have a small window like this with a download link.
Just click on it to download this update.
To transfer this update to the virtual machine, you have several options :
- download it directly from the virtual machine
- store it on an USB key and plug it virtually into your virtual machine from the VMware Workstation interface.
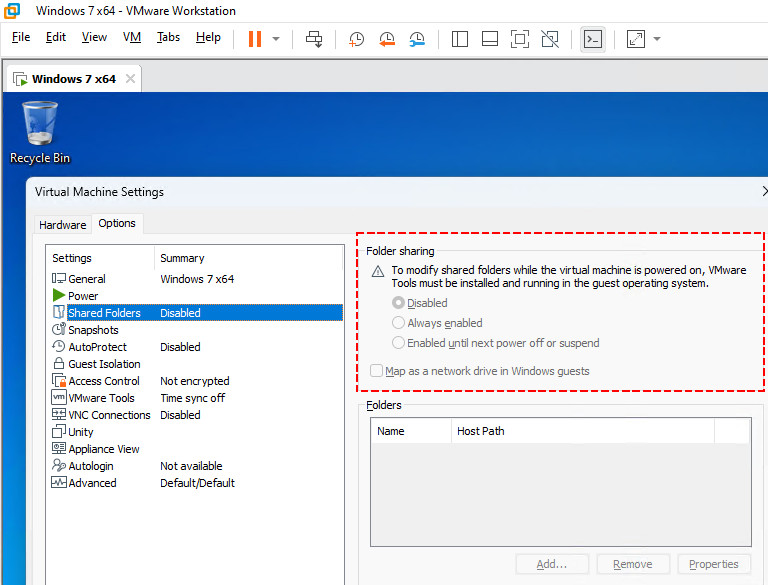
Indeed, drag/drop and VMware Workstation shared folders don’t work for the moment since VMware Tools are not installed in your virtual machine.
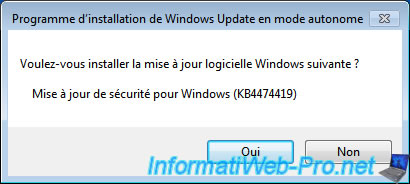
Launch the downloaded file and a window will appear telling you : Security Update for Windows (KB4474419).
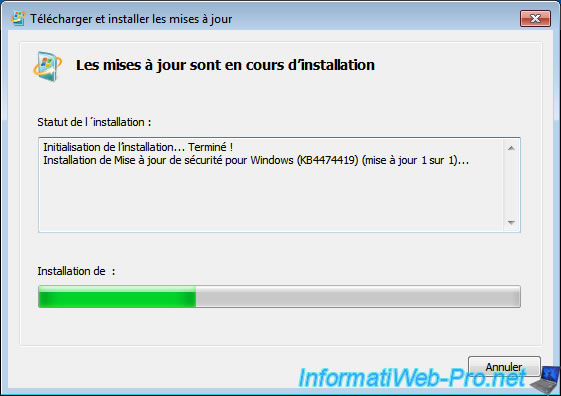
Wait while this Windows update is installed.
Restart the virtual machine after its installation is complete.
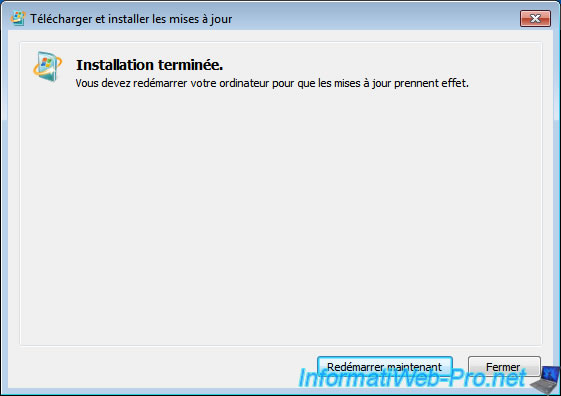
The «Configuring Windows updates» message appears while restarting the virtual machine.

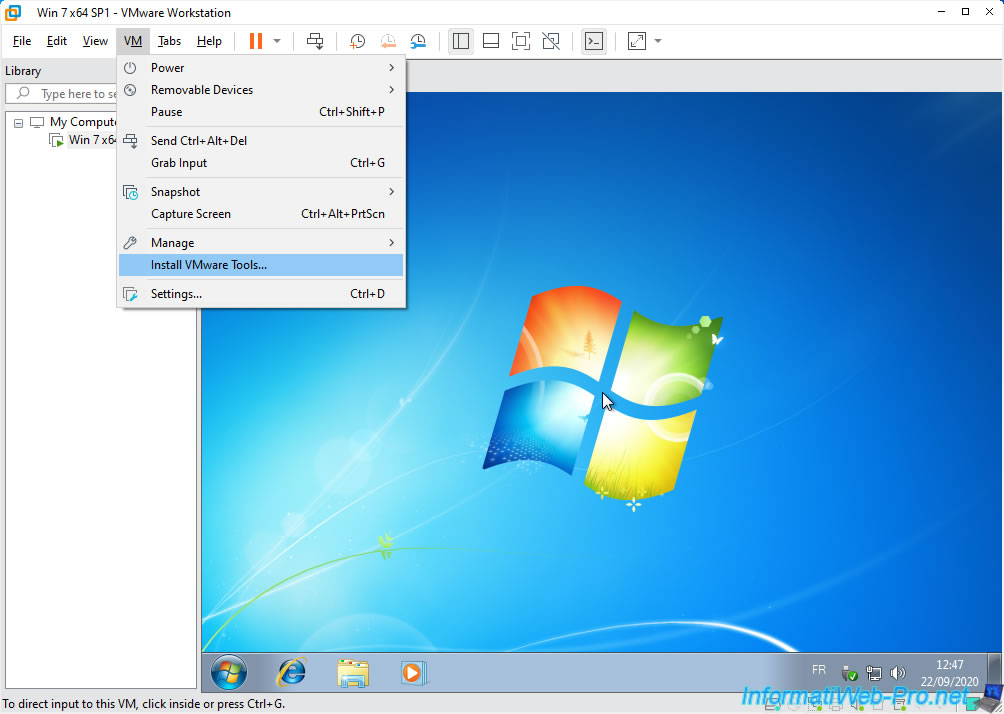
Now, you can install VMware Tools by clicking on : VM -> Install VMware Tools.
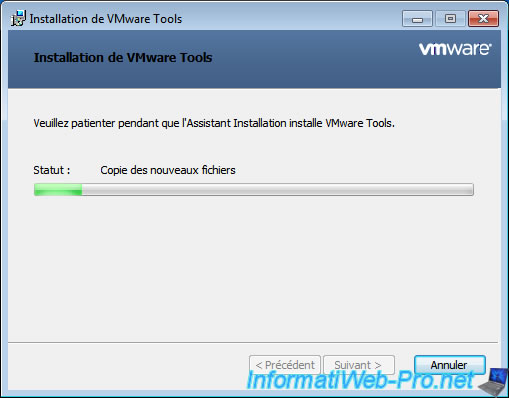
Wait while the VMware Tools install.
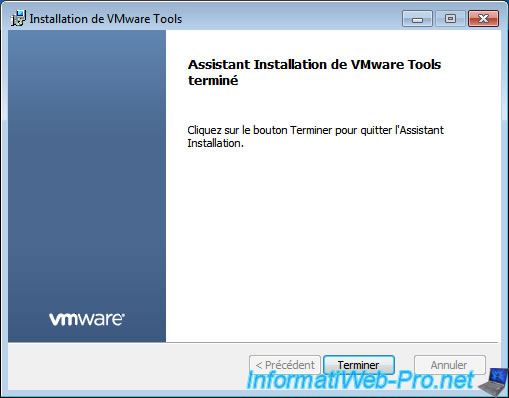
As expected, the installation completes without any warning and without any error.
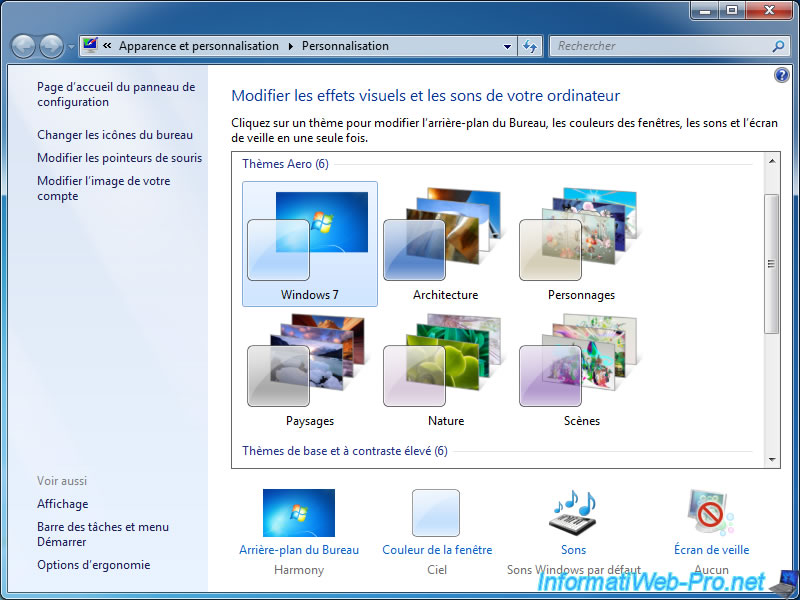
Once the virtual machine has restarted, don’t forget to activate Windows 7 aero, by right-clicking «Personalize» on the desktop, then clicking on the «Windows 7» Aero theme.
Всем добрый день! Бывает ситуация, когда в VMware Workstation с виртуализированнной ОС Windows при нажатии кнопки «установить VMware Tools» выскакивает ошибка «Установка VMware Tools не может быть запущена вручную во время выполнения быстрой установки». Как это победить?
Решение:
В меню «Виртуальная машина» — «параметры» — «дисковод» поменять «файл образа дискеты: autoinst.flp» на «физический диск: автоопределение».
После этого у вас в системе появится второй сd-rom с установщиком VMware Tools. Нажимаем setup.exe и ждем окончания установки. По окончании система попросит перезагрузиться. После перезагрузки VMware Tools будет работать. Рад если помог кому-то. Удачи!!!
При установке VMware Tools на новую виртуалку очень часто, а может быть даже и всегда, получаю ошибку «VMWare Tools installation cannot be started while Easy Install is in progress», что переводится примерно так «Установка VMware Tools не может быть запущена в то время как идет Easy Install «.

Не помню уже сколько времени я потратил на поиск того, как отключить Easy Install в настройках самой программы, но даже похожего в настройках не нашел. Искал как получается всегда не там где нужно. Как потом оказалось, эта ошибка возникает по вине не размонтированной загрузочной дискеты в флоппи дисководе, необходимой для установки Операционной Системы. Вот это нами мешает. Если вы зайдете на флоппи дисковод то увидите примерно тоже самое, что и на картинке внизу.

Чтобы навсегда избавиться от ошибки надо сделать несколько действий. Если виртуальная машина у вас запущена, то ее следует выключить и зайти в настройки. В настройки можно попасть выбрав вашу машину и нажав на «Edit virtual machine settings» или нажав комбинацию клавиш CTRL+D. В настройках следует перейти на вкладку Floppy и в группе Connection выбрать «Use physical drive», в выпадающем меню «Auto detect» и нажать OK. Вот мы и размонтировали загрузочную дискету, которая нам мешала установить VMware Tools.

Загрузив Операционную Систему вы сможете без ошибок установить VMware Tools.