by Loredana Harsana
Loredana is a passionate writer with a keen interest in PC software and technology. She started off writing about mobile phones back when Samsung Galaxy S II was… read more
Updated on
- Downloading LibreOffice on Windows 11 is easier than ever.
- Simply head to their official website and navigate to the Downloads page.
- LibreOffice is perfect for those who are on a budget or have a slower PC.
Working without interaction with digital data is equivalent to a day without sunlight for professionals who do their jobs.
An office suite, on the other hand, is not the same as specialized software for a certain file type. An office suite must have a word processor, a spreadsheet, and presentation software in order to be considered ideal productivity software.
We all know there is one piece of software that can meet all of these requirements, but it is also rather pricey. It is therefore a fantastic idea to have an open-source alternative.
LibreOffice, an open-source office suite, is now available to handle all of your everyday document, spreadsheet, and presentation-related needs.
Thus, today we will show you how to download and install LibreOffice on Windows 11, right after we see its advantages in more detail. Follow along!
What are the advantages of using LibreOffice?
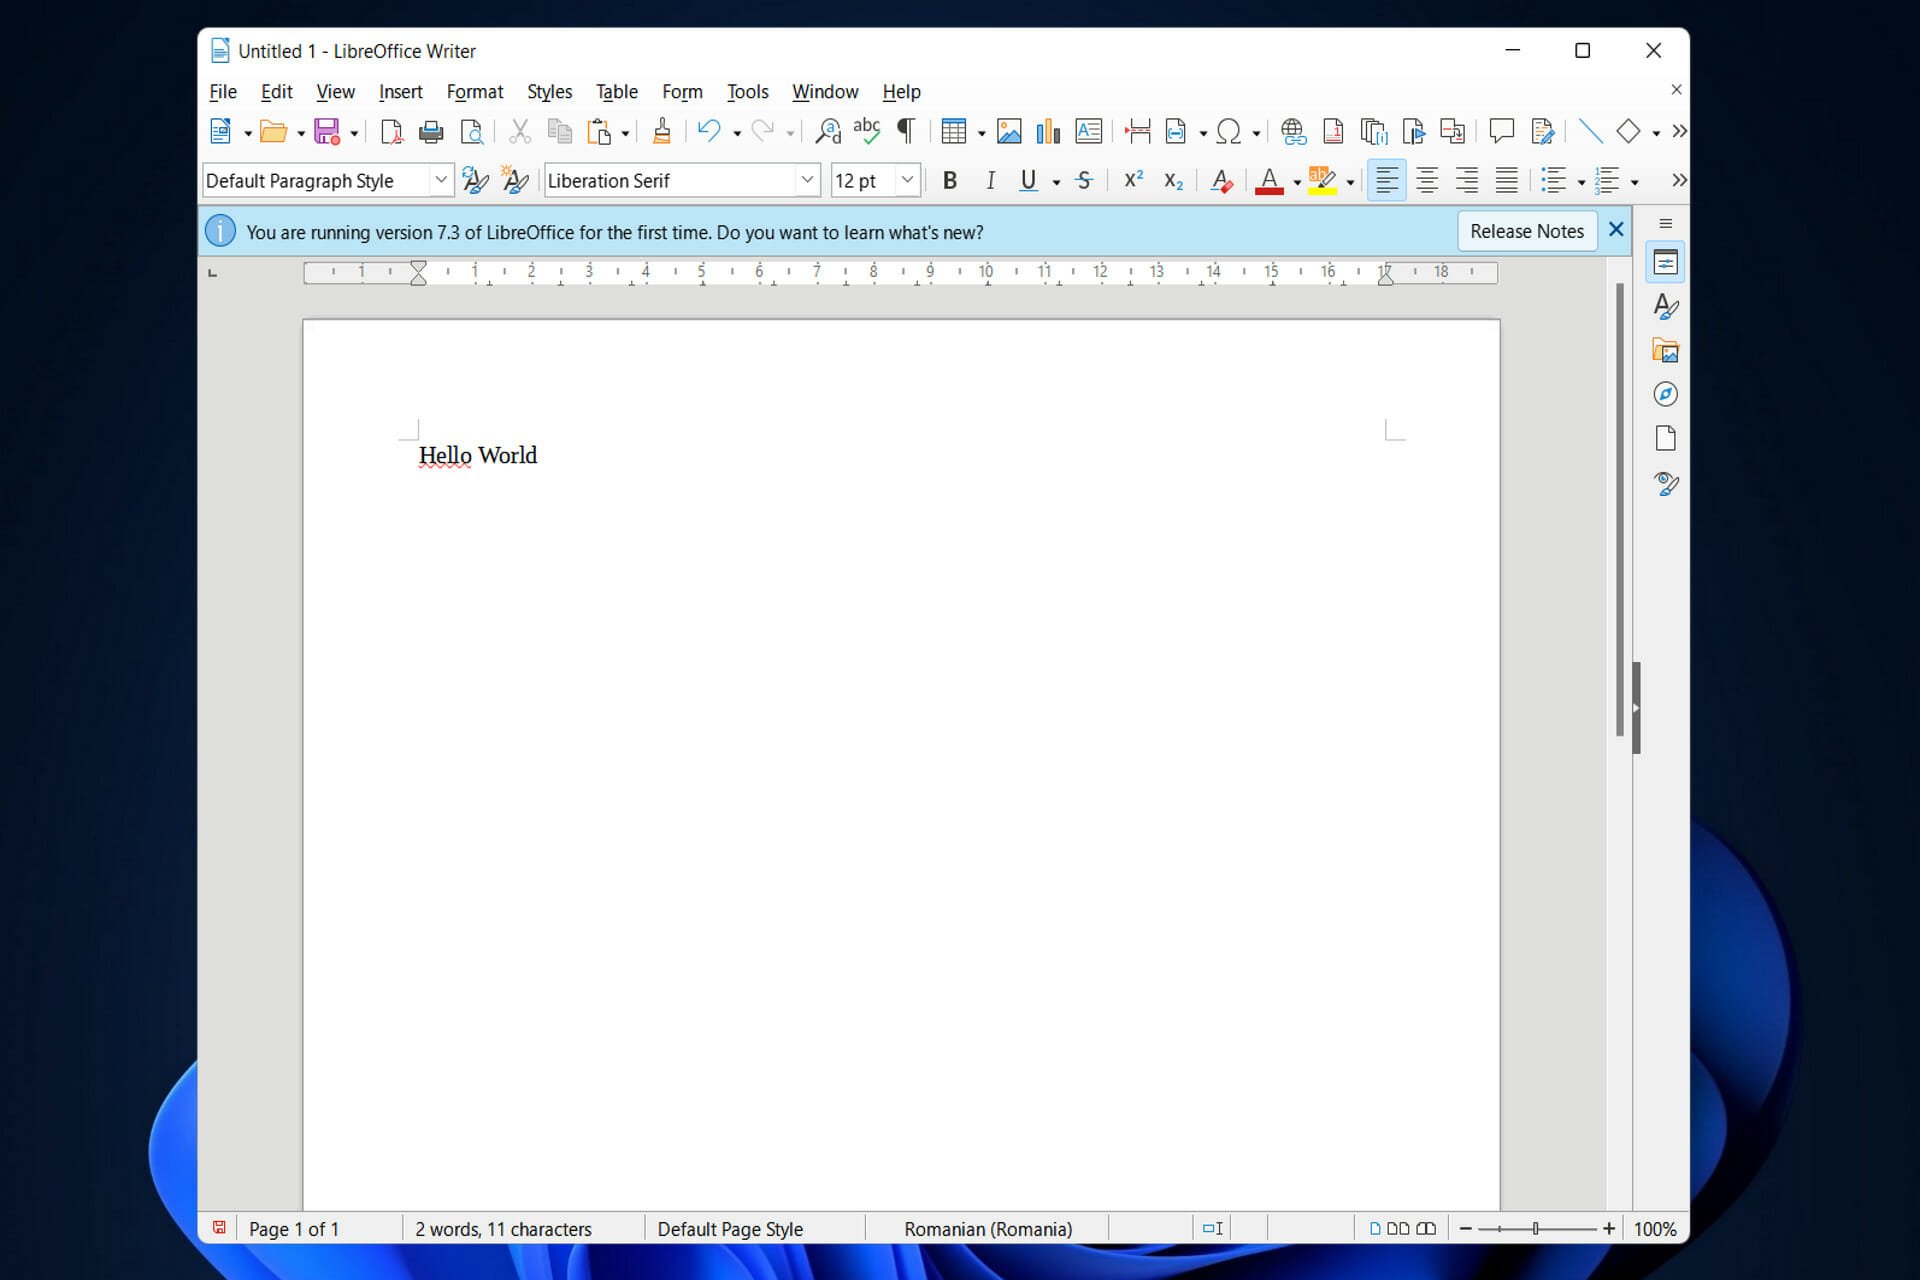
Be aware that the design of LibreOffice Writer does not compare to that of Microsoft Office before embarking on your trip with the program. It appears to be old, but this also implies that it will not use a large amount of resources when in use.
This makes it an excellent choice for PCs that are no longer capable of keeping up with the latest Microsoft offerings.
Documents created with LibreOffice are saved in the ODT file format by default. Because this format is not supported by Microsoft Word, it would be impossible to edit the same document on several devices at the same time.
How we test, review and rate?
We have worked for the past 6 months on building a new review system on how we produce content. Using it, we have subsequently redone most of our articles to provide actual hands-on expertise on the guides we made.
For more details you can read how we test, review, and rate at WindowsReport.
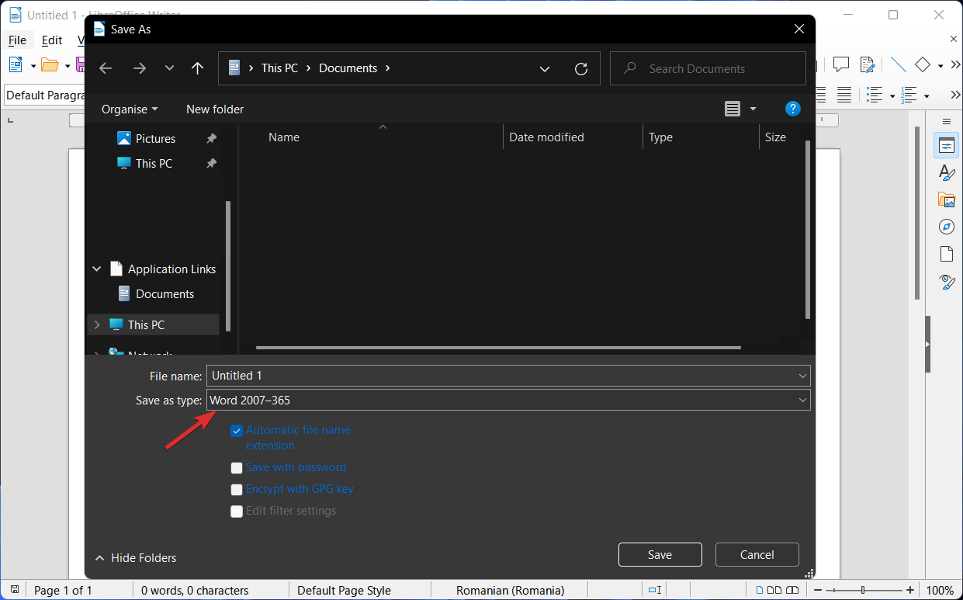
The most effective solution is to ensure that when a document is saved, it is done so in a Word format rather than another format, and LibreOffice offers this ability.
As with Microsoft Office, LibreOffice has the flexibility to alter documents in the same manner that the former does, and let’s not forget that the latter is free to use.
Furthermore, the software operates admirably on slower PCs, but there are moments when things can be a little sluggish. This has a lot to do with memory, and as a result, the solution is straightforward to implement.
As a result, if you notice that things are not moving as swiftly as they could, a few tweaks to the Settings may be necessary. Users may enhance LibreOffice Writer in a similar way to how they can improve Microsoft Word by installing extensions.
- 5 best novel writing software for Windows 10/11 [2022 Guide]
- 5+ best note-taking apps on Windows 11
- 30+ best Windows 11 software that you need to install
How do I install LibreOffice on Windows 11?
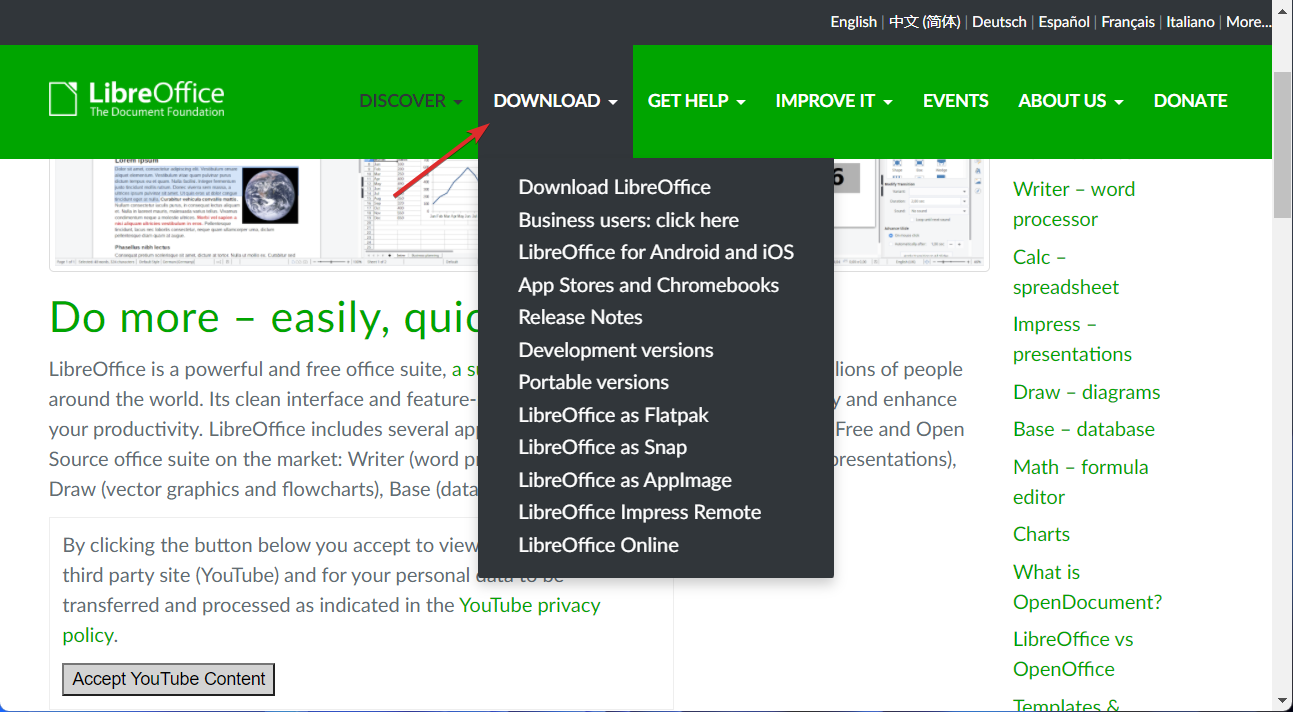
- Access LibreOffice’s official website and head to the Download page.

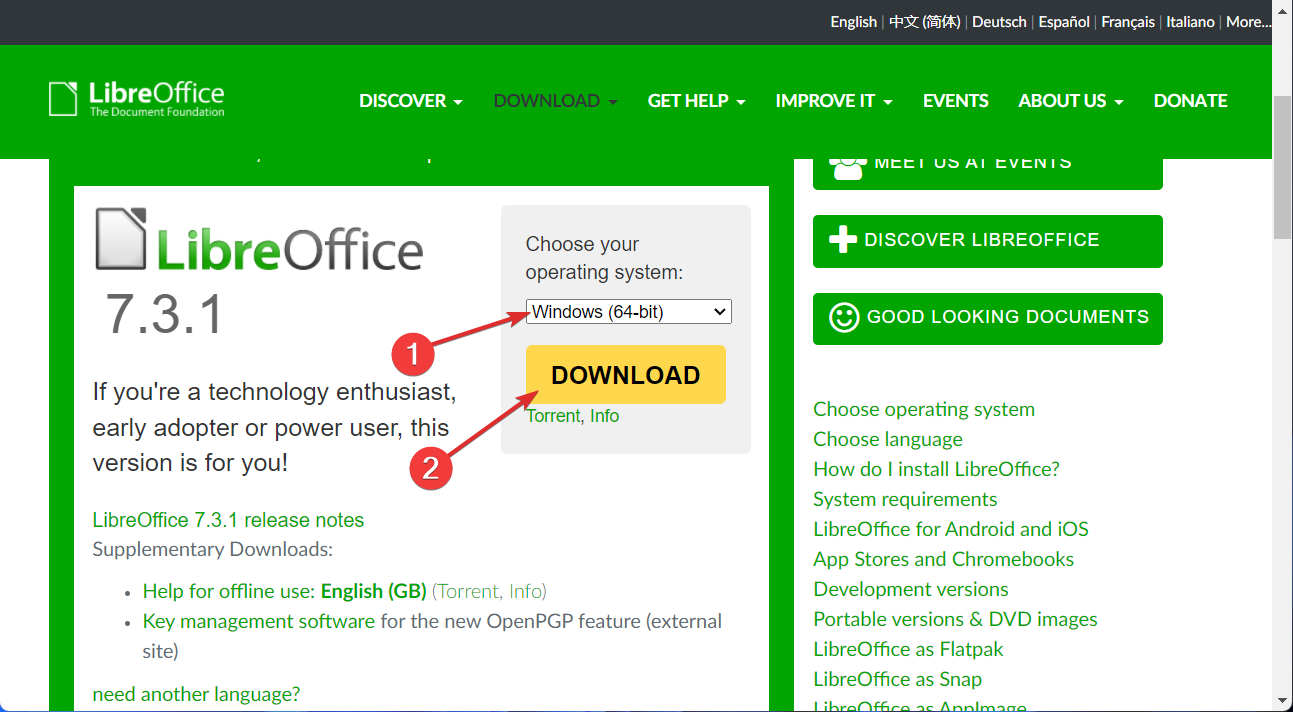
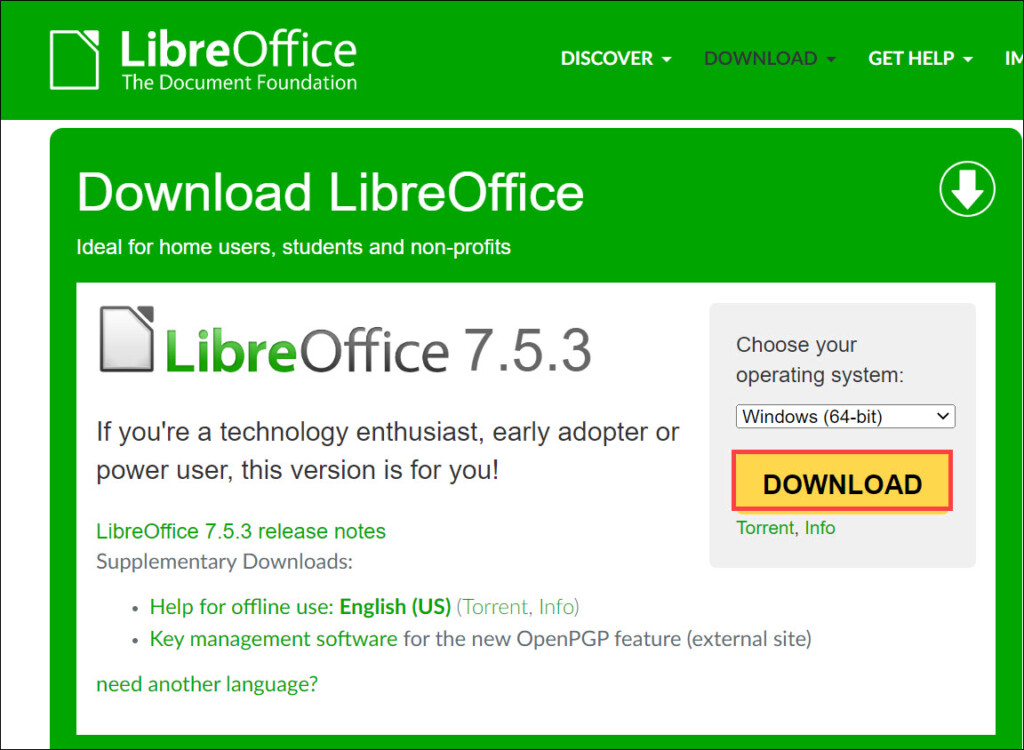
- Select Download LibreOffice then choose the Windows (64-bit) OS and hit the Download button.
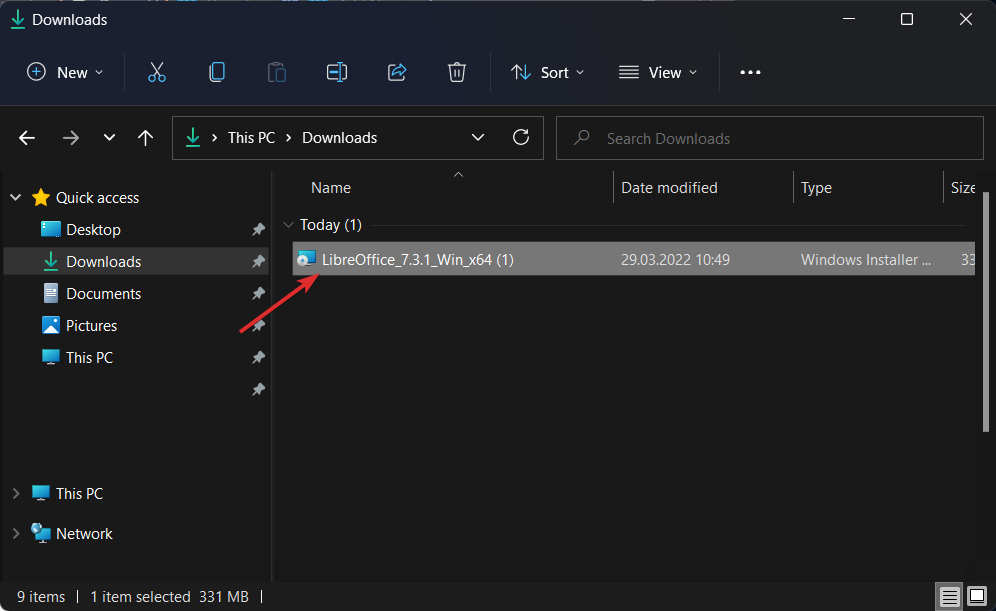
- Save the file to your Downloads folder and then double-click on it in order to start the installation process. That’s it!

The process is pretty simple, isn’t it? Afterward, you can enjoy LibraOffice’s features. But if you need further assistance with the installation process, check out our post on how to download LibreOffice on Windows 10 & 11.
![]()
Here’s a beginner’s guide to install LibreOffice office productivity suite on Windows 11.
LibreOffice is a free and open-source office suite that is an excellent alternative to Microsoft Office. It includes a word processor (Writer), a spreadsheet program (Calc), a presentation program (Impress), a drawing program (Draw), a formula editor (Math), and a database management program (Base).
Installing LibreOffice on a Windows computer is a straightforward process that can be completed in a few simple steps. In this article, we will guide you through the process of installing LibreOffice on your Windows computer and provide tips on how to use the different programs included in the suite.
How to Install LibreOffice on Windows 11
LibreOffice comes in two versions. The “Community” and “Enterprise” versions.
The “community” version is for early adopters who want the latest bleeding-edge software tech.
And the “enterprise” version is more stable and may not include all the latest features, but it is ideal for the production environment and professional work.
- The top link in the below image is the “community” version, and the bottom is for “enterprise”.
- Choose the one you need and download the Windows 64-bit setup.

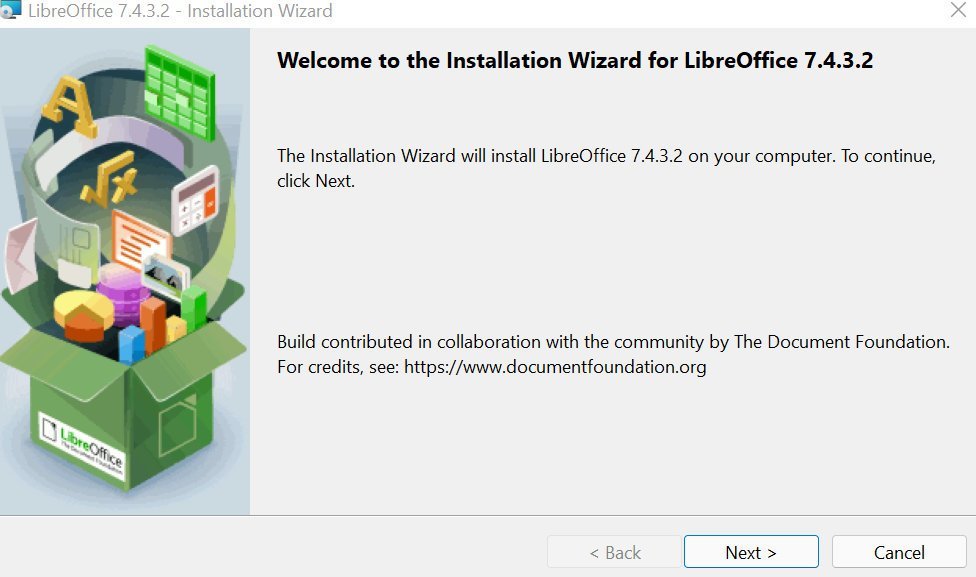
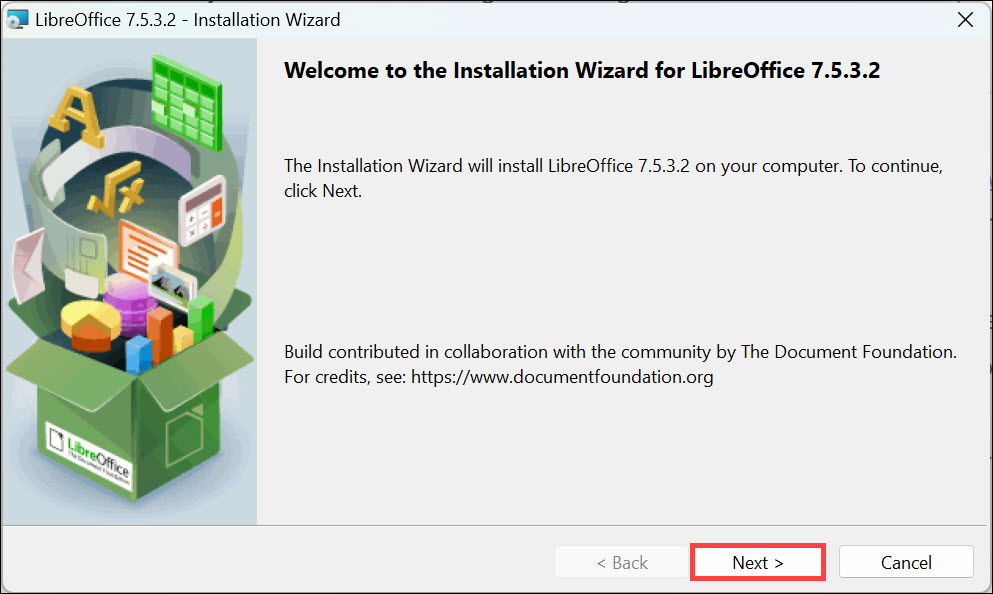
- After downloading, open the exe file to start the set-up. And you should see a screen like the one below.
- Click Next.
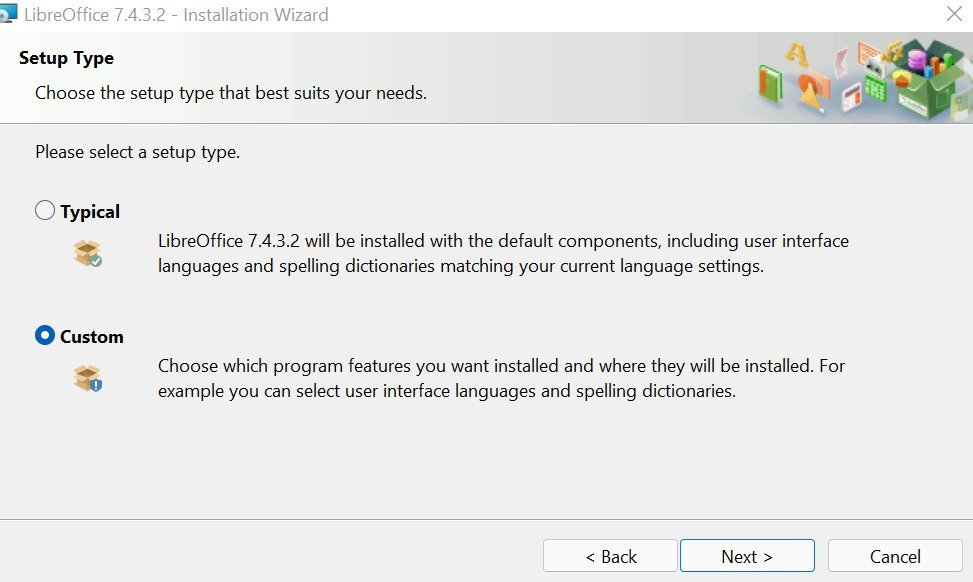
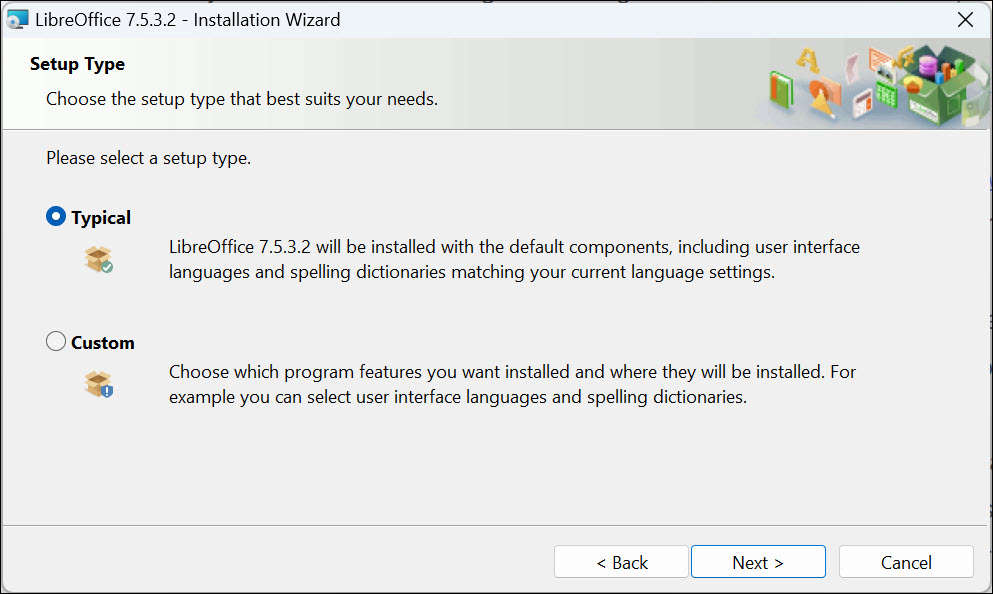
- In the next Setup type screen, you should see two options. The Typical option gives you standard options for installation.
- The custom option lets you select language packs and other options.
- I recommend the Typical option, which works for all use cases.

- On the next page, you can also set LibreOffice for Microsoft Office types such as docx, xlsx, pptx, etc.

- It’s better to create a LibreOffice shortcut on the Windows 11 desktop. It will help you to launch it when you need it.
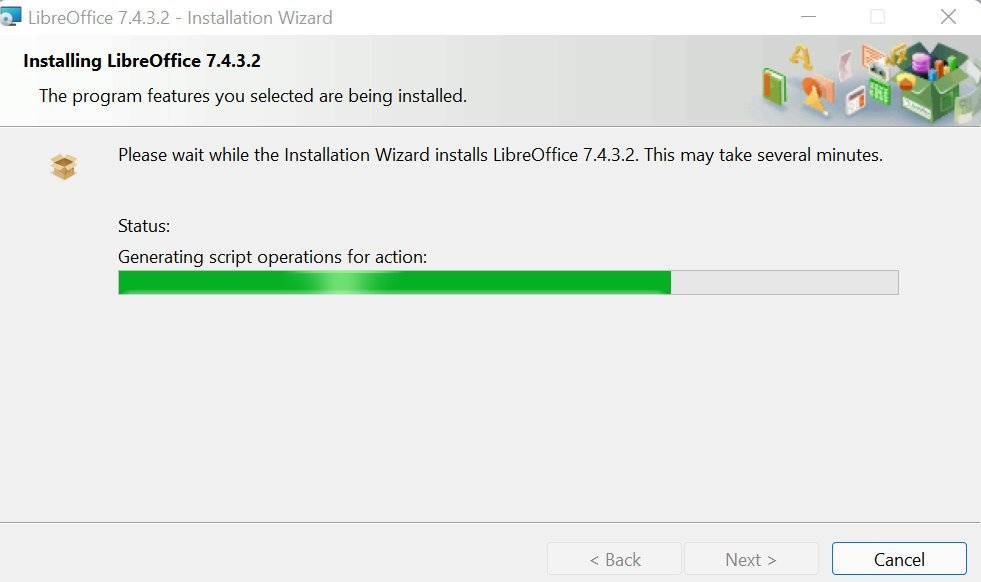
- Finally, hit Install to start the installation.

- Wait for the installation to complete.
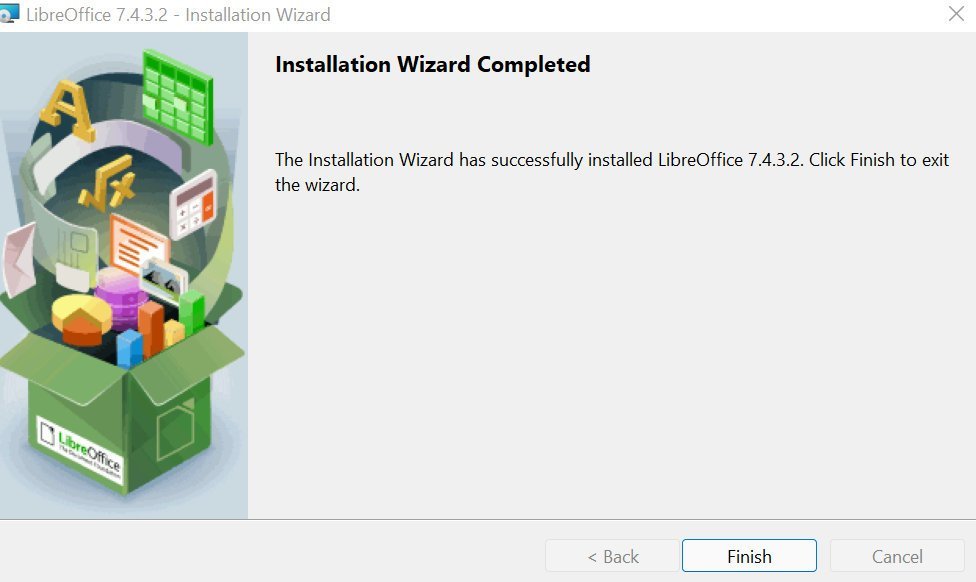
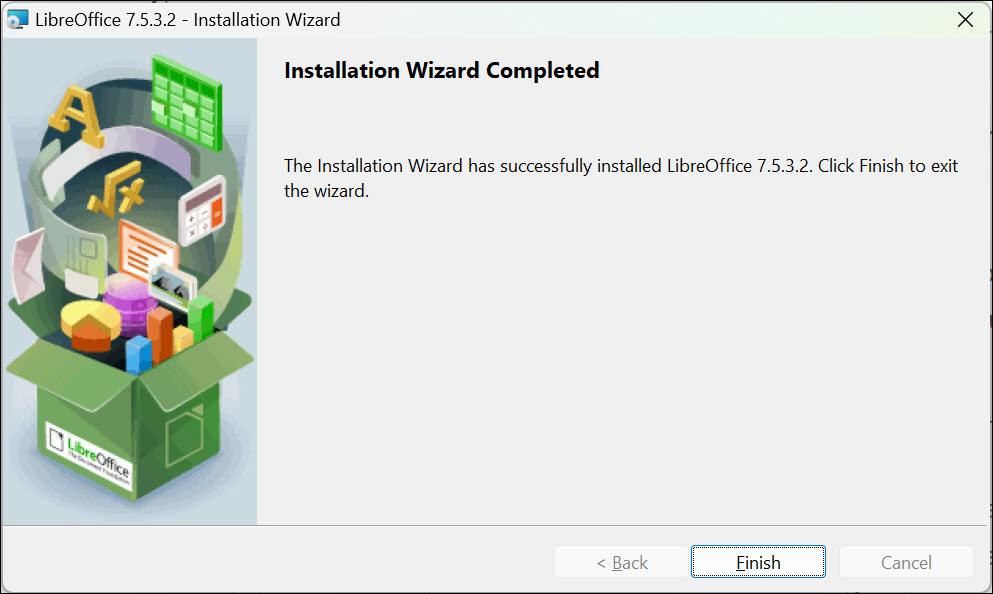
- After completion, click on Finish to close the wizard.
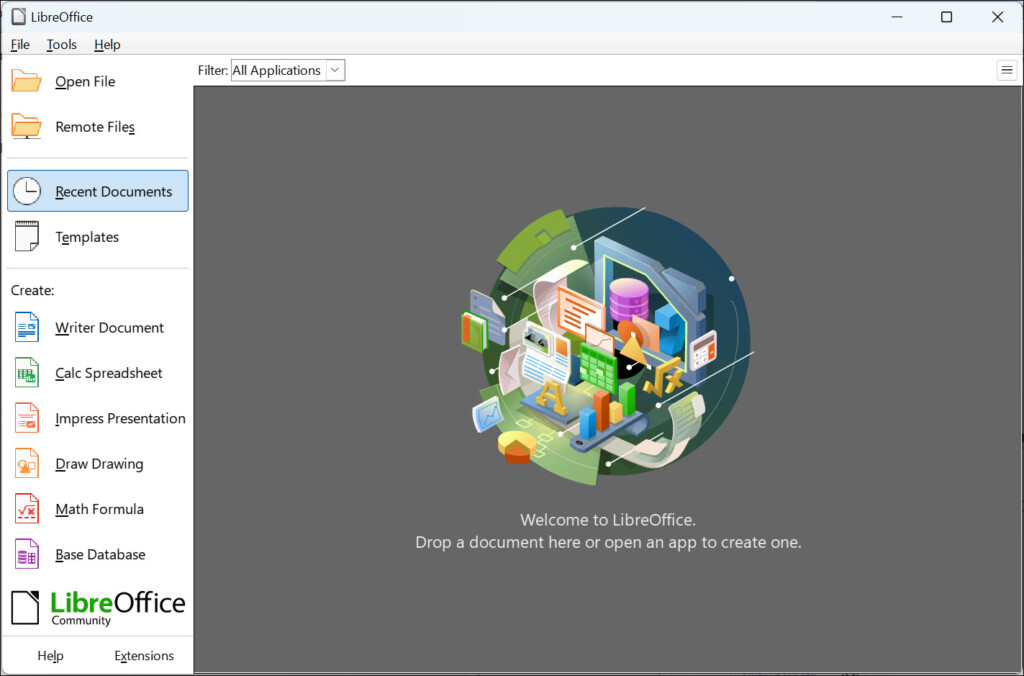
- And you can find LibreOffice in the Windows 11 start menu or in the desktop.

That’s it.
Upgrading LibreOffice on Windows
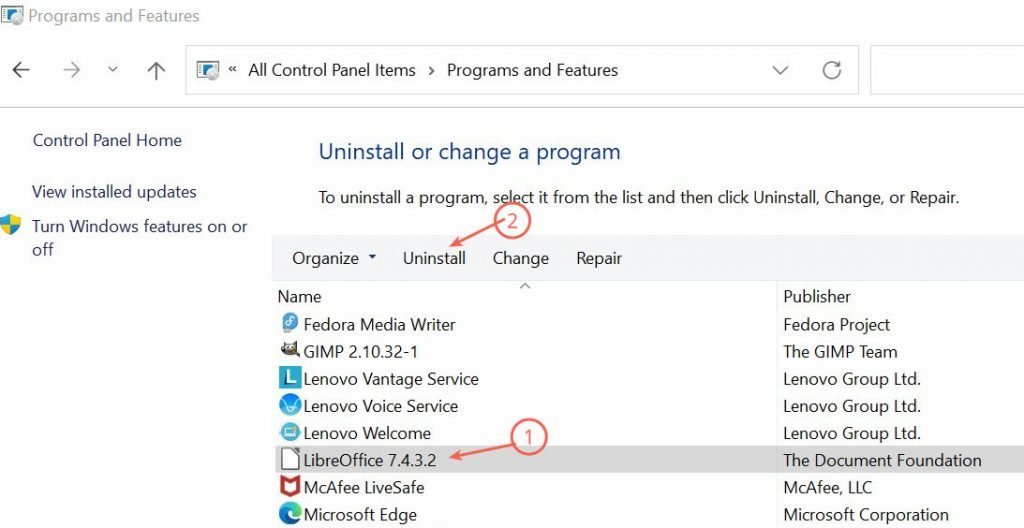
There is no proper upgrade path available to upgrade LibreOffice in Windows. So, when a new version is released, uninstall the version from the control panel (see below).
And then, follow the above steps to download and install it again. LibreOffice preserves your documents, history and other settings. So, re-installing is safe.
Wrapping Up
In closing, LibreOffice is a powerful and versatile office suite that can help you create and edit documents, spreadsheets, presentations, and more. I hope the above guide is simple enough for you to follow.
Remember to update your LibreOffice software for the latest features and security fixes.
Have a question? Let me know in the comment box.

Related
If you’re looking for an efficient and cost-effective way to optimize your workflow, look no further than LibreOffice on Windows 11. LibreOffice is a powerful open-source office suite that provides all the tools you need to create documents, presentations, spreadsheets, and more – without breaking the bank. It is the best alternative to Microsft Office.
In this blog post, we’ll walk you through the steps of installing and using LibreOffice on Windows 11, so you can start making the most of your time spent in front of your computer.
What Are the Advantages of Using LibreOffice in Windows 11?
LibreOffice is a feature-rich office suite that offers the same basic tools you will find in Microsoft Office but with many additional features and options. Here are a few advantages of using it:
Compatibility: One of the biggest advantages of using LibreOffice in Windows 11 is its compatibility with Microsoft Office files. This means that if you need to share documents with someone who is using Microsoft Office, they will be able to open the file without any issues.
Cost: The most obvious advantage of using LibreOffice is that it’s completely free for everyone. This makes it a great choice for those who are on a tight budget or just don’t want to pay for an expensive program like Microsoft Office.
Customization: LibreOffice offers many customization options so you can personalize the interface and make it look exactly how you want it. You can also add additional features or plugins to extend the functionality of your office suite.
Light to the system: LibreOffice is a lightweight program, so it won’t take up too much space on your computer or slow down its performance.
Compatible with older Windows versions: Unlike Microsoft Office, LibreOffice can be used on old computers as well without any compatibility or performance issues.
What are the System Requirements for LibreOffice?
Before you install LibreOffice on Windows 11, make sure that your computer meets the system requirements. The minimum requirements are:
| Operating System | Microsoft Windows 7 SP1 with KB3063858 update, Windows 8, Windows Server 2012 through 2022, Windows 10 or 11 (LibreOffice is fully supported on Windows 11) |
| RAM | 256 MB RAM (512 MB RAM recommended) |
| Processor | Pentium-compatible PC (Pentium III, Athlon, or a more-recent system recommended) |
| Storage | Up to 1.5 GB available hard disk space |
| Resolution | 1024×768 resolution (higher resolution recommended), with at least 256 colors |
Now that you know the minimum system requirements and advantages of using LibreOffice in Windows 11, let’s go through the steps of installing and setting up LibreOffice.
Installing LibreOffice is a fairly straightforward process, and it doesn’t take too long, either. Here are the steps for installing it:
1. Open your preferred web browser and go to the official LibreOffice download page.
2. Select the version of LibreOffice that you want to install. For Windows 11, you need to download 64-bit.
3. Click the Download button to download the setup file. It is approximately 345 MB in size.
4. After the installer is downloaded, open the file and follow the instructions to complete the installation.
5. Select Custom installation if you want selective components to be installed, or else choose Typical setup type to install the default components with default settings.
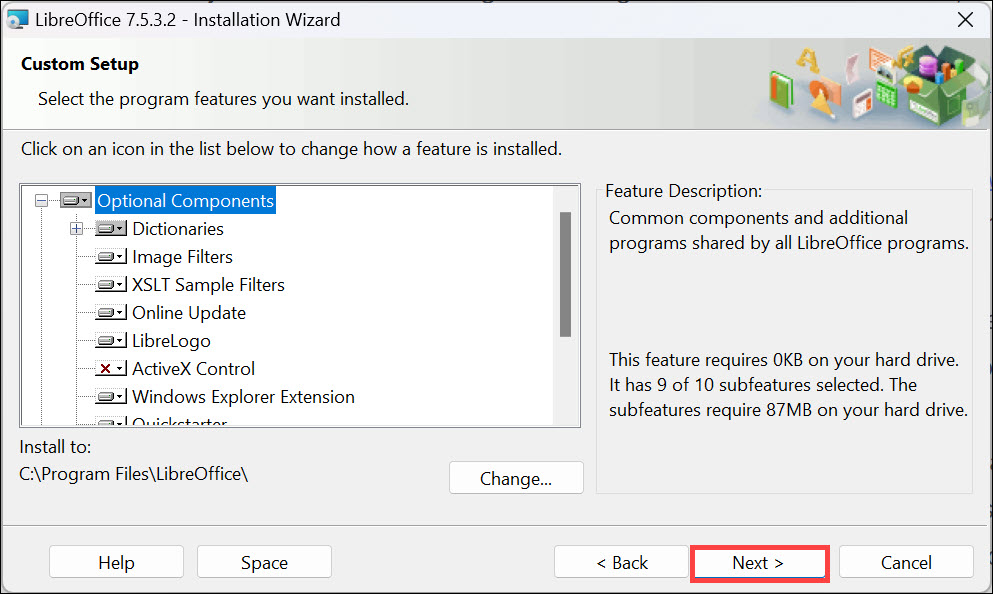
6. Under Custom setup type, select the Optional Components you want to install, such as Dictionaries, Image Filters, Extensions, and more.
7. You can also select the User Interface language of your choice and change the installation path. Finally, click Next.
8. Once the installation is complete, you need to restart your system to make the changes effective.
9. After restarting the system, you can launch LibreOffice from your Windows Start menu or desktop shortcut.
Now that you have LibreOffice installed on your computer let’s take a look at some of its features and how to use it.
How to Use LibreOffice on Windows 11
LibreOffice comes with several office tools that you can use to create professional-looking documents, presentations, spreadsheets, and more.
Here’s how you can use each of the components:
Writer Document: This is a word-processing tool that lets you create documents. You can format your text, add images, add tables and charts, and do much more.
Calc Spreadsheet: This is a spreadsheet tool that lets you create worksheets to store and analyze data. You can use formulas for calculations and create graphs to visualize your data.
Impress Presentation: This is a presentation tool that lets you create beautiful slideshows with animations, transitions, and more.
Draw Drawing: This tool lets you create vector-based graphics for illustrations, diagrams, flowcharts, logos, and more.
Base Database: This is a database tool that lets you store and organize data in a secure manner. It also supports SQL commands so you can query your database easily.
Math Formula: This tool is used for creating mathematical formulas. It supports a wide range of equations and symbols.
These are some of the features that you can use in LibreOffice on Windows 11. Now let’s take a look at how to customize LibreOffice according to your needs.
How to Customize LibreOffice on Windows 11?
LibreOffice on Windows 11 offers a lot of customization options so you can make it look and feel just the way you want. Some of these customizations include changing the user interface language, setting default document open settings, adding plugins and extensions, and more.
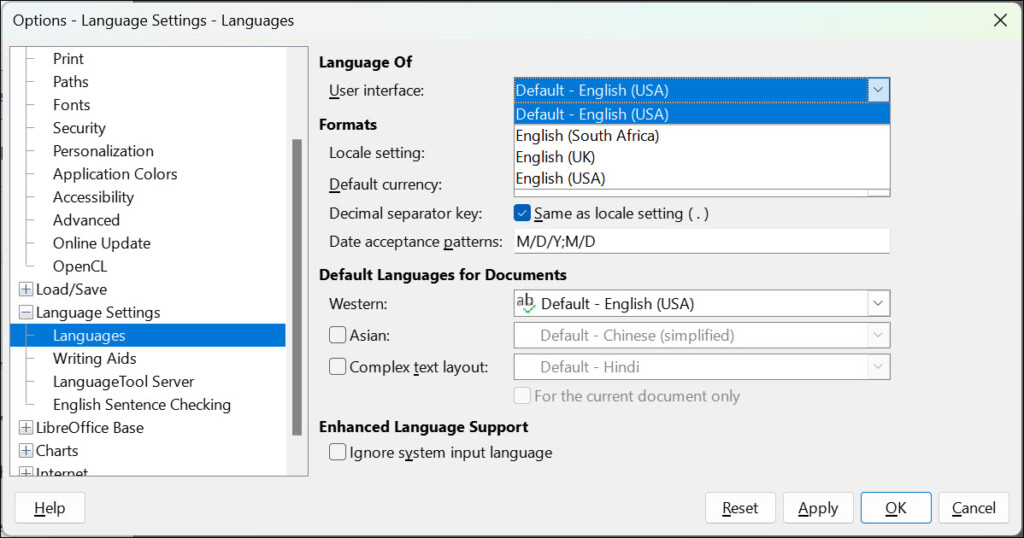
To change the user interface language, go to LibreOffice> Tools > Options> Language Settings. Here you can select the language of your choice.
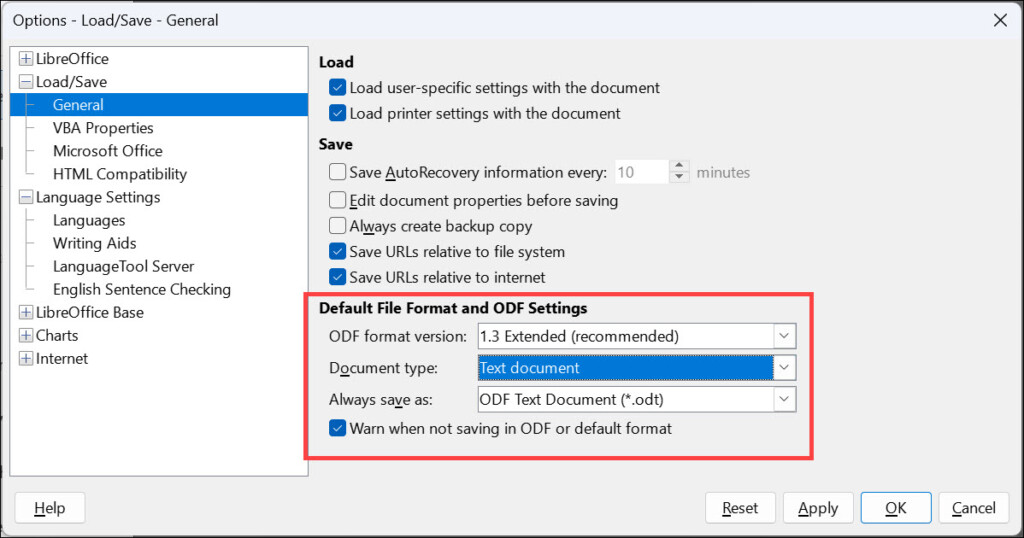
You can also change the default document open settings by going to LibreOffice> Tools > Options > Load/Save> General. Here, you can set the default file format for all your documents and also choose whether to open files in read-only mode or not.
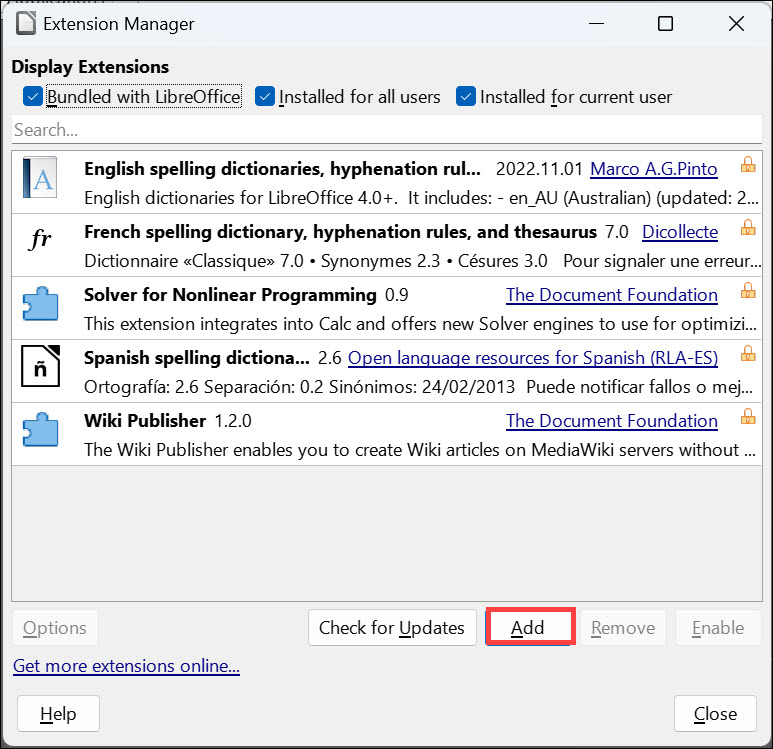
If you want to add extra features to LibreOffice, you can do so by installing plugins and extensions. To install these, go to LibreOffice> Tools > Extension Manager. Here you can browse the list of available extensions and select the ones that you want to install.
These are some of the ways in which you can customize LibreOffice on Windows 11. With the help of these settings, you can make LibreOffice look and behave just the way you want.
FAQs
Is LibreOffice compatible with Windows 11?
Yes, LibreOffice is fully compatible with Windows 11 and can be used to create professional-looking documents, spreadsheets, databases, graphics, and more.
How to Uninstall LibreOffice in Windows 11?
To uninstall LibreOffice from your Windows 11 computer, go to Settings > Apps > Installed Apps. Here, locate LibreOffice and select Uninstall. Follow the on-screen instructions to complete the process.
How to make LibreOffice default on Windows 11?
To make LibreOffice the default office suite on your Windows 11 computer, go to Settings > Apps > Default Apps. Here, search for LibreOffice and set it as the default program.
Conclusion
LibreOffice is an excellent free and open-source office suite that you can use on Windows 11. It comes with a wide range of features and customization options so you can customize it according to your needs. With LibreOffice, you can easily create professional-looking documents, presentations, spreadsheets, databases, graphics, and more.
If you are tight on budget and need an office suite on your Windows 11 computer, LibreOffice is one of the best options out there. Hope this article helped you understand how to install and use LibreOffice on Windows 11. If you have any questions or comments, feel free to let us know in the comment section below.
This beginner tutorial guides you through the steps to download and install LibreOffice on your Windows 10 computer. (These given steps in this tutorial are identical if you want to install LibreOffice suite on your Windows 11 computer as well.)
Introduction Of LibreOffice
LibreOffice is one of free and open-source alternative to MS Office suite. According to the official statistics the entire suite of its applications (Writer, Calc, Impress, Draw and others) are used by over 200 millions of user worldwide.
It runs on every operating systems available on the market – Windows, GNU/Linux, MacOs, BSD (unofficial community build), and for mobile operating systems, it supports both two of the biggest players, Android and iOS. Feature wise, it stands head to head with the infamous Microsoft Office suite, that includes Words, Excel, and PowerPoint.
In my opinion, most of the regular user don’t even need to look at MS Office for their daily office needs, as LibreOffice over satisfies all of these basic requirements, unless of course you use or need the remaining 3-5% of the advanced features that only MS Office offers right now.
Related Tutorials
- Introduction and the history of LibreOffice
- Features and benefits of using LibreOffice
Download LibreOffice Suite
With each release cycle, LibreOffice publishes two versions: Fresh and Still. The Fresh version comes with all the newest features and improvements, but keep in mind it may have hidden bugs since it’s the newest release.
On the other hand, if stability is your top priority or you work in a production environment where you frequently write documents, create presentations, reports, or spreadsheets, go with the Still version.

It’s a bit older but is a more dependable choice for those who value stability over the latest features. Personally, I also recommend this version to new users who haven’t yet adjusted to and become familiar with its workflow.
Visit the download section of LibreOffice’s official website and choose the version you want to download and install on your windows computer.
Installing LibreOffice In Windows 10/11
After downloading the proper .exe file (either 64-bit or 32-bit, depending on your computer architecture). If the computer is newer than 10 years, select 64-bit option from the website, navigate to the folder where it’s downloaded, then right-click on the file and select Install.

Once the startup window opens, click Next.

On the next slide, you’ll be given with two installation methods to choose from : Typical, and Custom. Select Typical (I highly recommend this method for new users) and click Next.

The main difference between these two methods is the available customizations. The Typical method is a straightforward standard installation, while the Custom method allows you to enable or disable extra language packs and features.

On the next slide, you’ll be asked whether you want to load LibreOffice at the startup of your computer and create a desktop shortcut (help you launch LibreOffice right from the desktop).

After clicking the Install button, simply wait a minute or two for LibreOffice to install on your Windows 10/11 computer.

Once the installation process is complete, click Finish to close the window.

That’s it! You’ve now installed LibreOffice on your Windows 10/11 computer. You can find it by searching for LibreOffice in your search box, and you’re ready to start using it for all your productivity needs.

Uninstall LibreOffice from Your Computer
If in any case, you change your mind and want to remove LibreOffice from your windows computer, then follow the below steps.
Step 1: Search for Control Panel and open it.

Step 2: Once the control panel opens, click Uninstall a program.

Step 3: Locate LibreOffice in the list of installed programs, right-click and select Uninstall.

Wrapping Up
You have learned how to download and install the appropriate version of LibreOffice on your Windows 10/11 computer, as well as how to remove it if necessary. Don’t forget to keep your LibreOffice updated by uninstalling the old version and reinstalling the new version once a year, following the same steps shown in this tutorial.
For everyday working professionals, working without interaction with digital files is like a day without sunrise. However, an office suite is not just like dedicated software for a dedicated file format. To be a perfect productivity software an office suite must have a word processor, spreadsheet, and presentation software. And to be frank, we all know there’s one software that fulfils all these needs but at the same time, it is pretty expensive. So having an open-source alternative is a great option. Here comes LibreOffice, an open-source office suite to handle all of your everyday document, spreadsheet, presentation-related need. But installing this software sometimes becomes an issue. Therefore we’ll help you in this scenario, so let’s quickly find out how to install LibreOffice on Windows 11.
Video Tutorial: How To Install LibreOffice On Windows 11
Also Read: How To Install Zoom On Windows 11
Step 1: Download LibreOffice
1) Firstly we will download LibreOffice, for our windows 11 machine. Follow the download link provided below and by choosing the appropriate architecture of your Windows 11 operating system, in our case, it’s 64 bit. Click on the Download button.
Download LibreOffice here: https://www.libreoffice.org/download/download/

1) Once the download gets finished open the downloaded file in the folder where it has been downloaded. Double click, on the downloaded file, to start the Installation Wizard.

2) In the Welcome screen, simply click on the Next button to continue LibreOffice installation.

3) In this window you’ll be asked to choose the setup type, so here as well no need to change anything simply click on the Next button.

4) In this final installation window, click on the Install button and LibreOffice installation will begin.

5) After successful installation, click on the finish button to launch LibreOffice on your Windows 11 machine.

6) First glance at LibreOffice, on your Windows 11 will look like the below image.
