As you know, GNS3 is a graphical network simulator program that you can easily run devices such as Cisco Switch, Router, Firewall, or virtual machine.

How to Set Up GNS3 2.2 (2.2.18) on Windows 10
With GNS3 software, you can improve yourself by making network designs and become a system and network expert. Since this network simulator has been developed in accordance with the technology by its developers, it is good to always check for updates to get new features.
Although the working logic of this program is very similar to the Cisco Packet Tracer program, the biggest difference between them is that Cisco Router and Switch IOS images can be used more comprehensively and in detail. For example, Packet Tracer includes entry-level IOS commands, while other software offers advanced commands for more advanced projects.
With this simulator software, you can use the IOS images of real Cisco devices to make network designs on your computer, but the IOS image of each device may not work compatibly. However, it is a more advanced segment software compared to the Packet Tracer program because the IOS images in other software are insufficient and have limited features.
For those preparing for Cisco’s entry-level networking exams, the first program they should use is Packet Tracer. If more advanced and professional network designs and projects are planned to be developed, then it would be more appropriate to choose and use the Graphical Network program.
Before proceeding with the steps to install GNS3, you can download the latest version of the program by visiting this article or you can create a new account on the official website and download it to your computer.
Minimum System Requirements
- Operating System: It should be at least Windows 7 64.
- Processor: You must have at least a Dual-Core processor.
- RAM (Memory): 4 GB minimum is sufficient.
- Disk Space: A minimum of 1 GB is sufficient. However, more space may be needed for Cisco images.
Recommended System Requirements
- Operating System: Again, it should be at least Windows 7 64 Bit.
- Processor: 4 or more logical processors. Core i7 or i9 is recommended.
- RAM (Memory): 8 GB is sufficient, but if it is 16 GB, it will be more stable.
- Disk Space: Definitely using it with an SSD disk helps you get more performance. Also, you must have a minimum of 35 GB of free space.
In addition to the system requirements of the recommended GNS3 simulator program, you can enable the virtualization setting from the BIOS menu of your computer.
GNS3 Setup, Configuration, and Usage
Follow the steps below to install, configure and use GNS3, the most advanced network simulator program used to prepare for Cisco exams on your Windows 7, 8, 8.1, and Windows 10 computer.
Step 1
After creating a new account, log in and click the Free Download button on the homepage.

Step 2
Since you will install it on the Windows 10 operating system, click the Download button under the Windows platform option.

Step 3
When the download process starts on the Google Chrome web browser, you can see the program downloaded from the lower-left corner.

Step 4
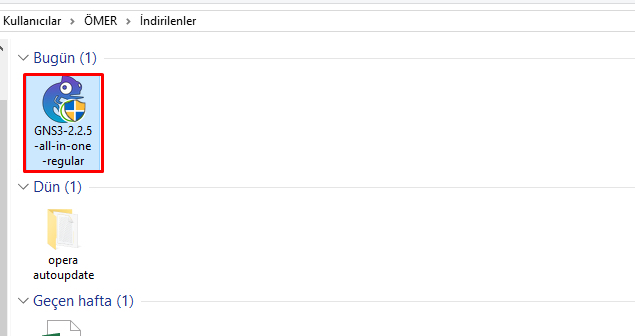
After downloading the setup file, right-click on GNS3-all-in-one-regular.exe as in the image below, and then click Run as administrator.

Step 5
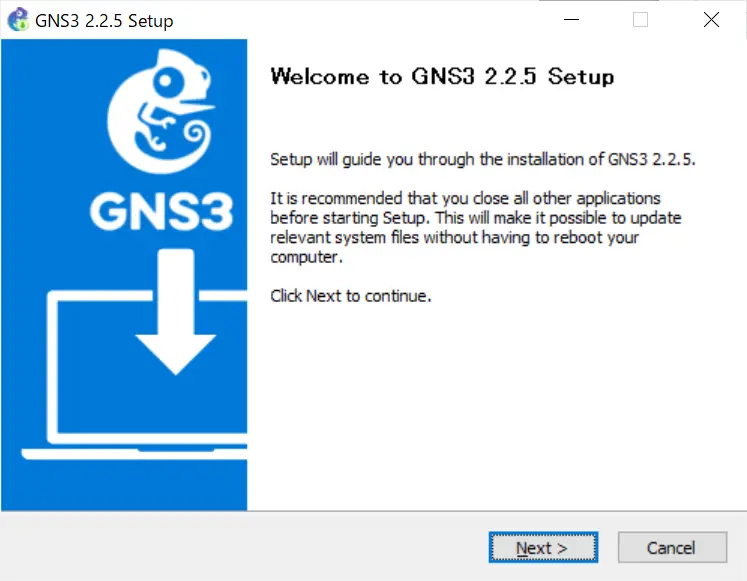
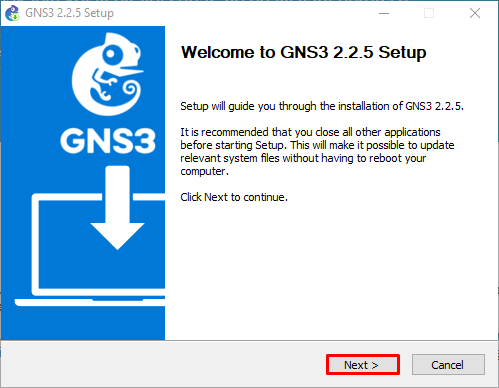
Click the Next button to start the installation in the Setup window and continue.

Step 6
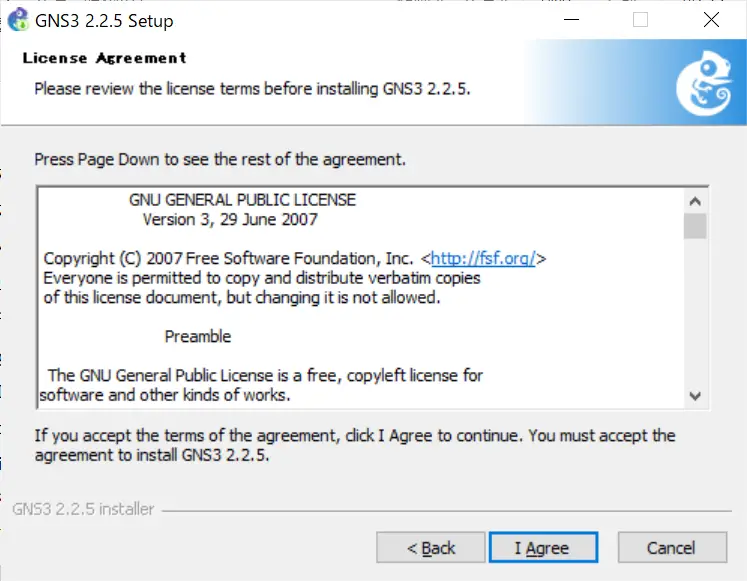
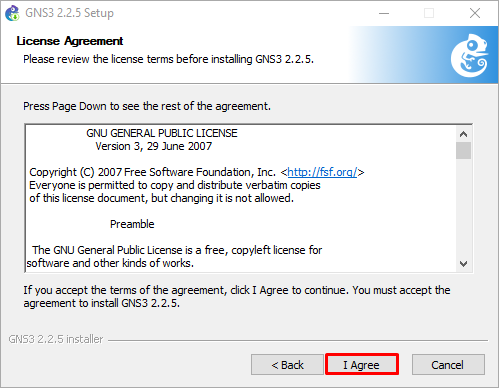
Click the I Agree button to accept the license agreement for the Cisco network simulator program.

Step 7
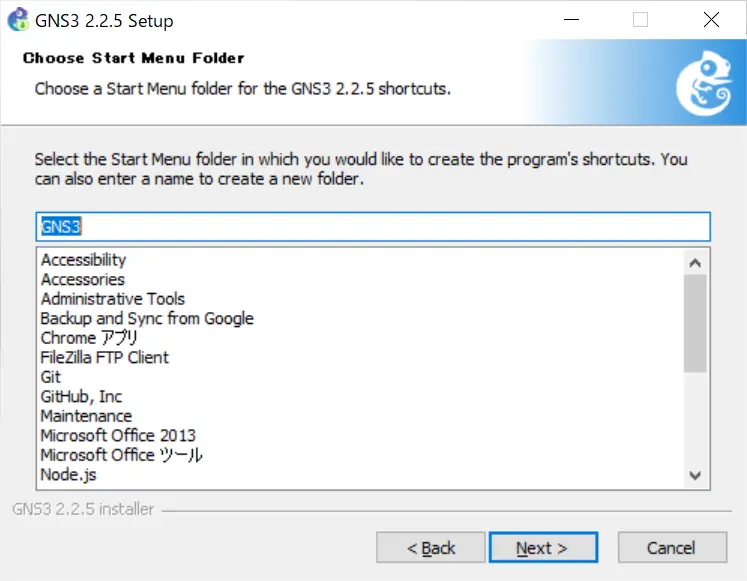
Click Next to use the folder name configured by default in the Choose Start Menu Folder window.

Step 8
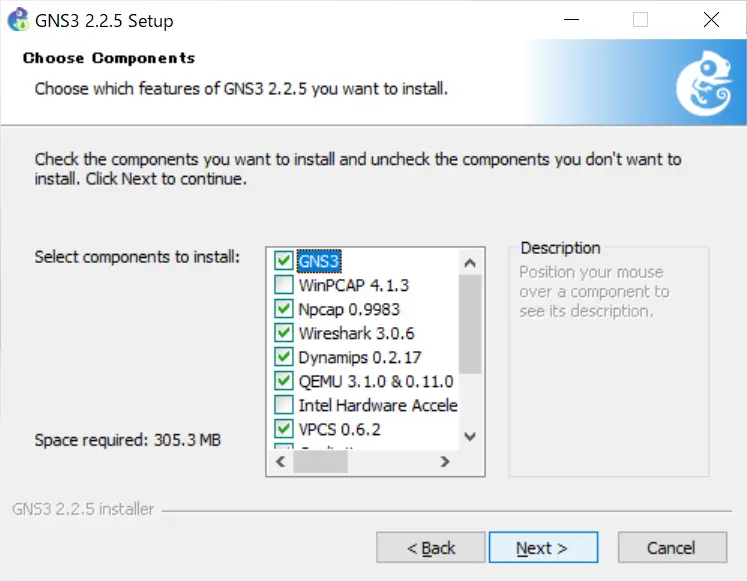
In the Choose Components window, check one of its new features, WebClient, and click on Next.

Step 9
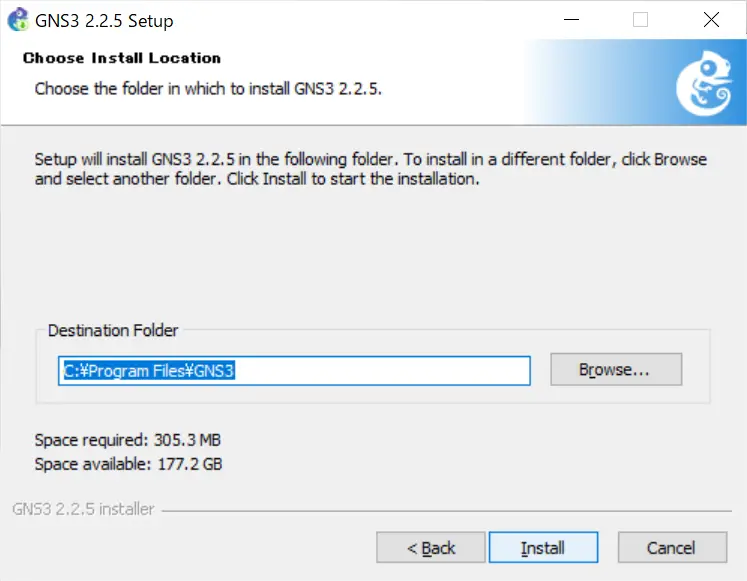
In the Choose Install Location window, select where you want to set up the program and click Next.

Step 10
Wait while the Cisco simulator program is installed on your Windows 10 computer.

Step 11
One of the necessary applications for the simulator software during the installation phase is WinPcap. Click Next to install the WinPcap software.

Step 12
Accept the license agreement of the WinPcap software and continue the installation process.

Step 13
In the Installation Options window, if you want to run WinPcap when you restart your computer, check “Automatically start the WinPcap driver at boot time” and click Next.

Step 14
After completing the WinPcap installation, click the Finish button and continue the installation.

Step 15
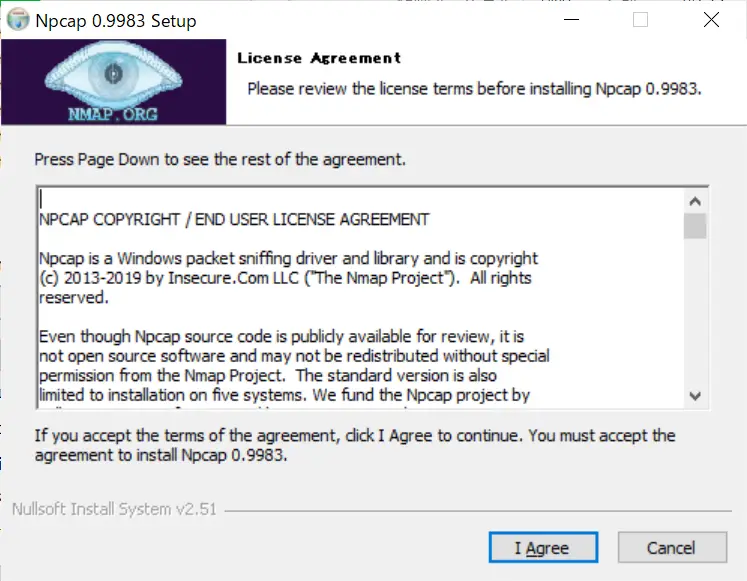
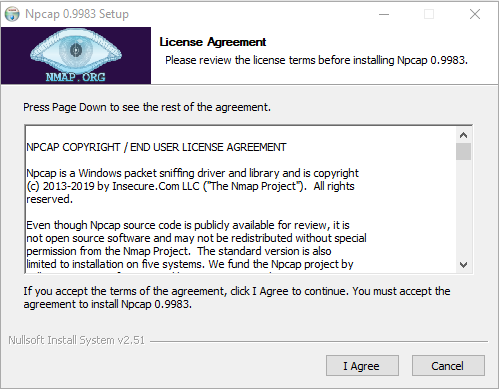
Npcap needs to be installed separately for the software. In this step, continue by clicking the I Agree button to accept the Npcap license agreement.

Step 16
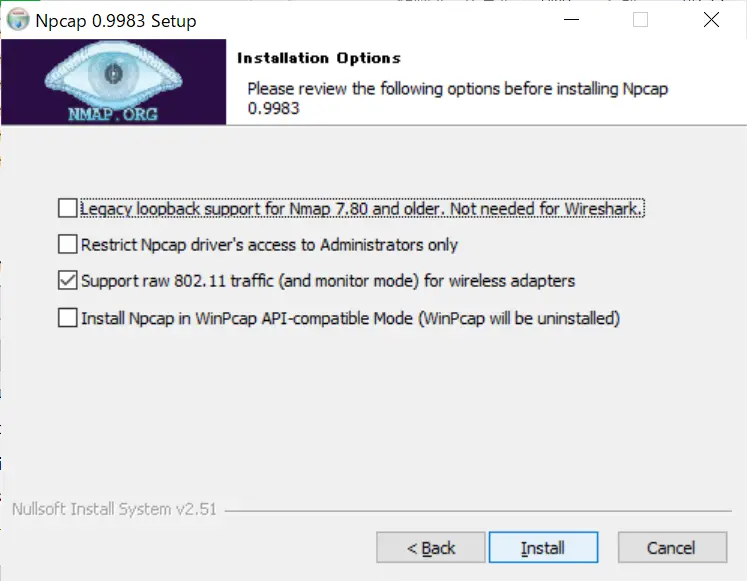
In the Installation Options window, continue with the option configured by default.

Step 17
In the Installation Options window, continue with the option configured by default.

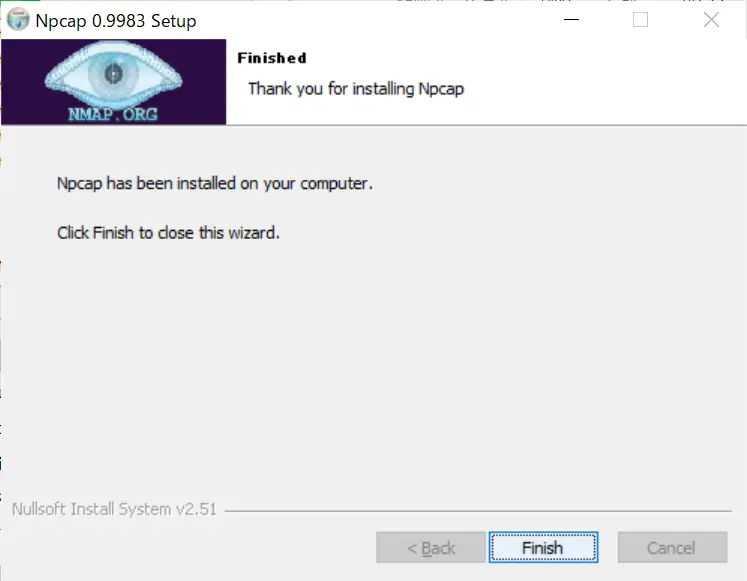
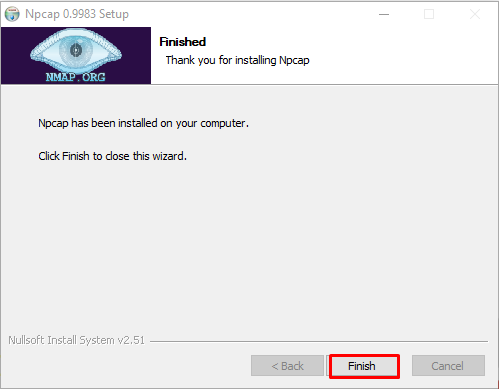
Step 18
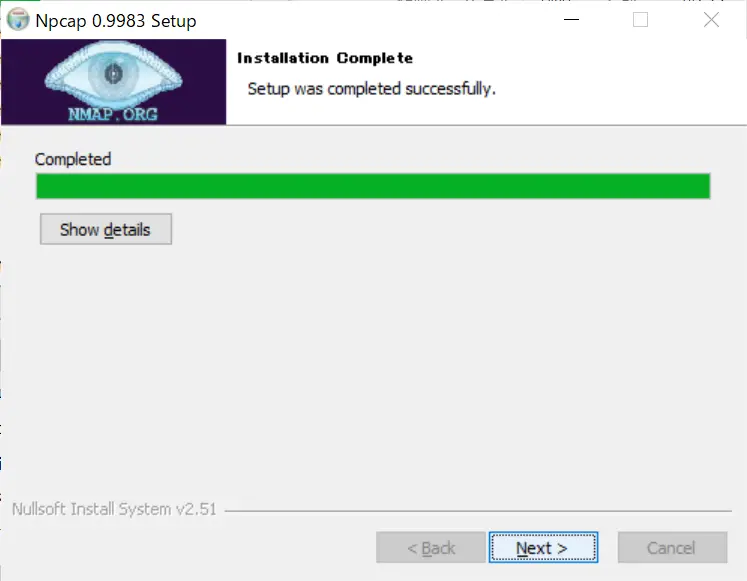
Click Finish to close the Npcap setup wizard.

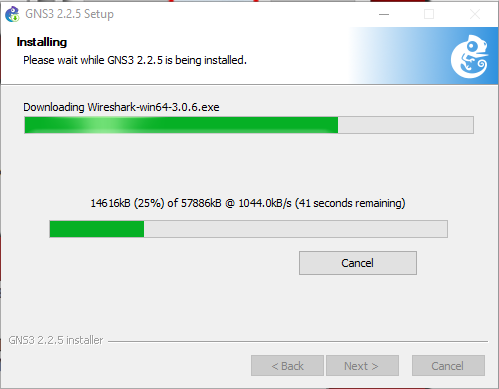
Step 19
Finally, if the Wireshark package analysis program is not installed on your system, it will be downloaded and installed over the Internet.

Step 20
Likewise, wait for the Solar-PuTTY software to be downloaded and installed, which is necessary for managing network devices such as Routers or Switches.

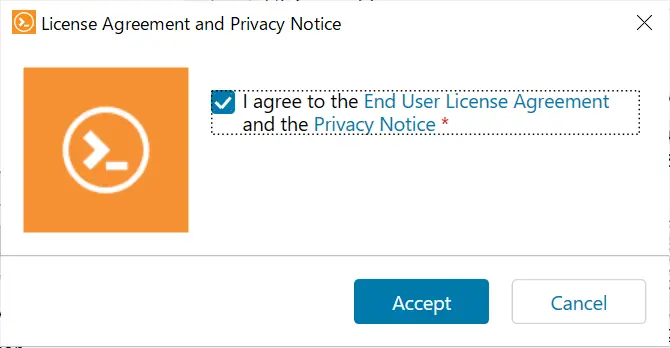
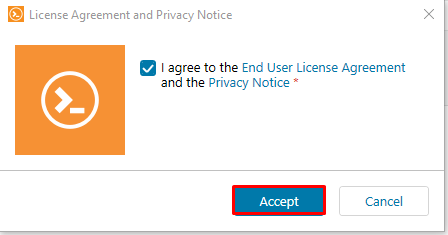
Step 21
After installing Wireshark process, click the Accept button to accept the Solar-PuTTY license agreement.

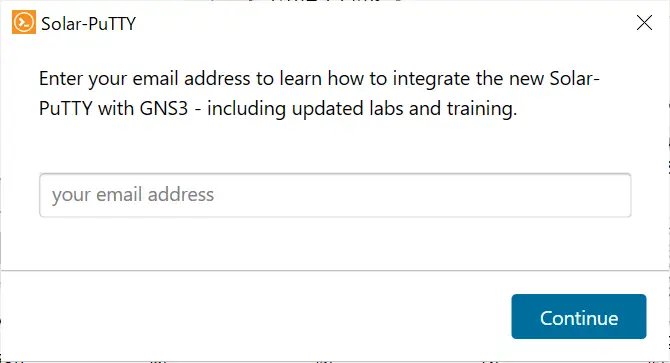
Step 22
For Solar-PuTTY use, click Continue after typing in your email address.

Step 23
After the Start menu folder and desktop shortcuts created, and the Uninstall.exe copied to the corresponding location to uninstall it, click Next.

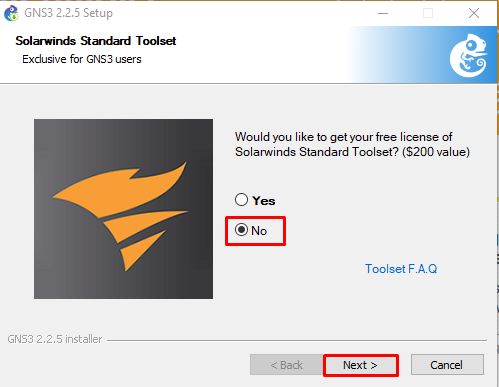
Step 24
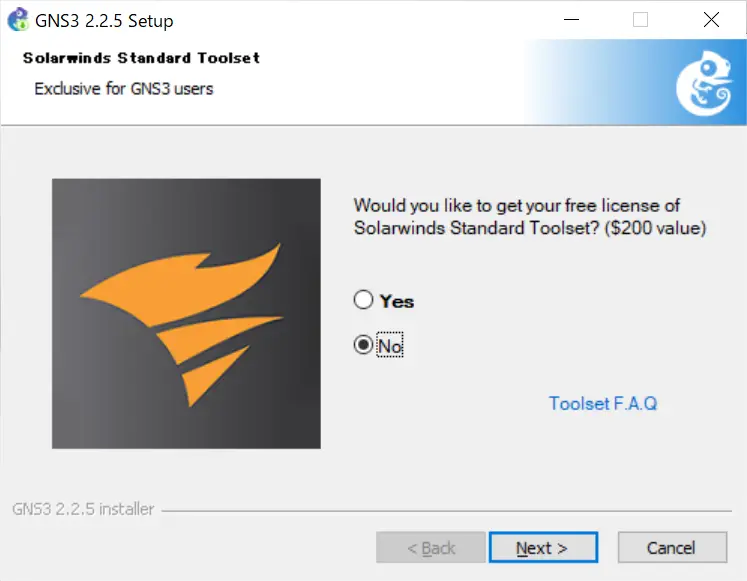
If you want to use Solarwinds tools for free, you can select Yes. If you do not want it, select the No option and click Next.

Step 25
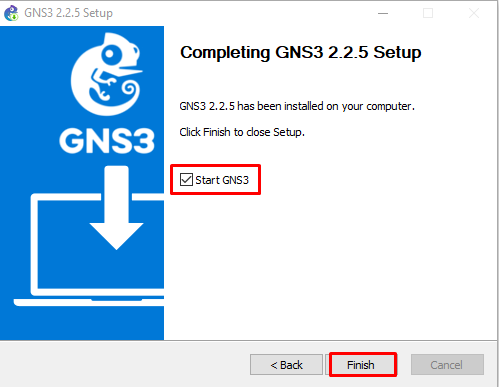
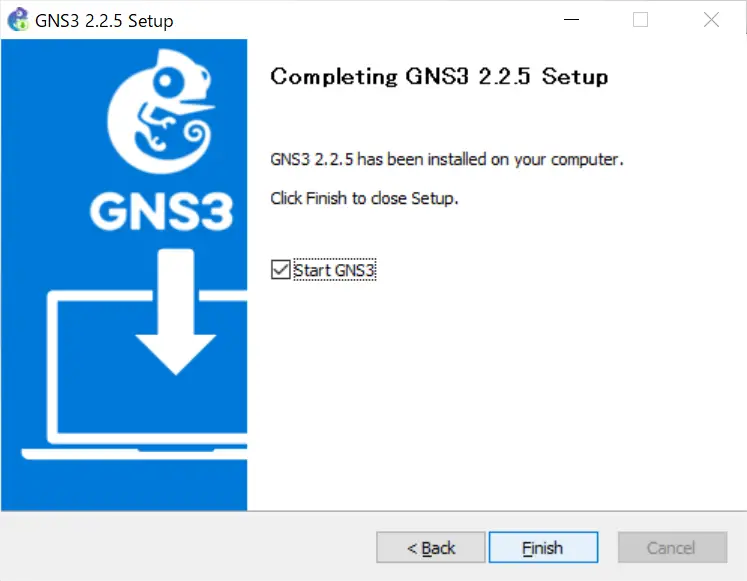
After successfully installing the program, click Finish to run the program.

Local Server Configuration Settings
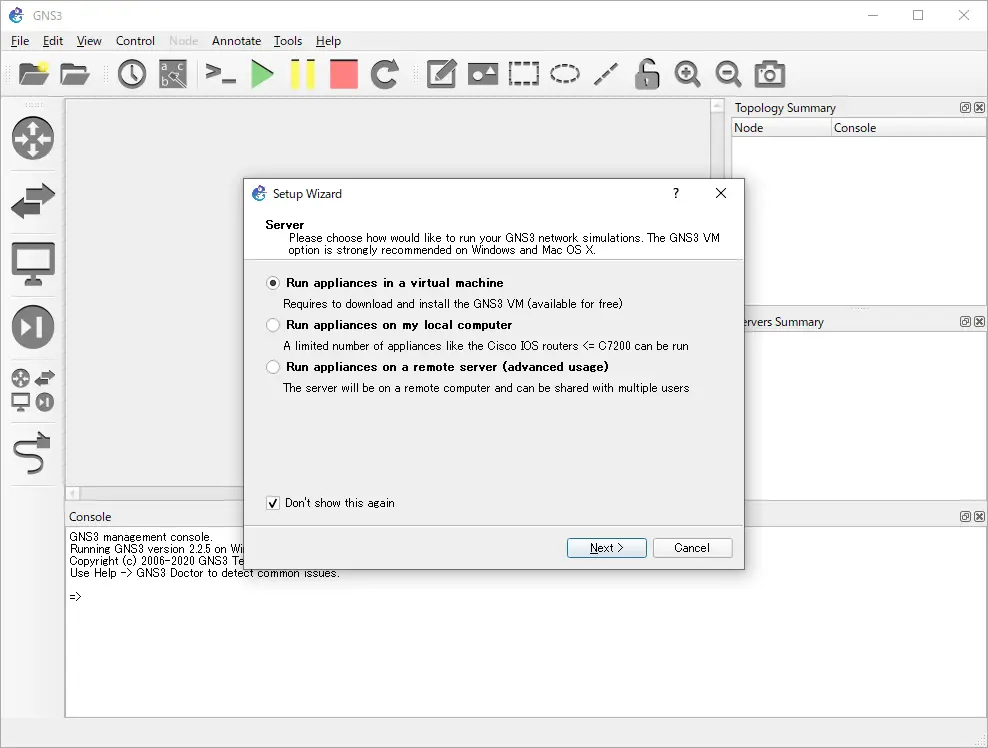
After installing GNS3, click the desktop shortcut to run it and the Setup Wizard window will open to check the Local Server settings. In this window, you need to configure the Localhost connection and port.
Step 1
In the Setup Wizard window, select Run appliances on my local computer and click Next.

Step 2
In the Local Server Configuration window, check that the Host Binding setting is localhost, and also, if there is an application using the 3080 TCP port in your system, specify a different port number in this window.

Step 3
You can see that there is no problem to use Graphical Network Simulator on your system in the Local Server Status window.

Step 4
Check the server’s type, path, host status, and port number in the Summary window and click Finish.

Step 5
Finally, you can check the version of the program from Help / About.

Adding Router/Switch Router Image
After installing and running the Cisco simulator, you need to add an IOS image to the program. After adding and configuring the IOS images of Cisco network devices to GNS3, you will now be ready to do your projects. To add an IOS image, click on the image below and browse the related article!

Adding Routers to the Workspace and Connecting Two Routers Each Other
After adding the Router IOS image to the simulator program, you can see the device you added by clicking on Devices.
Step 1
Now, create a new project and add two c7200 Routers to the workspace.

Step 2
To connect the two routers, click on the cable-like vehicle and click once on R1 to view the empty ports. For example, connect one end of the network cable to the FastEthernet0/0 port of R1 and the other end to the FastEthernet0/0 interface of R2.

Step 3
After connecting the two Cisco Routers with the FastEthernet interface, run them by clicking the start button.

Step 4
You can open the CLI prompt by double-clicking on Router R1, or you can right-click and click Console from the displayed options.

Step 5
To give an IP address to the FastEthernet0/0 interface of the router R1 and to activate the port, follow the commands below.
R1(config)# interface fastethernet 0/0
R1(config-if)# ip address 192.168.1.1 255.255.255.0
R1(config-if)# no shutdown
To verify that the Fa0/0 port is open, execute the following command in the CLI:
R1# show ip interface brief
Step 6
Likewise, make the settings you have made on R1, also on R2.
R2(config)# interface fastethernet 0/0
R2(config-if)# ip address 192.168.1.2 255.255.255.0
R2(config-if)# no shutdown
Ping R1 via R2 to test the connection between the two routers.
R2# ping 192.168.1.1
How to Use SecureCRT Instead of Solar-PuTTY in GNS3
As you can see while installing GNS3, Solar-PuTTY is configured as a console application by default. However, if you do not want to use Solar-PuTTY software, you can use SecureCRT instead.
Install SecureCRT on your computer before changing the Console application.
Step 1
After installing SecureCRT, run GNS3 again and click Edit / Preferences. In the General Preferences window, click the Edit button under General / Console Applications.
Select SecureCRT in the Choose a predefined command section and change the location where the program is installed and click the OK button to save the setting.

Step 2
Double click on Router R1 and check if the SecureCRT console application is opened. SecureCRT works fine on GNS3 as shown below.

Video
Installing Older Versions
GNS3 Version
YouTube Video
Slide
Final Word
Using GNS3 on your Windows computer, you can create detailed network projects and study more specifically for Cisco exams. Thanks for following us!
Related Articles
♦ How to Use VPCS
♦ Cisco Switch Basic Configuration
♦ VMware Connection
♦ Adding a Cisco Router
♦ Router Interface Configuration
Время на прочтение
5 мин
Количество просмотров 32K
GNS3 (Graphical Network Simulator) — это графический симулятор сети, который позволяет смоделировать виртуальную сеть из маршрутизаторов и виртуальных машин. Незаменимый инструмент для обучения и тестов. Работает практически на всех платформах. Отлично подходит для создания стендов на десктоп машинах.
В зависимости от аппаратной платформы, на которой будет использоваться GNS3, возможно построение комплексных проектов, состоящих из маршрутизаторов Cisco, Cisco ASA, Juniper, а также серверов под управлением сетевых операционных систем.
GNS3 имеет два серьёзных недостатка:
- Сильно требователен к CPU и памяти. 10 маршрутизаторов уже всерьёз нагрузят ПК. Использование процессора можно снизить с помощью механизма Idle PC. Без этого и 3-4 с трудом бы, пожалуй, пошли.
- Очень слабо поддерживает функции L2. Есть только подобие коммутаторов, на которых можно максимум настроить Access/Trunk порты и свичовые платы для маршрутизаторов, L2-функционал которых также очень ограничен.
Помимо этого, необходимо ещё где-то раздобыть образы IOS. GNS — это практически виртуальный маршрутизатор и для запуска ему также необходимо ПО, которым и является IOS.
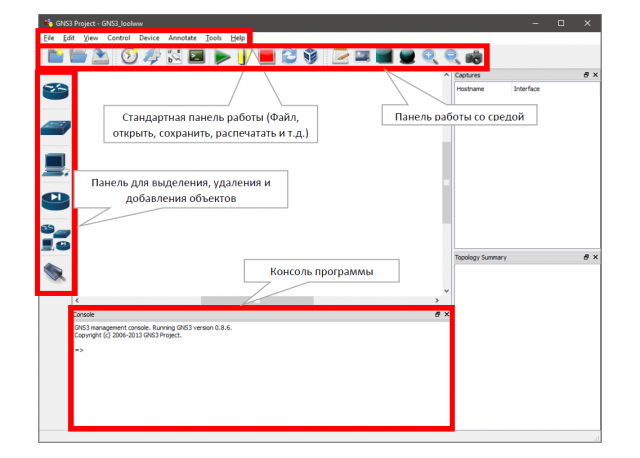
Окно программы и его структура представлены ниже.
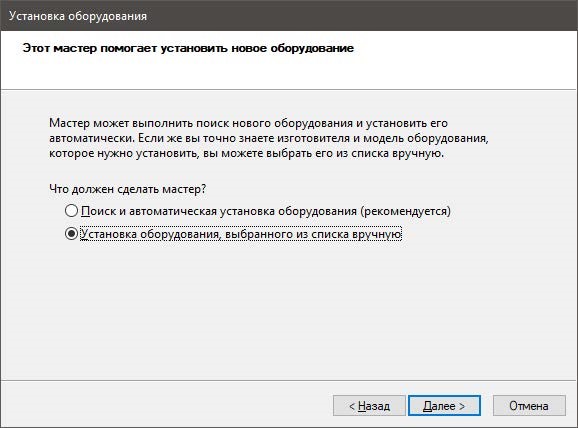
Так как задача выходит за пределы моделирования сети внутри эмулятора, нам необходимо подготовить операционную систему к дальнейшему взаимодействию с GNS3. Для этого нам необходимо настроить сеть, взаимодействующую с GNS3, а не с внешними протоколами передачи данных. Все сети, которые подключены к вычислительной машине направлены на передачу файлов вне её системы. Машина переводит файлы в биты, собирает их в пакеты, помечает и отправляет по протоколу TCP/IP в сеть. Принимающая машина взаимодействует не с сеть, а с переданным пакетом. Она распаковывает его всё по тому же протоколу TCP/IP и предоставляет файл пользователю через свою файловую систему. Наша задача – пустить трафик таким образом, чтобы компьютер смоделировал сеть внутри себя и проанализировал ответ на свой же запрос в сети. Задача не из простых, но есть и усложняющий факто – Wi-Fi. Кабельные сети легко построить на эмуляторе, как и беспроводные, а эмулировать сеть, которая работает по определённым принципам упрощения передачи – это уже не так просто. Для решения поставленной задачи создадим loop-back adapter. Это сеть, которая обращается сама к себе. Чтобы создать loop-back сеть в Windows Win+R и введём hdwwiz.exe


Нажимаем кнопку «Далее» и выбираем пункт «Установка оборудования, выбранного из списка вручную». Сразу оговорюсь, что я в данной лабораторной работе использовал операционную систему Windows 10 (64 бита), так как она является последней и самой актуальной.
Нажимаем кнопку «Далее» и выбираем пункт «Сетевые адаптеры»

Нажимаем кнопку «Далее» и в левом меню выбираем компанию Microsoft, а в правом – «Адаптер замыкания на себя Microsoft KM-TEST»

Далее выполняем установку и переходим в настройки адаптера. Для этого переходим «Пуск» -> «Панель управления» -> «Сеть и Интернет» -> «Центр управления сетями и общим доступом» -> «Изменение параметров адаптера».
Далее нам необходимо настроить систему так, чтобы наша lookback сеть имела доступ в Интернет. Для этого переходим в свойства беспроводной сети и во вкладке «Доступ» ставим галочки на «Разрешить другим пользователям сети использовать подключение к Интернету данного компьютера» и на «Разрешить другим пользователям сети управлять общим доступом к подключению к Интернет». В случае если у Вас несколько сетей выберете созданную нами замкнутую сеть, так как с другими сетями способ работать не будет.

Если Вы сделали всё правильно, то у Вас должно быть две сети с такими расшифровками:

В моём случае «Беспроводная сеть 2» — это сеть Wi-Fi, а «Ethernet 3» -это замкнутая сеть.
Подготовительная работа с системой окончена. Я не буду рассказывать как установить ISO образы на GNS3, так как у каждого пользователя свои версии и в каждой системе устойчивы свои роутеры. Я использовал версию 0.87 и роутер c3660, так как в моей версии это самый устойчивы маршрутизатор.
Перетаскиваем на рабочую область роутер и облако, чтобы получилась схема как на рисунке ниже

Настроим облако. Перейдя во вкладку NIO Ethernet (Network Input Output Ethernet) выбираем нашу замкнутую сеть и нажимаем кнопку «Add», а затем ОК.

Соединяем облако и роутер кабелем FastEthernet и запускаем роутер нажатием на зеленую кнопку «Play».
Настроим роутер. Введём последовательность команд:
conf t
int fa 0/0
no shut
ip address dhcp
ip domain-lookup
Разберём каждую команду.
conf t (Режим глобальной конфигурации)
int fa 0/0 (Режим конфигурирования интерфейса)
no shut (команда включения интерфейса)
ip address dhcp (указывает, что интерфейс получает IP-адрес через DHCP)
ip domain-lookup (разрешения имён хостов на IP-адреса и наоборот)
Осталось проверить есть ли подключение к сети Интернет. Для этого пропингуем любой сайт. Например, гугл.
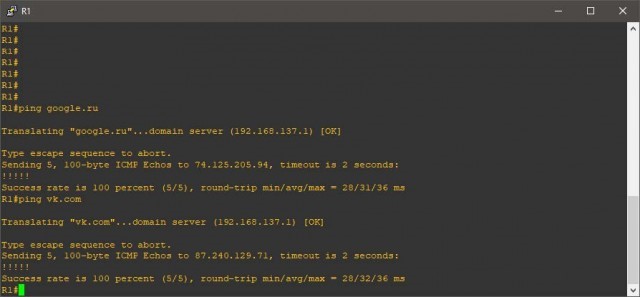
Как видно на скрине, всё работает.
Дополнительно прикреплю дамп настроек роутера, так как процедура оказалась сложнее, чем кажется на первый взгляд.
Connected to Dynamips VM "R1" (ID 0, type c3600) - Console port
Press ENTER to get the prompt.

This product contains cryptographic features and is subject to United
States and local country laws governing import, export, transfer and
use. Delivery of Cisco cryptographic products does not imply
third-party authority to import, export, distribute or use encryption.
Importers, exporters, distributors and users are responsible for
compliance with U.S. and local country laws. By using this product you
agree to comply with applicable laws and regulations. If you are unable
to comply with U.S. and local laws, return this product immediately.

A summary of U.S. laws governing Cisco cryptographic products may be found at:
http://www.cisco.com/wwl/export/crypto/tool/stqrg.html

If you require further assistance please contact us by sending email to
export@cisco.com.

Cisco 3660 (R527x) processor (revision 1.0) with 124928K/6144K bytes of memory.
Processor board ID FTX0945W0MY
R527x CPU at 250MHz, Implementation 40, Rev 1.2, 512KB L2 Cache


3660 Chassis type: ENTERPRISE
2 FastEthernet interfaces
DRAM configuration is 64 bits wide with parity enabled.
125K bytes of NVRAM.
8192K bytes of processor board System flash (Read/Write)

SETUP: new interface FastEthernet0/0 placed in "shutdown" state
SETUP: new interface FastEthernet0/1 placed in "shutdown" state


Press RETURN to get started!


*Mar  1 00:00:03.091: %LINEPROTO-5-UPDOWN: Line protocol on Interface VoIP-Null0, changed state to up
*Mar  1 00:00:03.183: %SYS-5-CONFIG_I: Configured from memory by console
*Mar  1 00:00:03.319: %LINEPROTO-5-UPDOWN: Line protocol on Interface IPv6-mpls, changed state to up
*Mar  1 00:00:03.463: %SYS-5-RESTART: System restarted --
Cisco IOS Software, 3600 Software (C3660-A3JK9S-M), Version 12.4(15)T14, RELEASE SOFTWARE (fc2)
Technical Support: http://www.cisco.com/techsupport
Copyright (c) 1986-2010 by Cisco Systems, Inc.
Compiled Tue 17-Aug-10 11:00 by prod_rel_team
*Mar  1 00:00:03.467: %SNMP-5-COLDSTART: SNMP agent on host R1 is undergoing a cold start
*Mar  1 00:00:03.491: %LINK-5-CHANGED: Interface FastEthernet0/0, changed state to administratively down
*Mar  1 00:00:03.503: %CRYPTO-6-GDOI_ON_OFF: GDOI is OFF
*Mar  1 00:00:03.507: %CRYPTO-6-ISAKMP_ON_OFF: ISAKMP is OFF
*Mar  1 00:00:03.507: %CRYPTO-6-GDOI_ON_OFF: GDOI is OFF
*Mar  1 00:00:03.507: %CRYPTO-6-ISAKMP_ON_OFF: ISAKMP is OFF
*Mar  1 00:00:03.543: %LINK-5-CHANGED: Interface FastEthernet0/1, changed state to administratively down
*Mar  1 00:00:04.491: %LINEPROTO-5-UPDOWN: Line protocol on Interface FastEthernet0/0, changed state to down
*Mar  1 00:00:04.543: %LINEPROTO-5-UPDOWN: Line protocol on Interface FastEthernet0/1, changed state to down
R1#
R1#conf t
Enter configuration commands, one per line.  End with CNTL/Z.
R1(config)#int fa 0/0
R1(config-if)#no shut
R1(config-if)#
*Mar  1 00:00:45.887: %LINK-3-UPDOWN: Interface FastEthernet0/0, changed state to up
*Mar  1 00:00:46.887: %LINEPROTO-5-UPDOWN: Line protocol on Interface FastEthernet0/0, changed state to up
R1(config-if)#ip address dhcp
R1(config-if)#
*Mar  1 00:01:13.071: %DHCP-6-ADDRESS_ASSIGN: Interface FastEthernet0/0 assigned DHCP address 192.168.137.31, mask 255.255.255.0, hostname R1

R1(config-if)#ip domain-lookup
R1(config)#^Z
R1#
*Mar  1 00:02:15.551: %SYS-5-CONFIG_I: Configured from console by console
R1#ping google.ru

Translating "google.ru"...domain server (192.168.137.1) [OK]

Type escape sequence to abort.
Sending 5, 100-byte ICMP Echos to 173.194.73.94, timeout is 2 seconds:
!!!!!
Success rate is 100 percent (5/5), round-trip min/avg/max = 28/35/44 ms
R1#
GNS3 представляет собой эмулятор локальной сети, он позволяет эмулировать довольно большое количество сетевых маршрутизаторов, так же все виды операционных систем, которые возможно запустить в виртуальной машине. Он не умеет эмулировать физические коммутаторы, за исключением программных, виртуальных коммутаторов, в виду больших архитектурных различий, из-за которых эмуляция большинства устройств является слишком ресурсоёмким процессом.
Тем не менее у него есть простейший виртуальный коммутатор, который поддерживает VLAN.
GNS3 является мощным инструментом, позволяющим осуществлять проектирование локальных сетей, перед их физическим построением и призван существенно облегчить жизнь системным администраторам. Намного проще собрать сеть в эмуляторе, настроить виртуальные маршрутизаторы и уже потом просто перенести настройки на физическое оборудование!
Требования для установки:
Для запуска GNS3 под windows можно использовать несколько способов:
- С использованием VmWare Player 15 версии
- С использованием Hyper-V
- С использованием KVM/HAXM
- С использованием VirtualBox
В этой статье мы рассмотрим Hyper-V, поэтому у нас сразу возникает несколько требований:
Hyper-V работает только под Windows 10 – дело в том, что только Windows 10 или Windows Server, начиная с версии 2016, поддерживают “nested virtualization”, т.е. позволяют запускать в виртуальных машинах гипервизоры.
В BIOS вашего ПК должна быть активирована технология виртуализации, Вы легко можете это проверить, открыв Диспетчер задач, перейдя на вкладку производительность и найти строчку — Виртуализация: Включено

Также рекомендуется не менее 8 Гб оперативной памяти, я бы рекомендовал не менее 16 Гб.
Возможно это всё будет работать только на процессорах Intel, но MS вроде добавила поддержку процессоров AMD для Hyper-V.
Для начала нам нужно добавить роль Hyper-V под Windows-10
Для этого открываем PowerShell, обязательно от имени Администратора!
powershell.exeи вводим команду
Enable-WindowsOptionalFeature -Online -FeatureName Microsoft-Hyper-V -AllC:\WINDOWS\system32>powershell
Windows PowerShell (C) Корпорация Майкрософт (Microsoft Corporation). Все права защищены. Попробуйте новую кроссплатформенную оболочку PowerShell (https://aka.ms/pscore6) PS C:\WINDOWS\system32> Enable-WindowsOptionalFeature -Online -FeatureName Microsoft-Hyper-V -All
Вы хотите перезапустить компьютер сейчас для завершения этой операции?
[Y] Yes [N] No [?] Справка (значением по умолчанию является "Y"):Нажимаем Y и перезагружаем ПК.
После перезагрузки нужно проверить, что всё установилось правильно.
Нажимаем Пуск, и вводим
virtmgmt.msc
Кликаем правой кнопкой и запускаем от имени Администратора.
Запускается диспетчер Hyper-V

Если никаких ошибок не вывалилось, у нас успешно установлен Hyper-V
Установка GNS3 – 2.2.11
Для начала скачаем сам GNS3 и образ виртуальной машины, для этого идем на github.com — https://github.com/GNS3/gns3-gui/releases
И качаем два файла:
https://github.com/GNS3/gns3-gui/releases/download/v2.2.11/GNS3-2.2.11-all-in-one.exe
и
https://github.com/GNS3/gns3-gui/releases/download/v2.2.11/GNS3.VM.Hyper-V.2.2.11.zip
После окончания загрузки распаковываем файл GNS3.VM.Hyper-V.2.2.11.zip в папку
c:\vm\gns3
и запускаем powershell от имени администратора
вводим powershell
cd c:\vm\gns3затем
set-executionpolicy remotesignedнажмите y
Архив с виртуальной машиной уже содержит скрипт, который сам создаст виртуальную машину и добавит все настройки и выдаст вам ошибку, если расширения виртуализации не включены!
Запустим
powershell -f create-vm.ps1Name State CPUUsage(%) MemoryAssigned(M) Uptime Status Version
---- ----- ----------- ----------------- ------ ------ -------
GNS3 VM Off 0 0 00:00:00 Работает нормально 9.0
Вот и все, виртуальная машина создана и отключена.
Не забудем отключить скрипты
set-executionpolicy Restrictedнажмем y
Займемся установкой самого GNS3
Запускаем установку
GNS3-2.2.11-all-in-one.exeВ окне выбора компонентов снимаем галочки с QEMU 3 и с TightVNC
Ждем скачивания и установки всех требуемых программ, периодически проверяя не требуется ли взаимодействие с ними.
Снимаем галочку «Запуск GNS3», обязательно! Иначе GNS запуститься от имени администратора и у вас могут возникнуть проблемы с настройкой!
И запускаем вручную из меню Пуск
Настройка GNS3
Теперь настало время для самой важной части – первичной настройки GNS3.
После первого запуска вы увидите окно “Setup Wizard”

Нам осталось запустить вручную созданную раньше виртуальную машину — правой кнопкой по названию виртуальной машины и запускаем.
Откройте окно подключения к виртуальной машине, щелкнув два раза на её названии в Диспетчере Hyper-V и ждите окончания загрузки. После успешной загрузки будет выведено окно с информацией, которая нам понадобится для настройки GNS3.

Нас интересует IP адрес, записываем его и возвращаемся к настройке GNS3. Внимание! Ваш адрес, скорее всего, не будет совпадать с моим, будьте внимательны!
Выбираем пункт:
Run appliances on remote server (advanced usage)В поле host вводим адрес нашего виртуального сервера, в моем случае это 172.17.204.52
Меняем порт на 80
Жмем Next и ждем пока все настроиться…
Если все прошло нормально, то появится окно:

У вас может выскочить ошибка
=> Websocket notification stream error: The remote host closed the connectionЕё можно проигнорировать.
Проверка установки GNS3
Теперь проверим как все настроилось, для этого добавим шаблон для маршрутизатора Mikrotik.
В окне жмем на иконку Browse Routers и затем на кнопку +New template

В новом окне выбираем пункт
Install an appliance from GNS3 server (recommended)Откроется окно выбора устройства

В поле фильтр вводим Mikrotik и выбираем пункт – Mikrotik CHR Qemu, это специально созданная версия прошивки для запуска в различных виртуальных машинах.
Жмем Install
Жмем Next
Жмем Next
Ждем пока не будет просканирован список прошивок, выбираем последнюю, в моем случае это 6.47 и жмем Download.
Будет открыто окно браузера с прямой ссылкой на файл с ISO образом. После окончания загрузки его обязательно нужно распаковать, так как для Mikrotik все образы упакованы в zip архив.
После распаковки образа жмем Import и ждем пока образ будет залит на сервер.
Если все прошло успешно у вас должно получиться такая картинка:

Теперь выбираем сроку с загруженным образом и жмем Next
Жмем Yes
Читаем последние инструкции и жмем Finish
Вот и всё, мы создали шаблон для маршрутизатора Mikrotik, давайте добавим его в пустой проект.
Для этого нажмем Ctrl+N
Введем имя проекта Test1 и нажмем ОК
Перетащим иконку Mikrotik CHR 6.47 в центральную область
Щелкнем правой кнопкой по роутеру и выберем Run и немного подождем
Еще раз щелкнем правой кнопкой по роутеру и выберем Console, еслиу вас черный экран – нажмите Enter.

Появится приглашение роутера,
Логин – admin
Пароль – не задан, просто нажмите Enter
Вот и всё, мы успешно запустили виртуальный роутер.
Теперь вы можете начать работать в GNS3 и строить свою виртуальную локальную сеть.
Тестируем соединение с роутером
Настраивать Mikrotik проще из специальной панели управления – Winbox, скачать ее можно тут
https://mikrotik.com/download
После запуска переходим на вкладку Neighbors и переходим в GNS3
Откроем раздел Browse End Devices и перетащим на экран нашего проекта, после этого нажмём кнопку
Add link
И соединим наш Mikrotik и облако через порты ether1

Теперь если мы все сделали правильно, после нажатия в winbox кнопки Refresh у нас отобразится наше устройство

Просто щелкните на него и нажмите Connect
Вы должны войти в админ панель

Заключение
Вот и всё на сегодня, мы смогли установить и настроить GNS3 версии 2.2.11 для работы через Hyper-V.
Так же мы создали наш первый виртуальный маршрутизатор Mikrotik и смогли подключиться к нему с нашего ПК.
В будущих статьях я буду использовать GNS3, чтобы более полно рассмотреть настройку устройств фирмы Eltex.
The procedure for installing GNS3 is as follows
- Download the installer
- Run the installer
To install GNS3, just run the installer and proceed as with most common applications. You don’t need to make any changes from the default state, just click the buttons such as [OK], [Next] and [Agree].
You can download the installer for GNS3 from the official website.
You will need to create an account before you can download.
When you run the GNS3 installer and install GNS3, the associated application is installed along with it.
- Npcap
- Wireshark
- Solar-Putty
The following is a screenshot of the GNS3v2.2.5 installer.
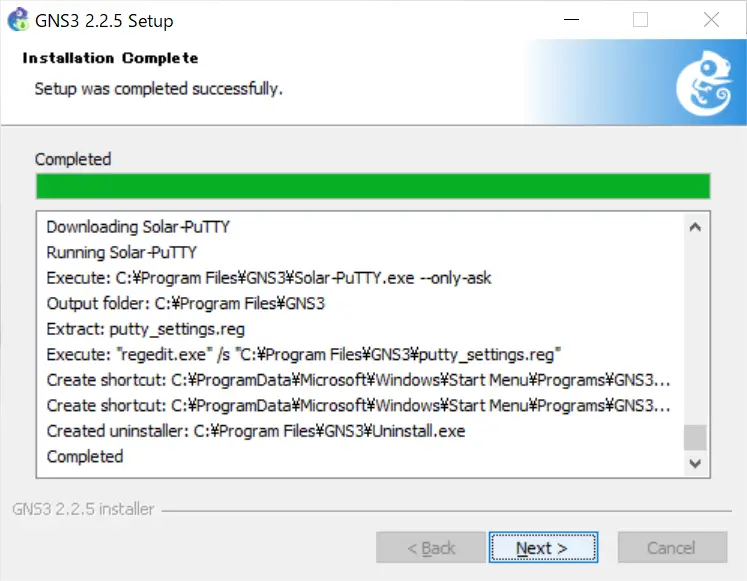
When the installation is completed, GNS3 will start automatically and the following setup wizard will be displayed.
GNS3 is a Graphical Network Simulation program. You can easily operate devices such as Cisco Switch and Router on GNS3.
You can improve yourself and become a network expert by making network designs with GNS3. Since this network simulator is a constantly developed program, it is always useful to check for updates to have new features.
Although the operating logic of this program is very similar to the Cisco Packet Tracer program, the biggest difference between them is that Cisco IOS images can be used more comprehensively and in detail.
With this simulator software, you can use IOS images of real Cisco devices for network designs on your computer. In other software, IOS images have insufficient and limited features.
Before proceeding to the GNS3 installation, you can download the latest version of the GNS3 program to your computer from the button below.
https://www.gns3.com/
Minimum System Requirements
Operating System: Must be at least Windows 7 64.
Processor: You must have at least Dual Core processors.
RAM (Memory): Minimum 4 GB is sufficient.
Disk Space: Minimum 1 GB is sufficient.
Recommended System Requirements
Operating System: It must be at least Windows 7 64 bit again.
Processor: 4 or more logical processors.
RAM (Memory): 8 GB is sufficient.
Disk Space: You must have a minimum of 35 GB of free space
Step-by-step GNS3 Installation and Configuration
After logging into GNS3, click the Free Download button.

Since you will install GNS3 on Windows 10, click the Download button under Windows option.

Wait while the GNS3 is downloading to your computer.
After the download is completed, start the installation by running the GNS3-all-in-one.exe file as an administrator.
Click “Next” to start the installation in the Setup window.
Click the “I Agree” button to accept the license agreement of the network simulator program.
Leave the default setting in the “Choose Start Menu Folder” window and continue by clicking the “Next” button.

In the “Choose Components” window, after selecting the required applications to be installed on your computer, continue with the “Next” button. In the next step, in the “Choose Install Location” window, select where you want to install the program and click the “Next” button.

Wait while the Cisco simulator program is installed on your computer.

One of the applications required for GNS3 during the installation phase is Npcap. Click Next to install the Npcap software.
One of the applications required for GNS3 during the installation phase is Npcap. Click Next to install the Npcap software.
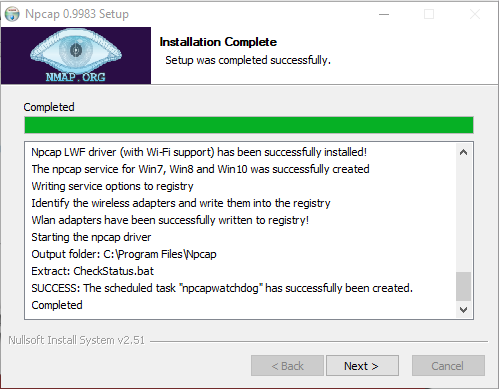
After completing the Npcap installation, click on the “Finish” button and continue installing GNS3.
Now, wait while Wireshark is downloading for GNS3. If you do not have an Internet connection, you can install Wireshark on your computer later.
After completing the Wireshark installation process, click the “Accept” button to accept the Solar-PuTTY license agreement. For the use of “Solar-PuTTY”, click the “Continue” button after typing the email address.
After completing the GNS3 installation process, continue with the “Next” button.

If you want to use Solarwinds tools for free, you can select “Yes” option. If you do not want, select the No option and click the “Next” button.
After successfully installing the GNS3 program, simply click the “Finish” button to run the program.