Basic Steps#
-
Start the notebook server from the command line:
-
You should see the notebook open in your browser.
Starting the Notebook Server#
After you have installed the Jupyter Notebook on your computer, you are ready
to run the notebook server. You can start the notebook server from the
command line (using Terminal on Mac/Linux,
Command Prompt on Windows) by running:
This will print some information about the notebook server in your terminal,
including the URL of the web application
(by default, http://localhost:8888):
$ jupyter notebook
[I 08:58:24.417 NotebookApp] Serving notebooks from local directory: /Users/catherine
[I 08:58:24.417 NotebookApp] 0 active kernels
[I 08:58:24.417 NotebookApp] The Jupyter Notebook is running at: http://localhost:8888/
[I 08:58:24.417 NotebookApp] Use Control-C to stop this server and shut down all kernels (twice to skip confirmation).
It will then open your default web browser to this URL.
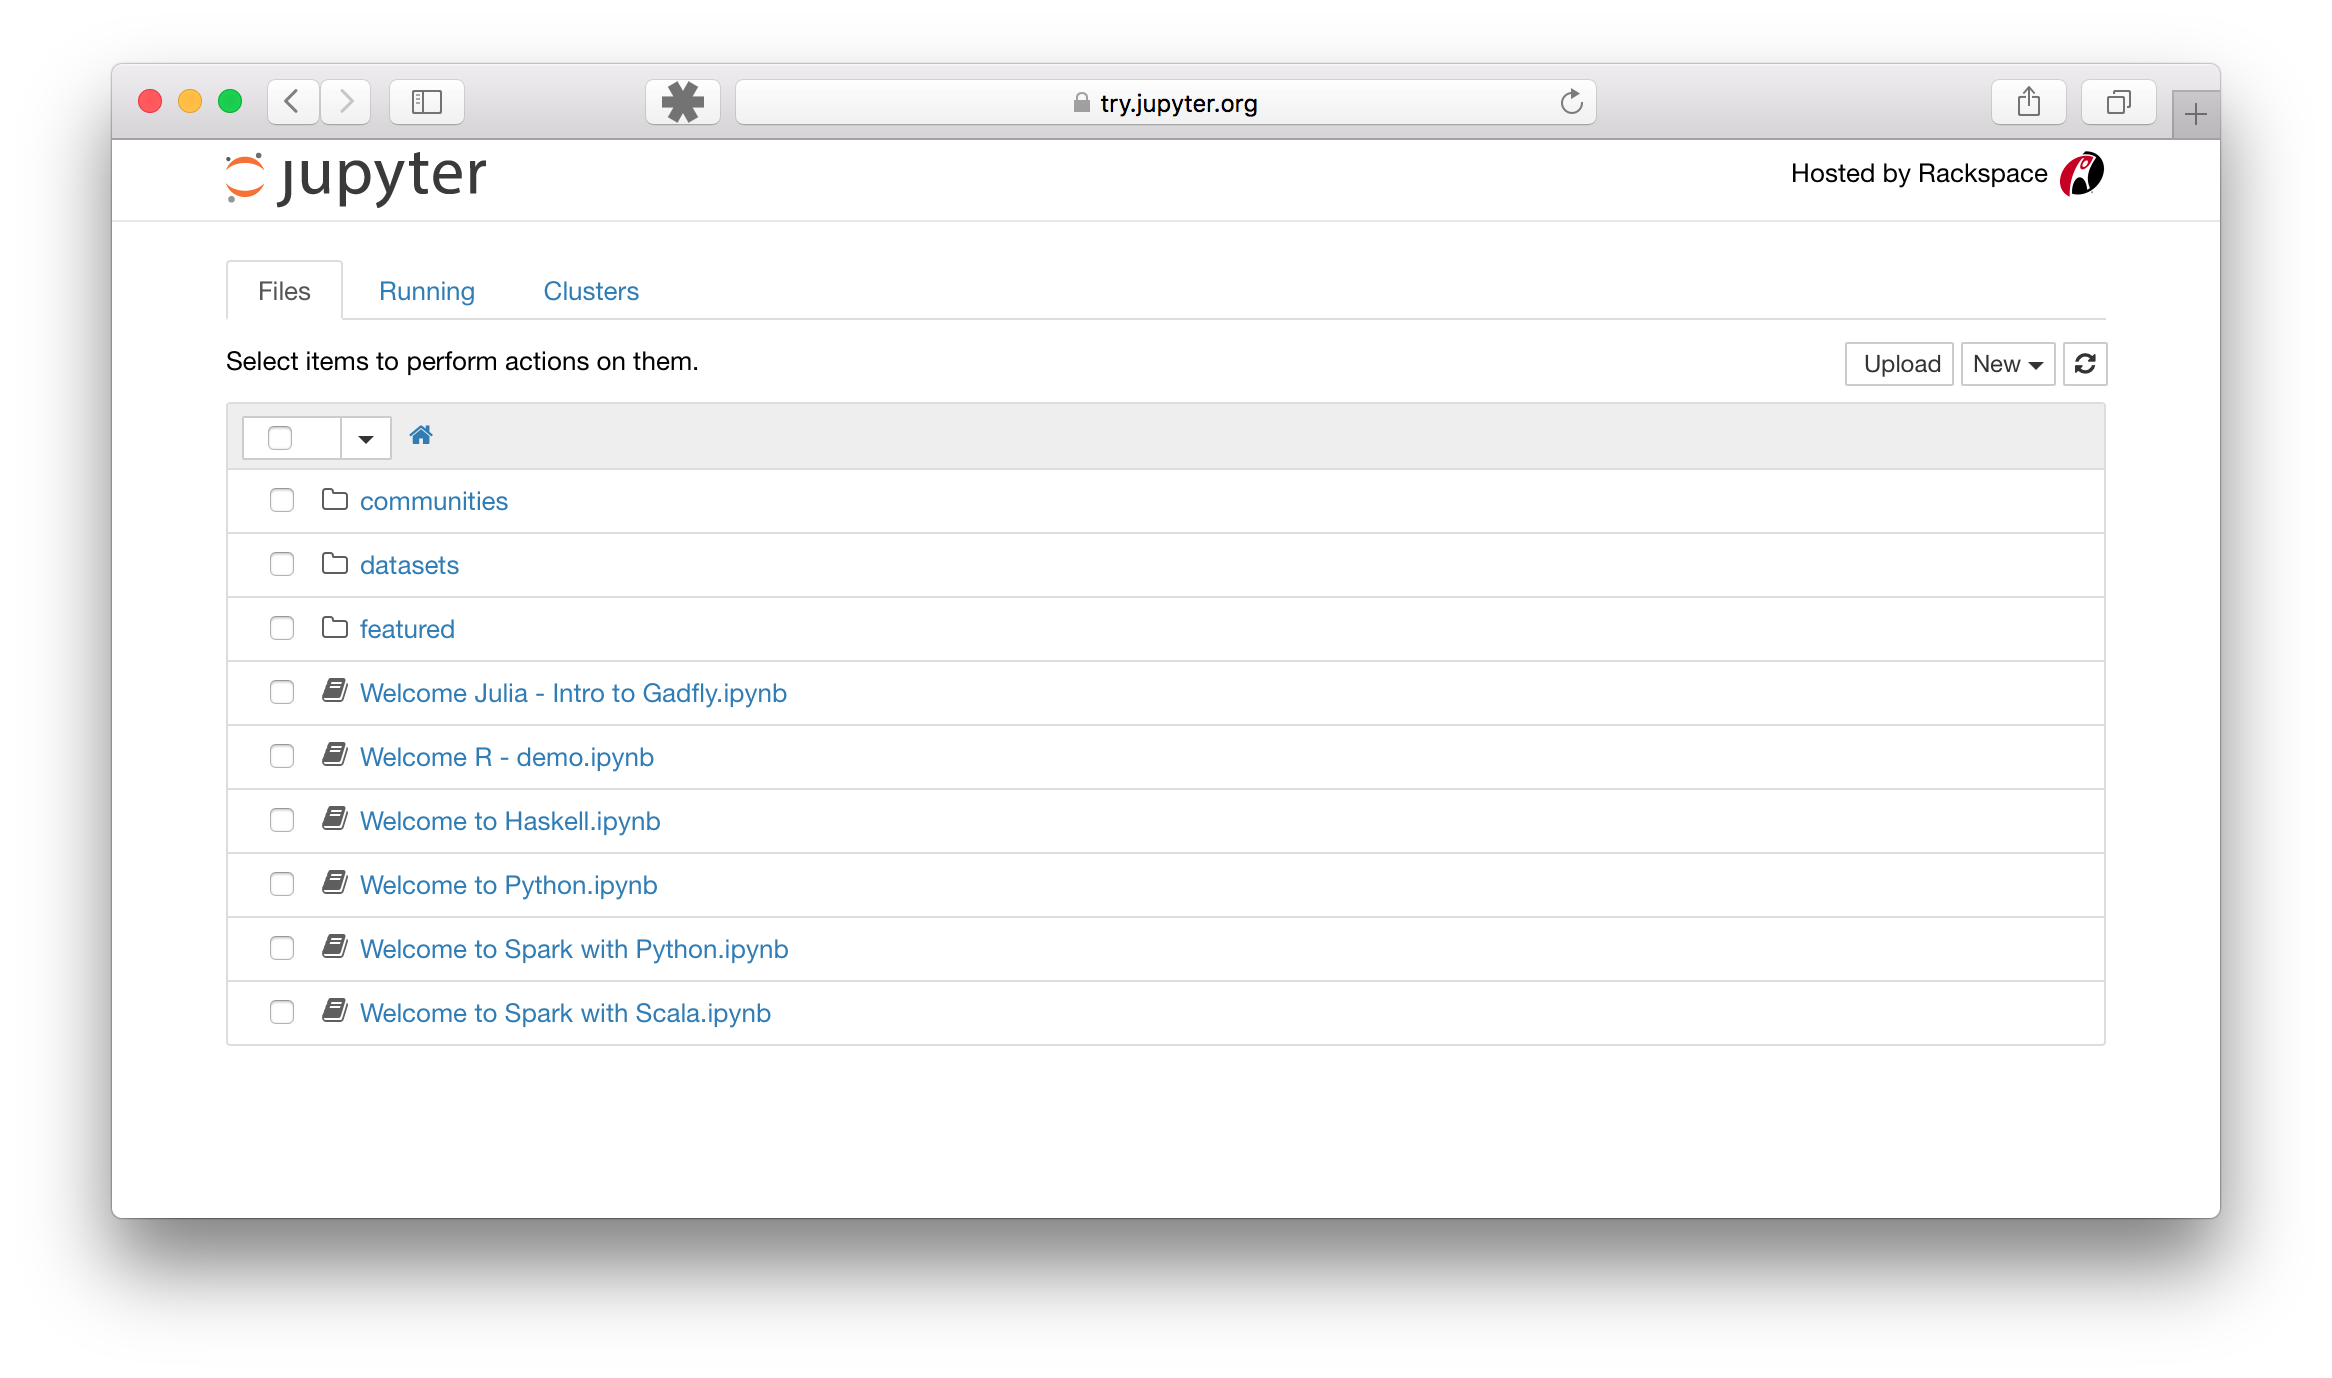
When the notebook opens in your browser, you will see the Notebook Dashboard,
which will show a list of the notebooks, files, and subdirectories in the
directory where the notebook server was started. Most of the time, you will
wish to start a notebook server in the highest level directory containing
notebooks. Often this will be your home directory.
Notebook Dashboard
Introducing the Notebook Server’s Command Line Options#
How do I open a specific Notebook?#
The following code should open the given notebook in the currently running notebook server, starting one if necessary.
jupyter notebook notebook.ipynb
How do I start the Notebook using a custom IP or port?#
By default, the notebook server starts on port 8888. If port 8888 is
unavailable or in use, the notebook server searches the next available port.
You may also specify a port manually. In this example, we set the server’s
port to 9999:
jupyter notebook --port 9999
How do I start the Notebook server without opening a browser?#
Start notebook server without opening a web browser:
jupyter notebook --no-browser
How do I get help about Notebook server options?#
The notebook server provides help messages for other command line arguments
using the --help flag:
Using a command-line interface#
Notebooks can be executed from your terminal using the run subcommand. It expects notebook paths as input arguments and accepts optional flags to modify the default behavior.
Running a notebook is this easy.
jupyter run notebook.ipynb
You can pass more than one notebook as well.
jupyter run notebook.ipynb notebook2.ipynb
By default, notebook errors will be raised and printed into the terminal. You can suppress them by passing the --allow-errors flag.
jupyter run notebook.ipynb --allow-errors
For more sophisticated execution options, consider the papermill library.
3.1. Launching Jupyter Notebook App
The Jupyter Notebook App can be launched by clicking on the Jupyter Notebook
icon installed by Anaconda in the start menu (Windows) or by typing in
a terminal (cmd on Windows):
This will launch a new browser window (or a new tab) showing the
Notebook Dashboard, a sort of control panel that allows (among other things)
to select which notebook to open.
When started, the Jupyter Notebook App can access only files within its start-up folder
(including any sub-folder). No configuration is necessary if you place your notebooks
in your home folder or subfolders.
Otherwise, you need to choose a Jupyter Notebook App start-up folder which will contain
all the notebooks.
See below for platform-specific instructions on how to start
Jupyter Notebook App in a specific folder.
3.1.1. Change Jupyter Notebook startup folder (Windows)
- Copy the Jupyter Notebook launcher from the menu to the desktop.
- Right click on the new launcher and change the Target field, change %USERPROFILE% to
the full path of the folder which will contain all the notebooks. - Double-click on the Jupyter Notebook desktop launcher (icon shows [IPy]) to start the
Jupyter Notebook App. The notebook interface will appear in a new browser window or tab.
A secondary terminal window (used only for error logging and
for shut down) will be also opened.
3.1.2. Change Jupyter Notebook startup folder (Mac OS)
To launch Jupyter Notebook App:
- Click on spotlight, type
terminalto open a terminal window. - Enter the startup folder by typing
cd /some_folder_name. - Type
jupyter notebookto launch the Jupyter Notebook App
The notebook interface will appear in a new browser window or tab.
3.2. Shut down the Jupyter Notebook App
Closing the browser (or the tab) will not close the
Jupyter Notebook App. To completely shut it down you need to
close the associated terminal.
In more detail,
the Jupyter Notebook App is a server that appears in your browser
at a default address (http://localhost:8888).
Closing the browser will not shut down the server.
You can reopen the previous address
and the Jupyter Notebook App will be redisplayed.
You can run many copies of the Jupyter Notebook App and they will show
up at a similar address (only the number after “:”, which is the port,
will increment for each new copy).
Since with a single Jupyter Notebook App you can already open many notebooks,
we do not recommend running multiple copies of Jupyter Notebook App.
3.3. Close a notebook: kernel shut down
When a notebook is opened, its “computational engine” (called the kernel)
is automatically started.
Closing the notebook browser tab, will not shut down the kernel,
instead the kernel will keep running until is explicitly shut down.
To shut down a kernel, go to the associated notebook
and click on menu File -> Close and Halt. Alternatively, the Notebook Dashboard
has a tab named Running that shows all the running notebooks (i.e. kernels)
and allows shutting them down (by clicking on a Shutdown button).
3.4. Executing a notebook
Download the notebook you want to execute and put it in your
notebook folder (or a sub-folder of it).
Then follow these steps:
- Launch the Jupyter Notebook App (see previous section).
- In the Notebook Dashboard navigate to find the notebook:
clicking on its name will open it in a new browser tab. - Click on the menu Help -> User Interface Tour for an overview
of the Jupyter Notebook App user interface. - You can run the notebook document step-by-step (one cell a time) by pressing
shift + enter. - You can run the whole notebook in a single step by clicking on the menu
Cell -> Run All. - To restart the kernel (i.e. the computational engine), click on the menu
Kernel -> Restart. This can be useful to start over a computation from
scratch (e.g. variables are deleted, open files are closed, etc…).
More information on editing a notebook:
- Notebook Basics
(or alternate link)
Note
Save notebooks: modifications to the notebooks are automatically saved every
few minutes. To avoid modifying the original notebook, make a
copy of the notebook document (menu File -> Make a copy …) and
save the modifications on the copy.
Warning
Pay attention to not open the same notebook document
on many tabs: edits on different tabs can overwrite each other!
To be safe, make sure you open each notebook document in only one tab.
If you accidentally open a notebook twice in two different tabs, just
close one of the tabs.
More info on the Jupyter Notebook App environment see References.
A quick guide on how to open a Jupyter Notebook.
This quick guide will teach you how to open a new Jupyter Notebook in Mac OS or Windows. It assumes that you have already installed Jupyter using the Anaconda distribution. For details on how to install Jupyter on your computer, using the Anaconda distribution, read this article on how to set up your system to start coding in Python:
- Intro to Programming: How to Get Your Computer Ready to Run Python
For details on how to use Jupyter, read this quick guide on how to use Jupyter Notebook:
- How to Write and Run Code in Jupyter Notebook
Article continues below
Want to learn more? Check out some of our courses:
How to Open a Jupyter Notebook on Mac OS
Step 1. Open the Terminal app on your Mac by clicking ![]() in the upper-right corner of the menu bar, or pressing Command-Space bar and then typing terminal.
in the upper-right corner of the menu bar, or pressing Command-Space bar and then typing terminal.
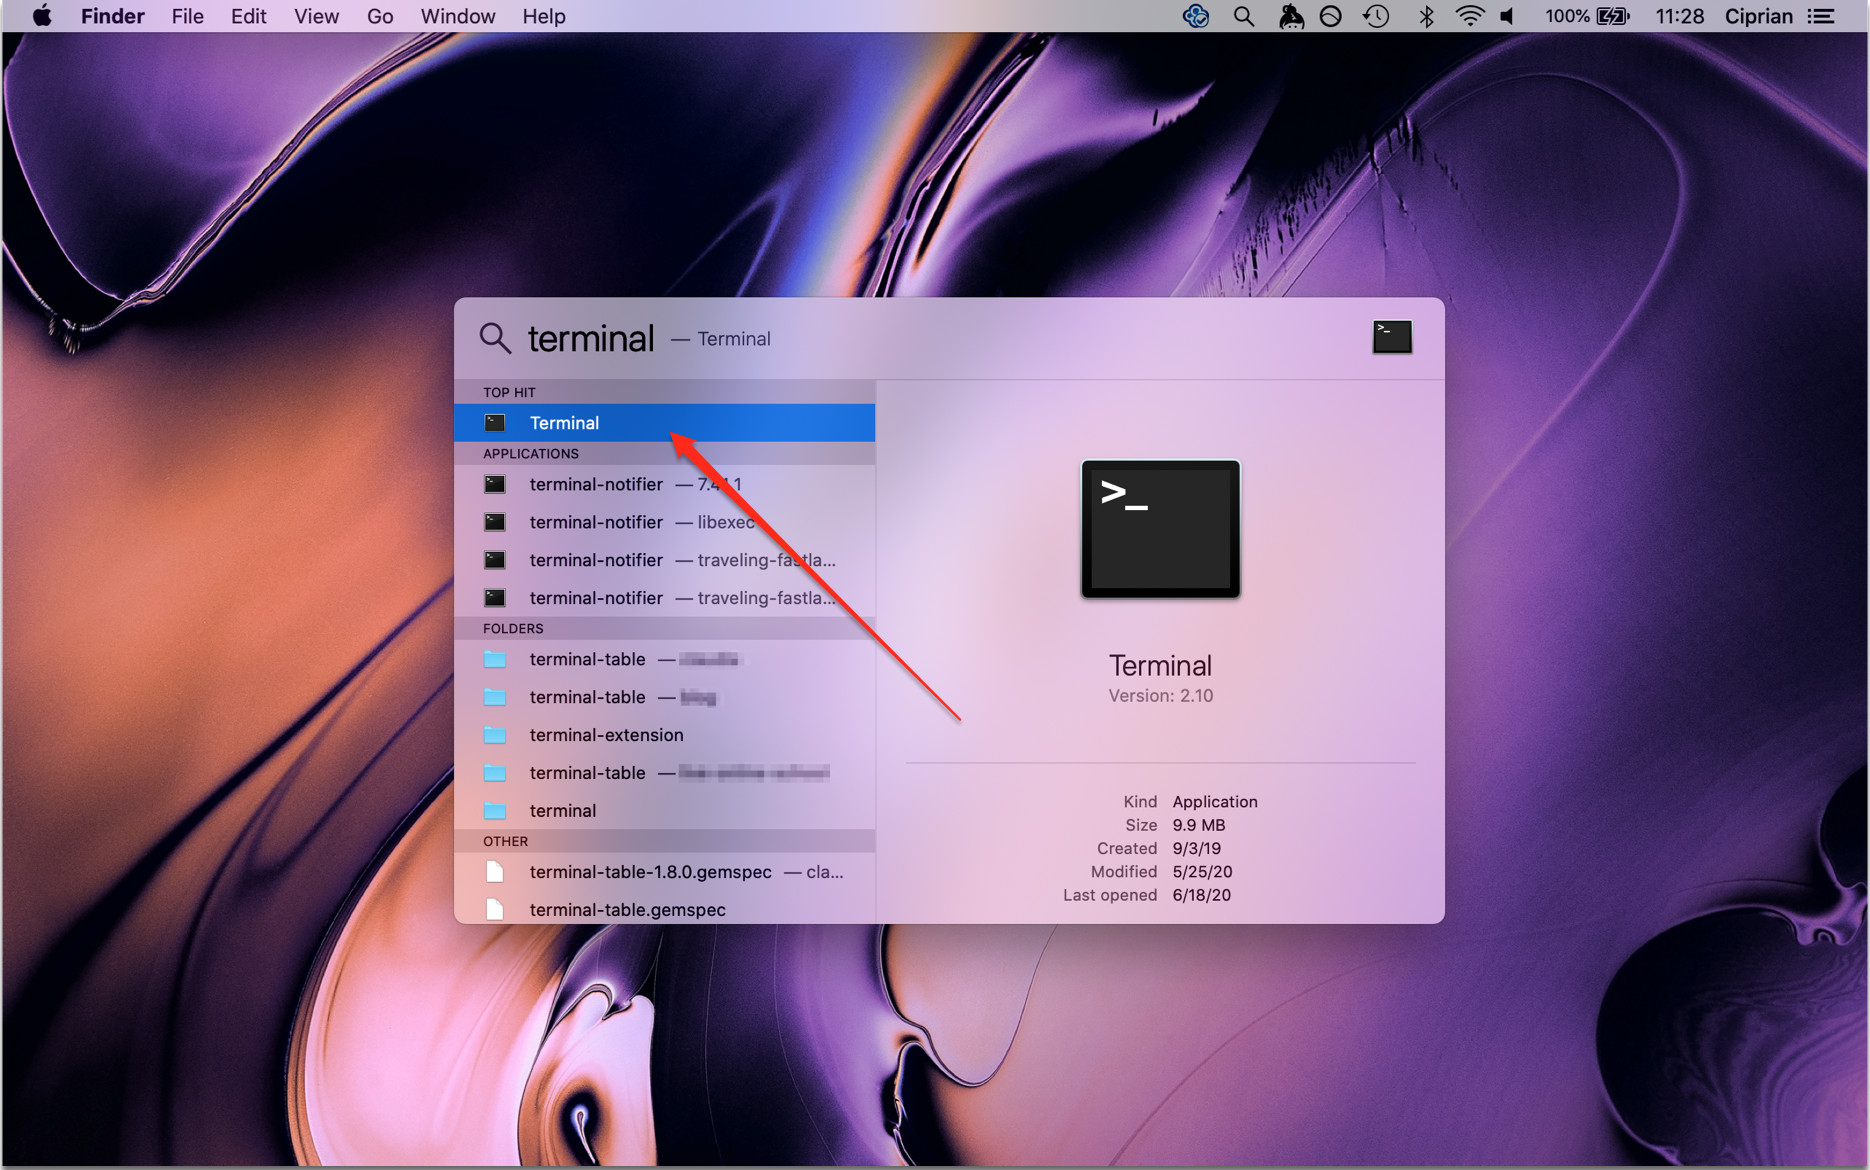
Image Source: Edlitera
Step 2. Once the Terminal app opens, navigate to the desired folder, using the cd command. For details on how to use the command line, read this tutorial on how to use the command line, part 1 and part 2:
- Intro to Programming: How to Use the Command Line (Part 1)
- Intro to Programming: How to Use the Command Line (Part 2)
Please note that your Terminal colors and text may differ.

Image Source: Edlitera
Step 3. Once you are in the desired folder, type jupyter notebook and press the Enter key.
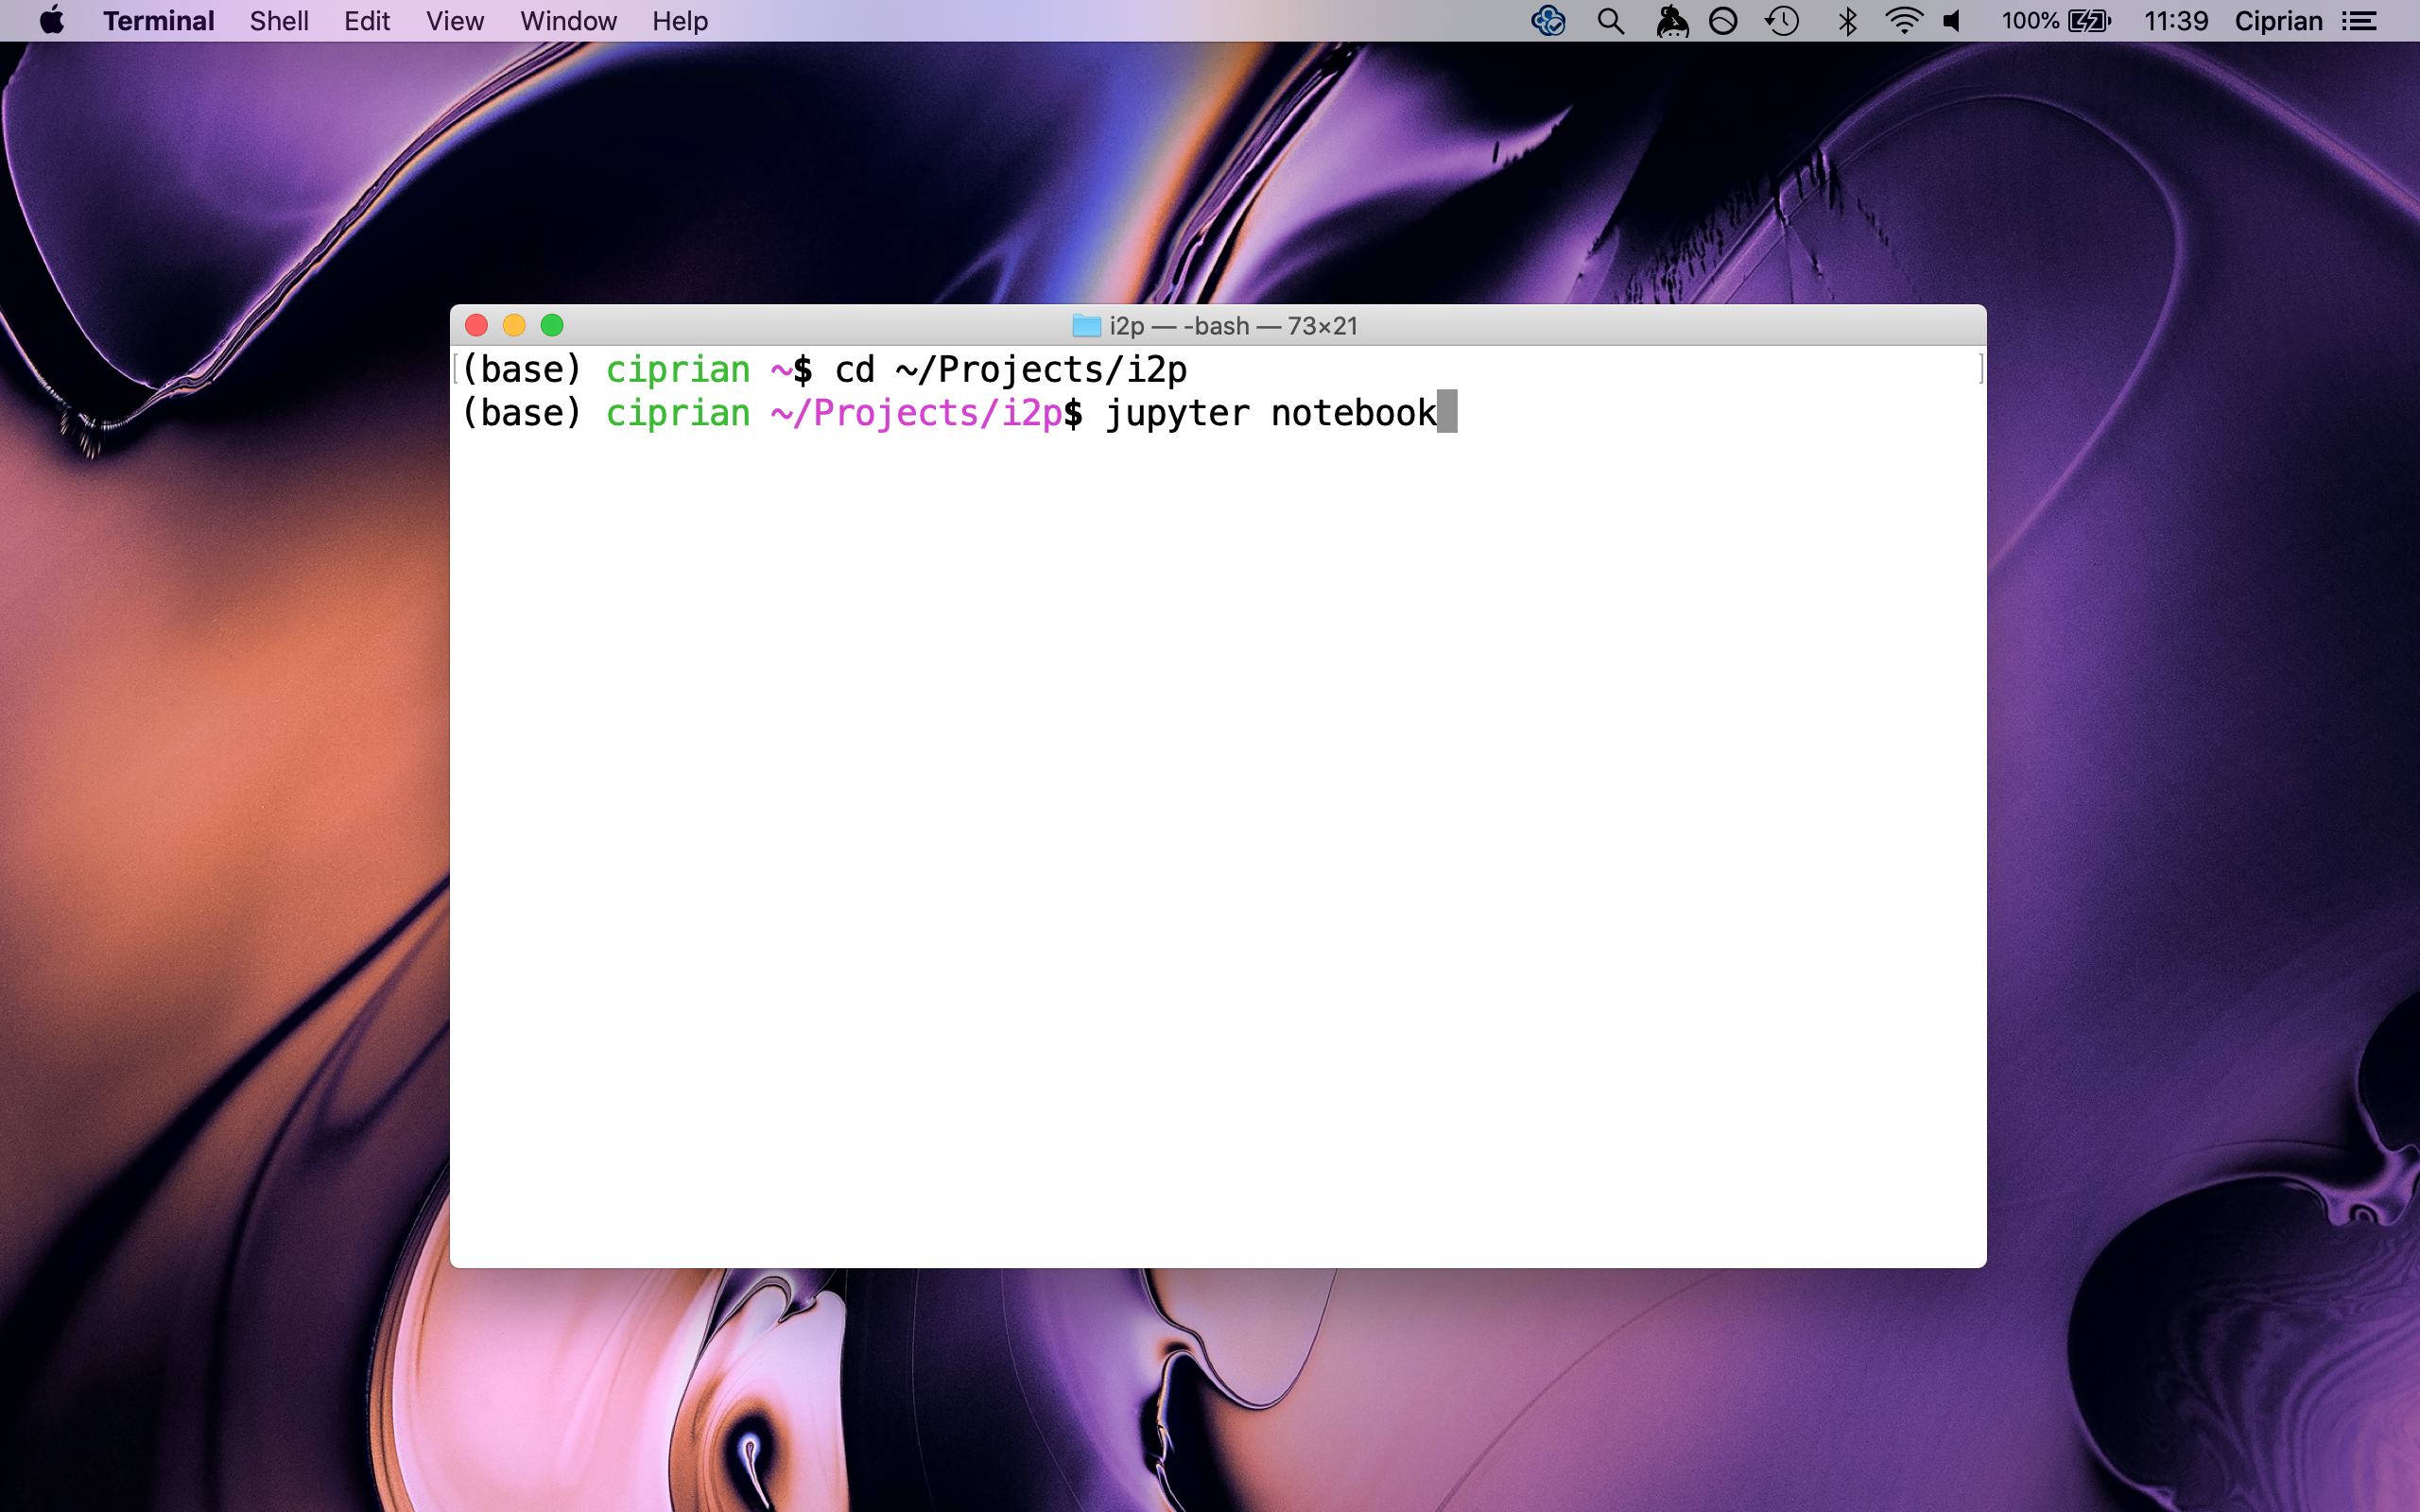
Image Source: Edlitera
Step 4. The Jupyter server will start. You should see some server logs printed.
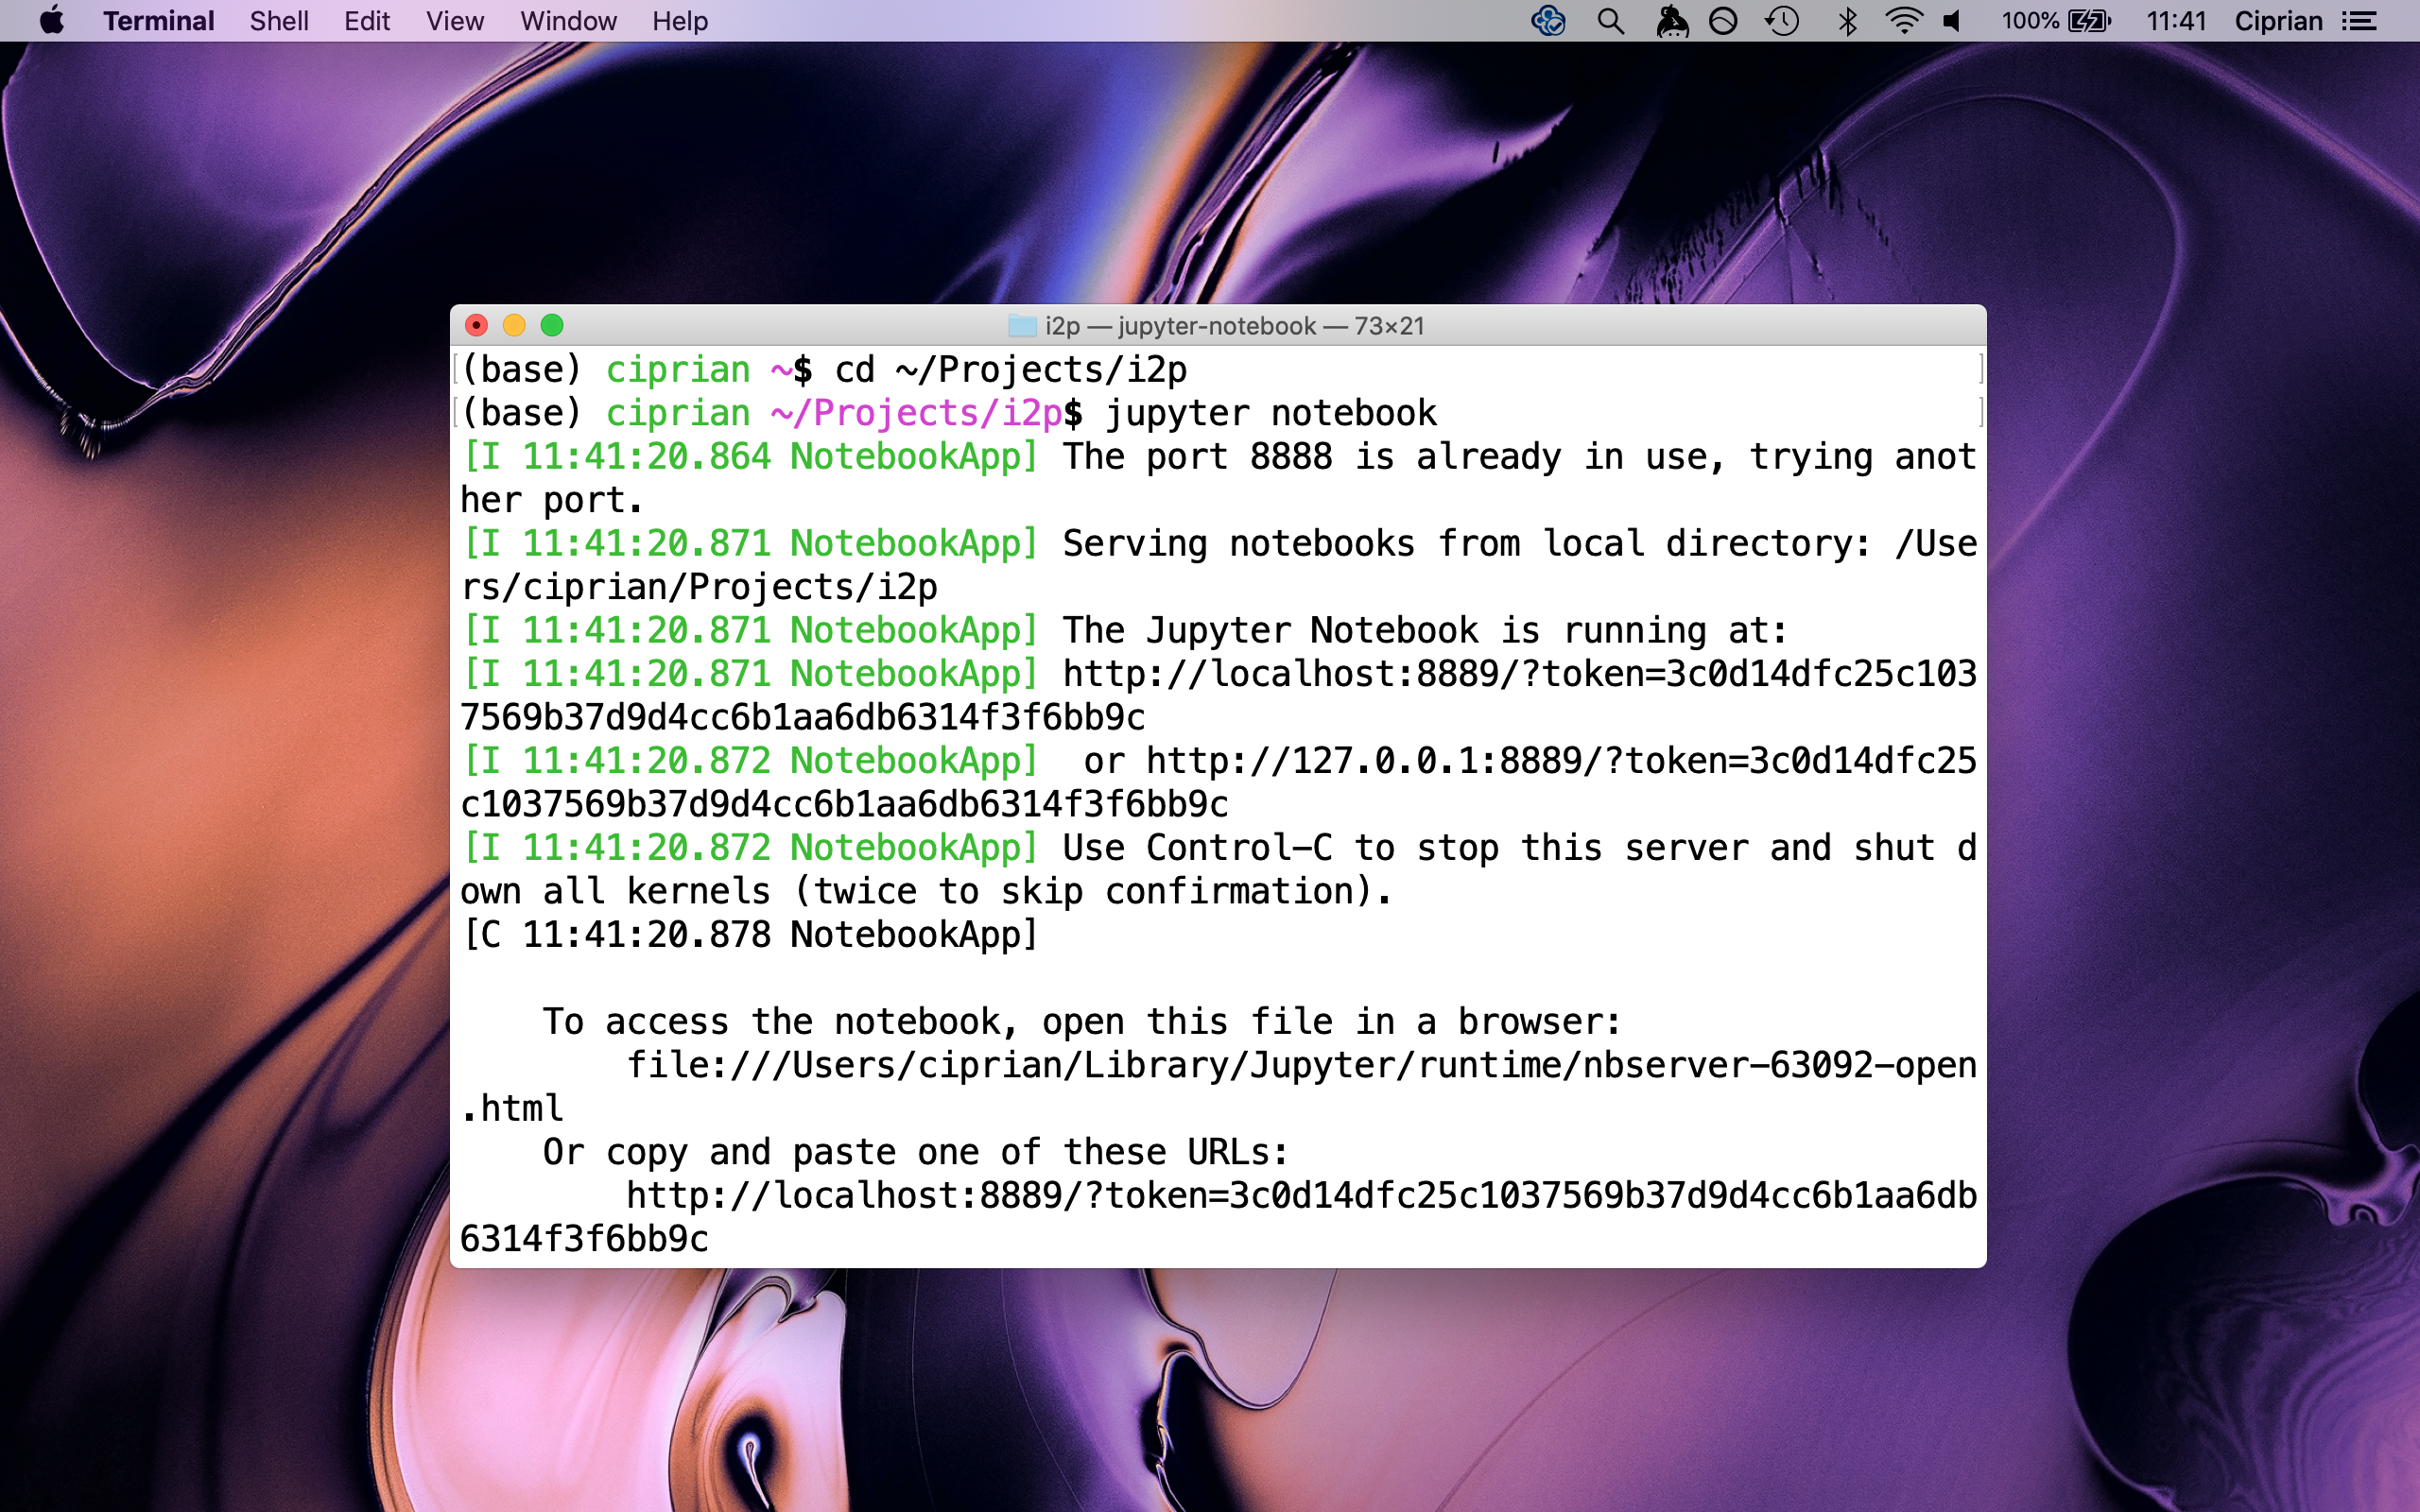
Image Source: Edlitera
Step 5. Shortly after, a browser window should open, showing the files and folders located in the folder where you started the Jupyter server (in my case, this folder is ~/Projects/i2p).
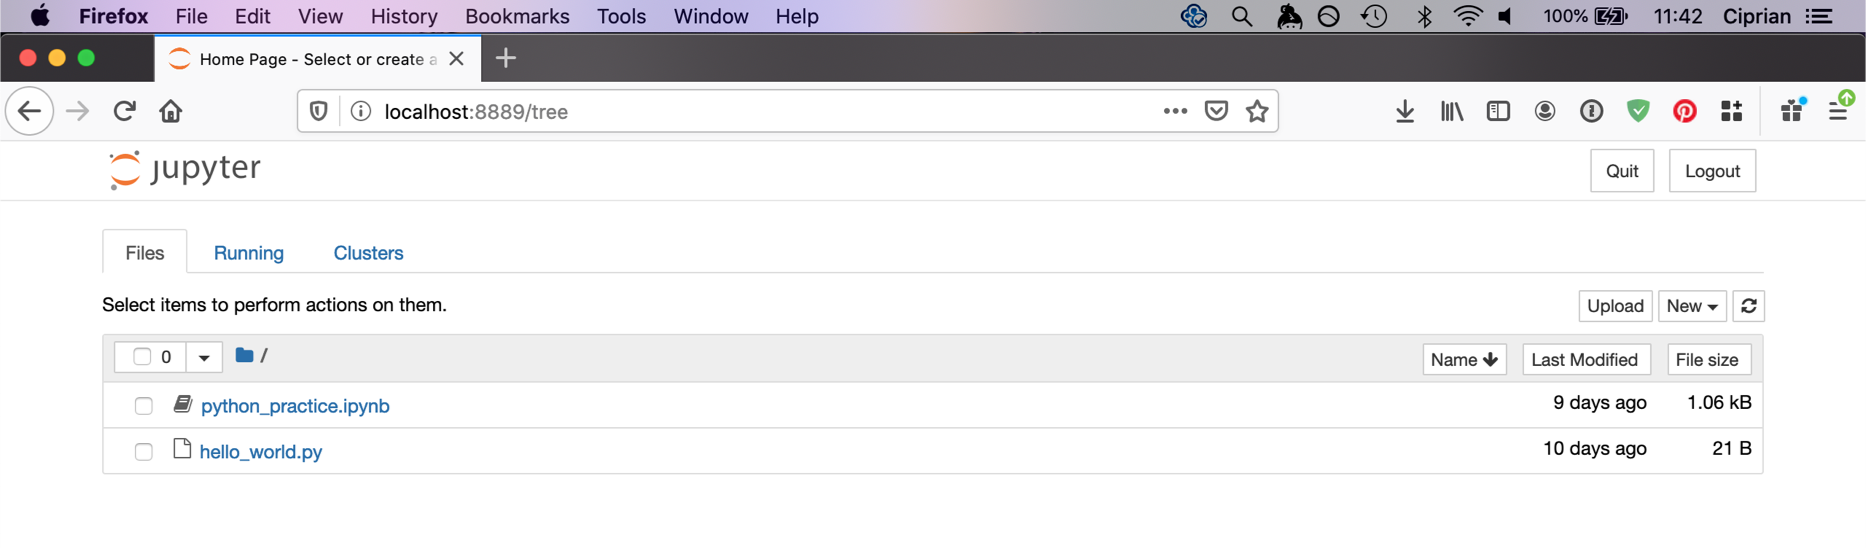
Image Source: Edlitera
Step 6. Create a new Jupyter notebook.
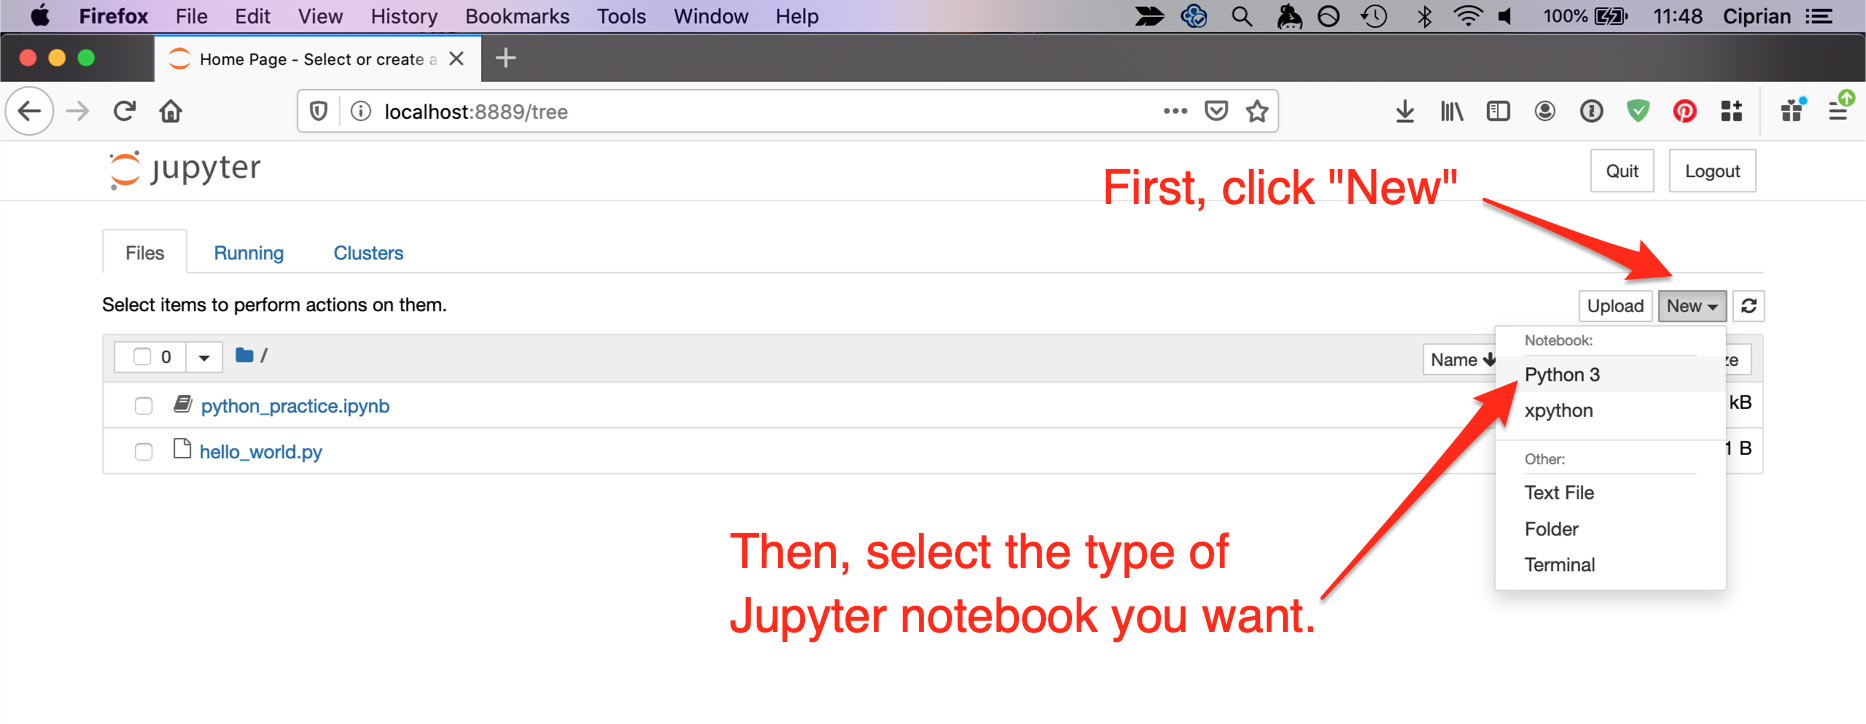
Image Source: Edlitera
Step 7. Your new Jupyter notebook is now ready.
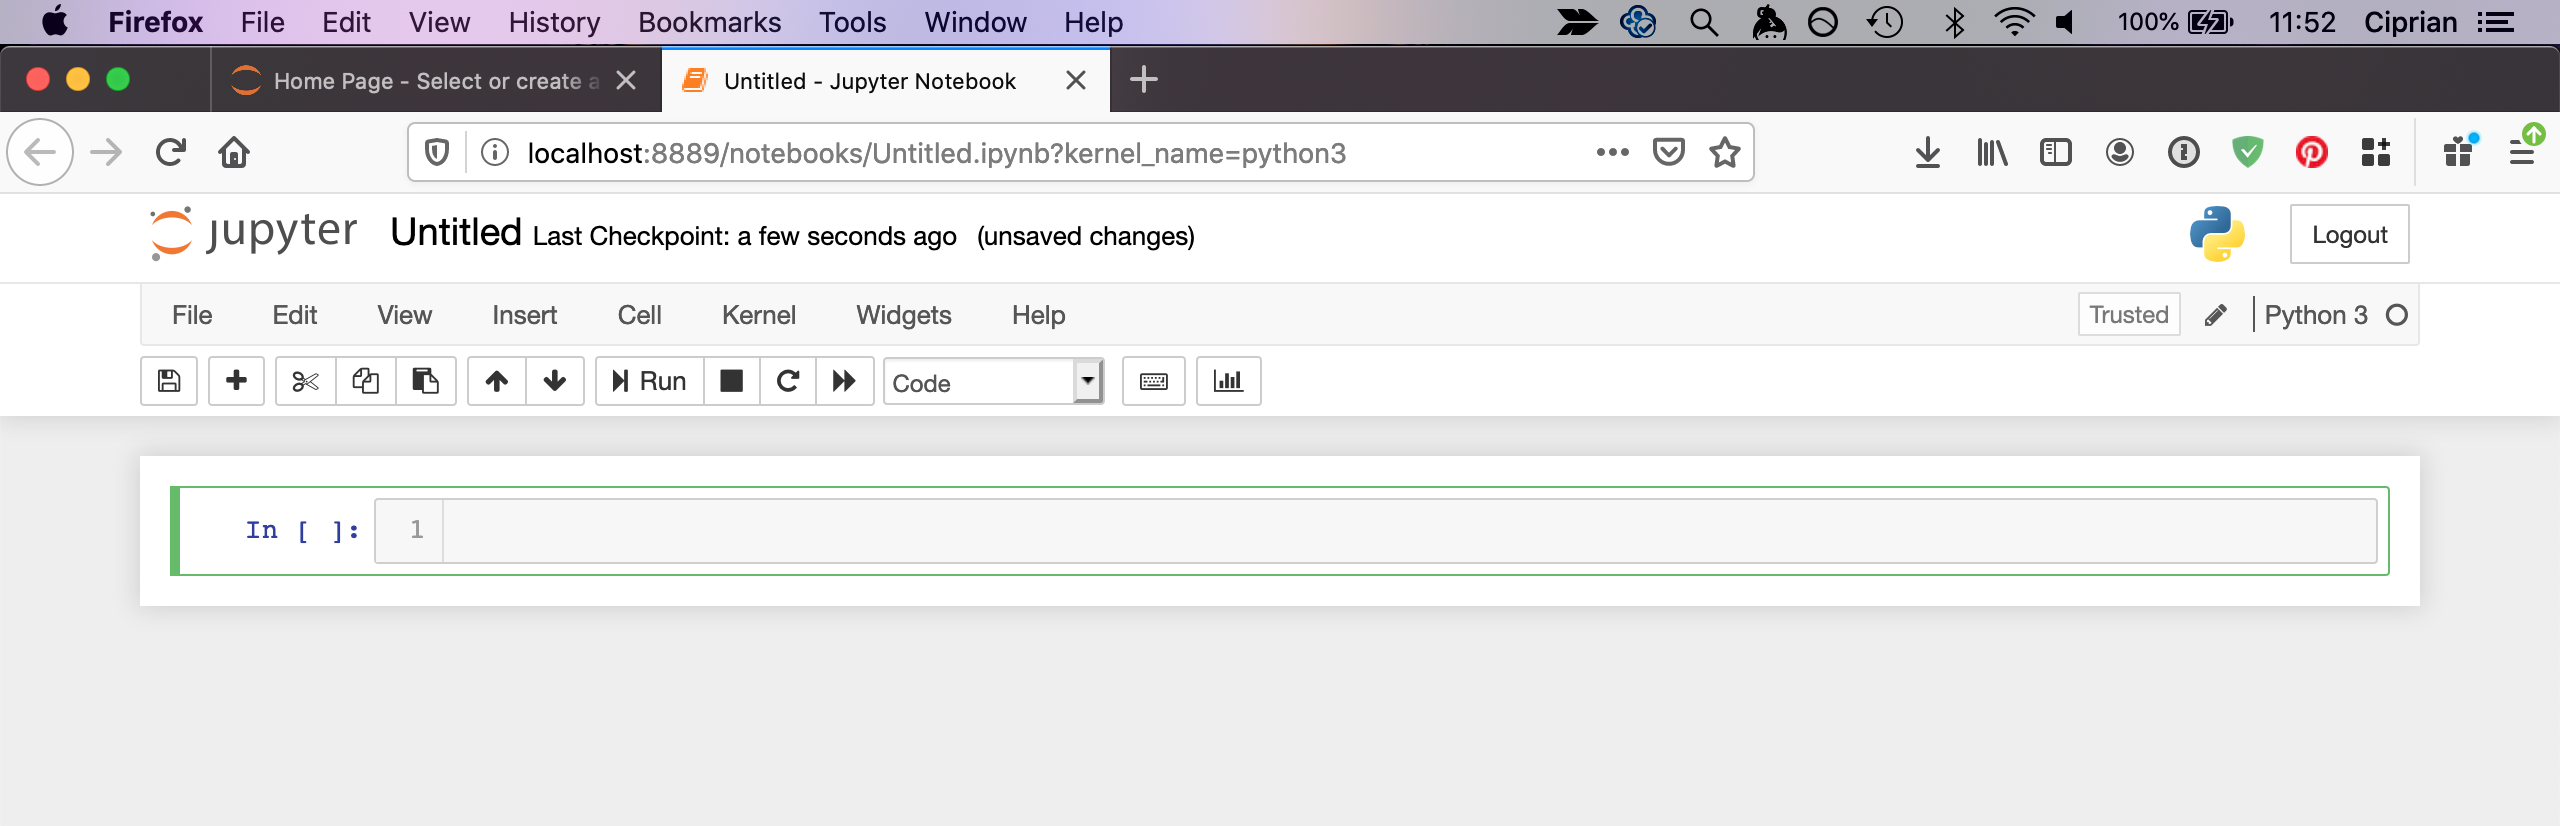
Image Source: Edlitera
How to Open a Jupyter Notebook on Windows
NOTE: For best performance, I strongly recommend Firefox or Chrome as your browser when using Jupyter notebook on a Windows computer.
Step 1. Find and open the Anaconda Prompt app using the search bar. Alternatively, you can use the Anaconda Powershell Prompt. The Anaconda Powershell Prompt has more bells and whistles and it is generally nicer to work with.
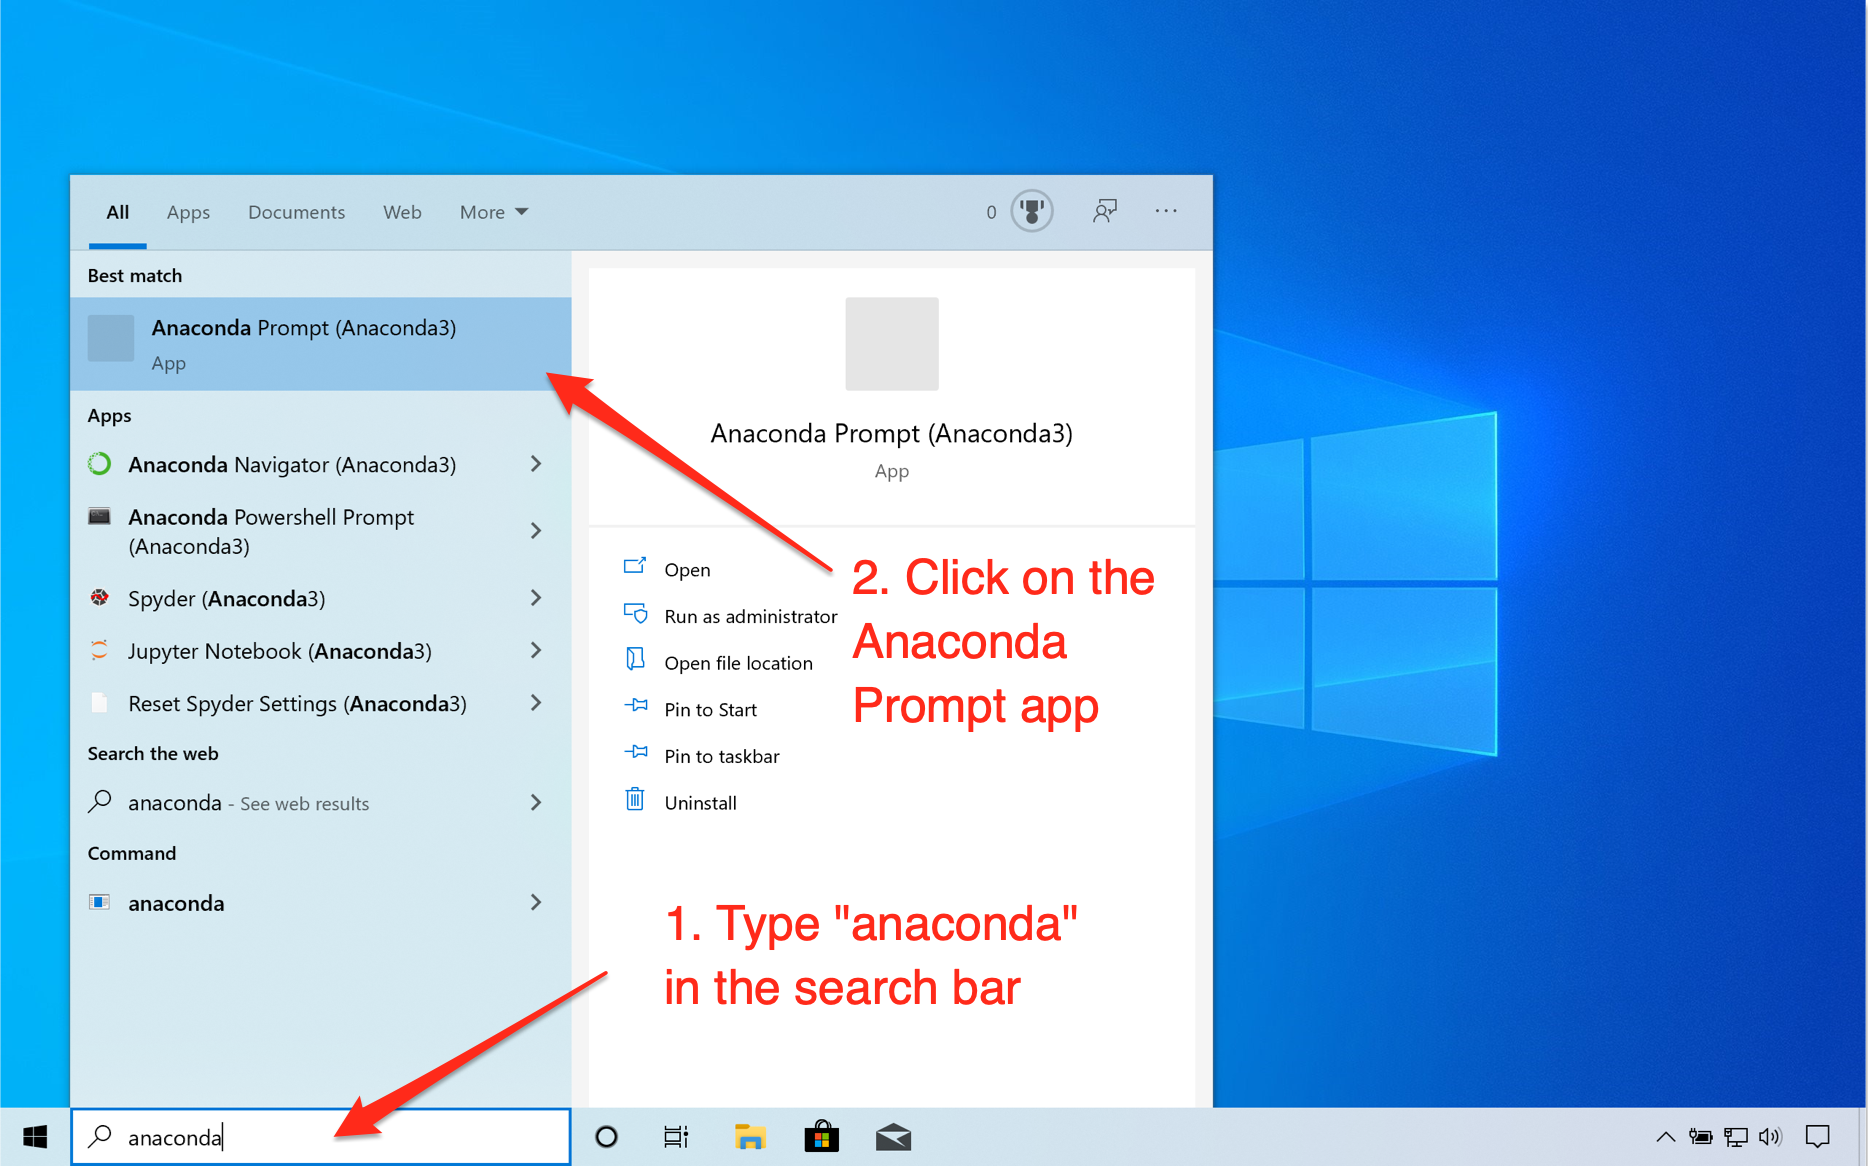
Image Source: Edlitera
Step 2. Once the Anaconda Prompt (or Anaconda Powershell Prompt) app opens, navigate to the desired folder, using the cd command.
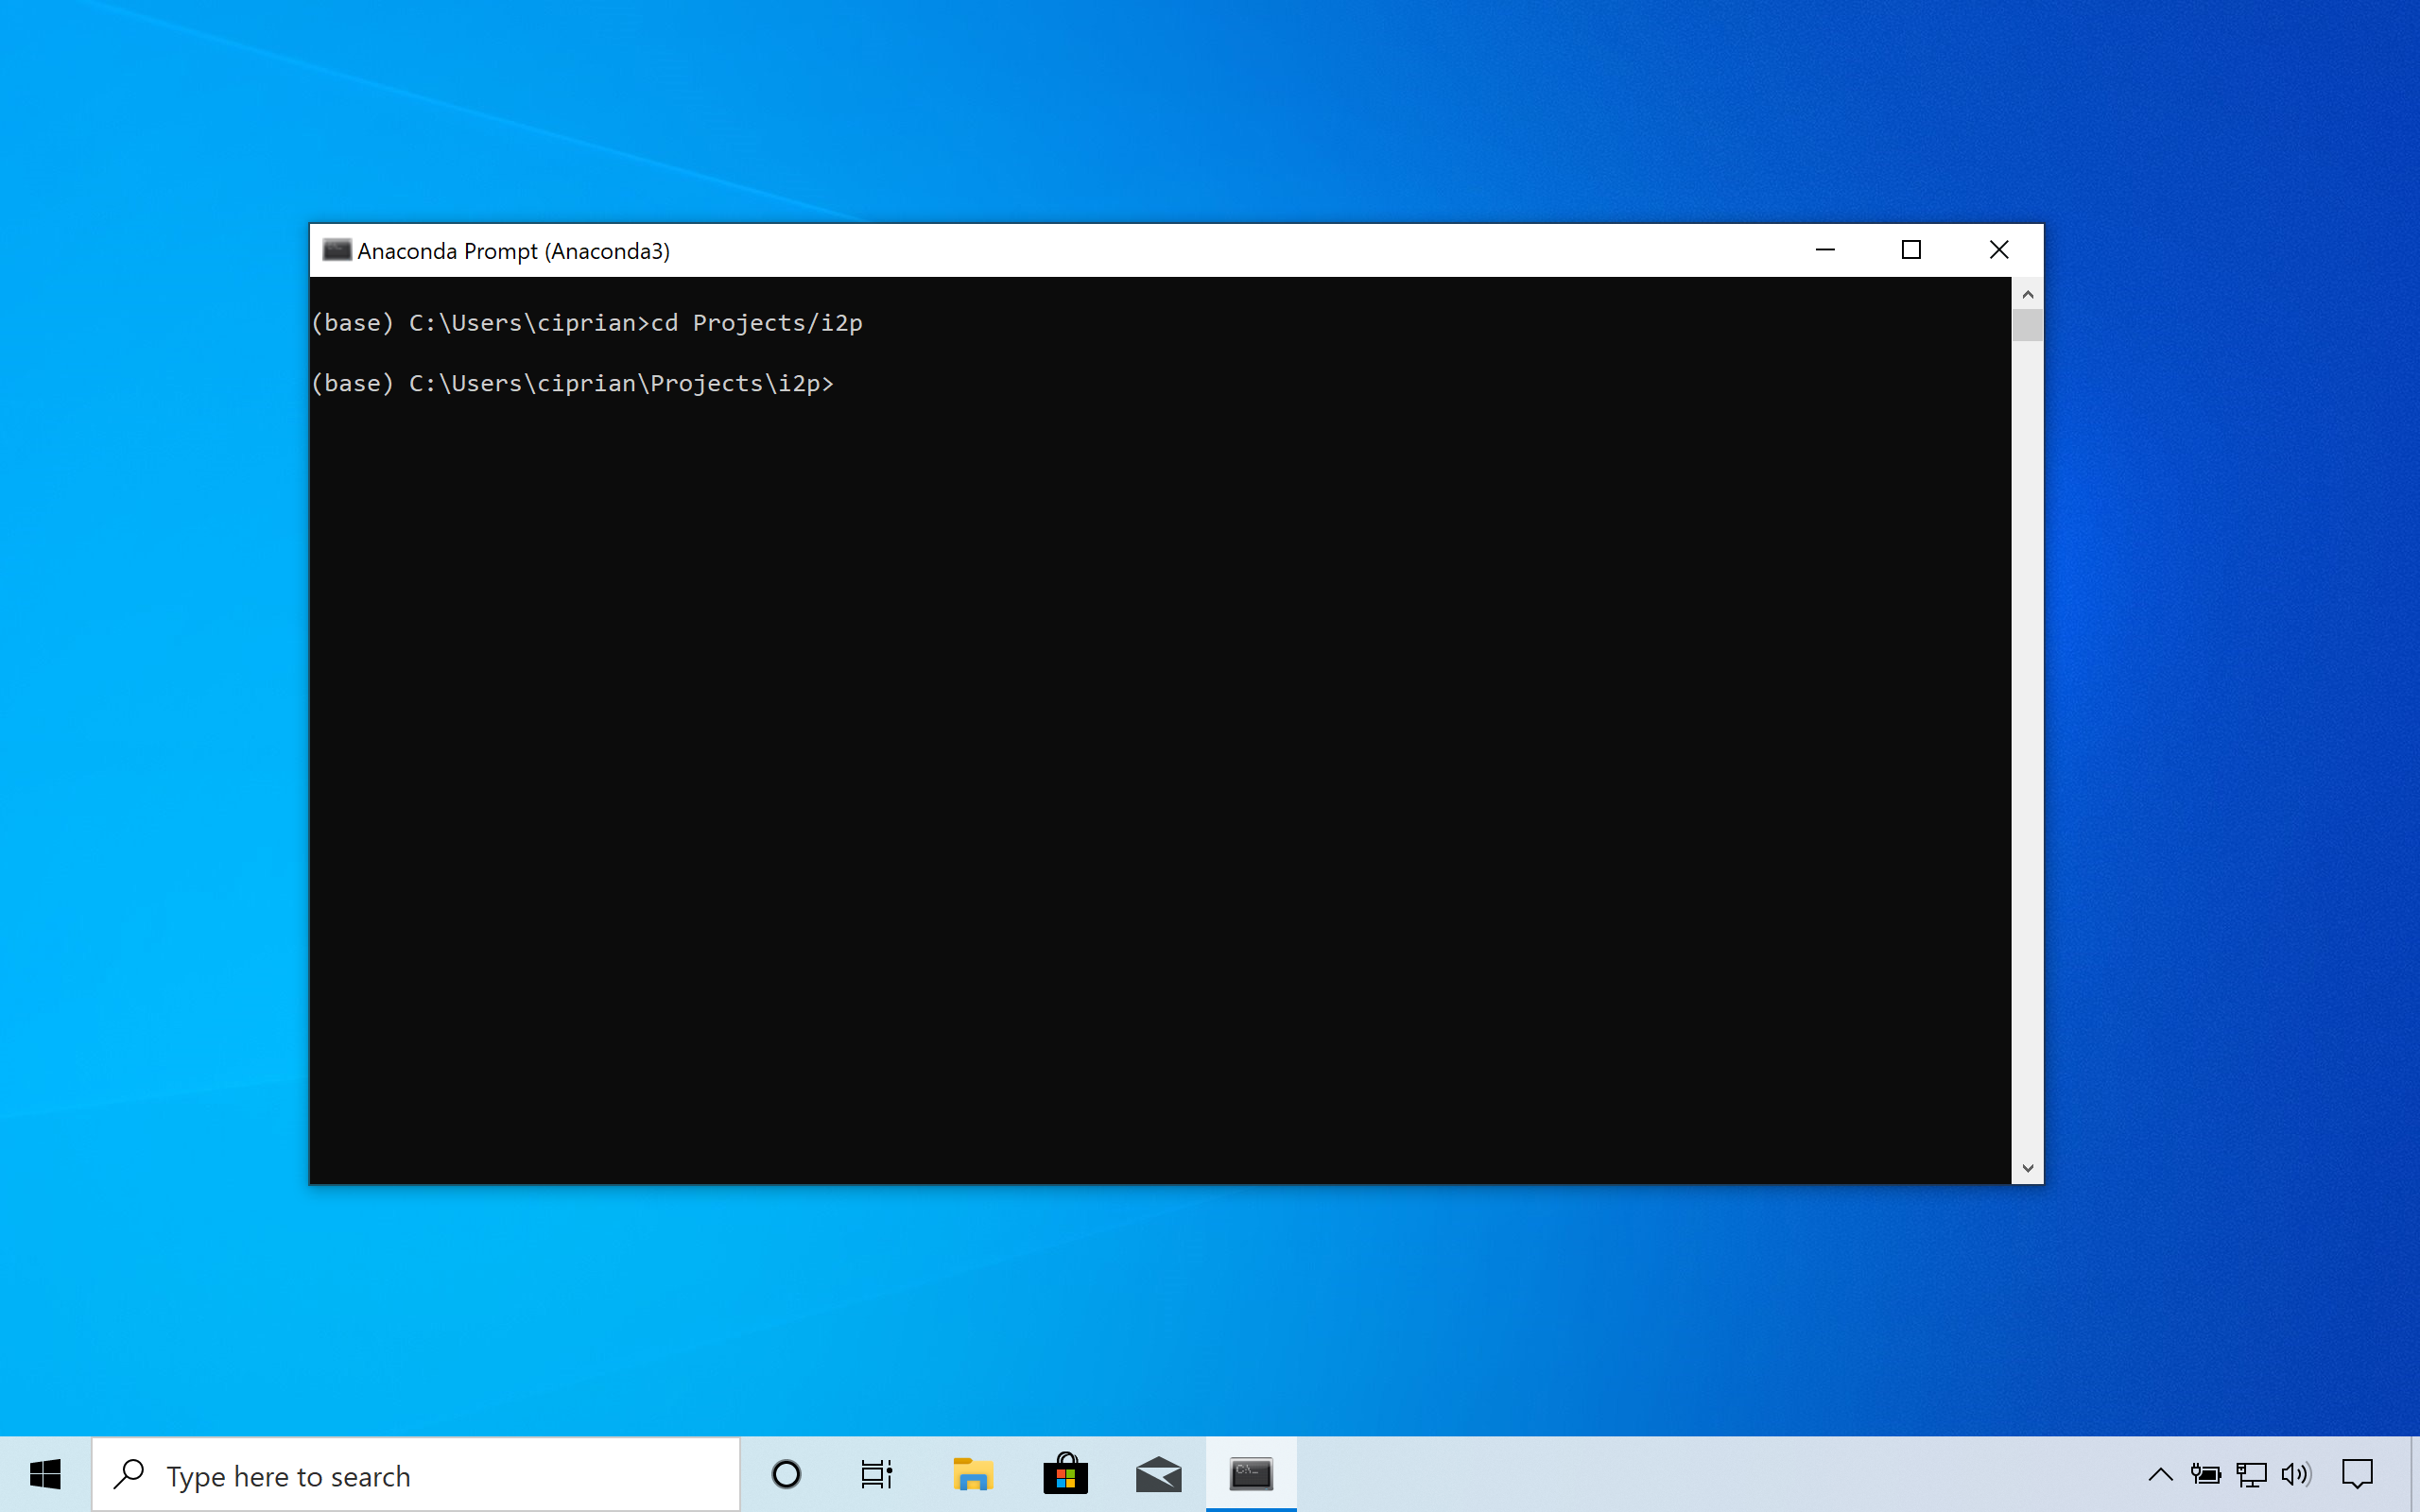
Image Source: Edlitera
Step 3. Once in the desired folder, type jupyter notebook followed by the Enter key.
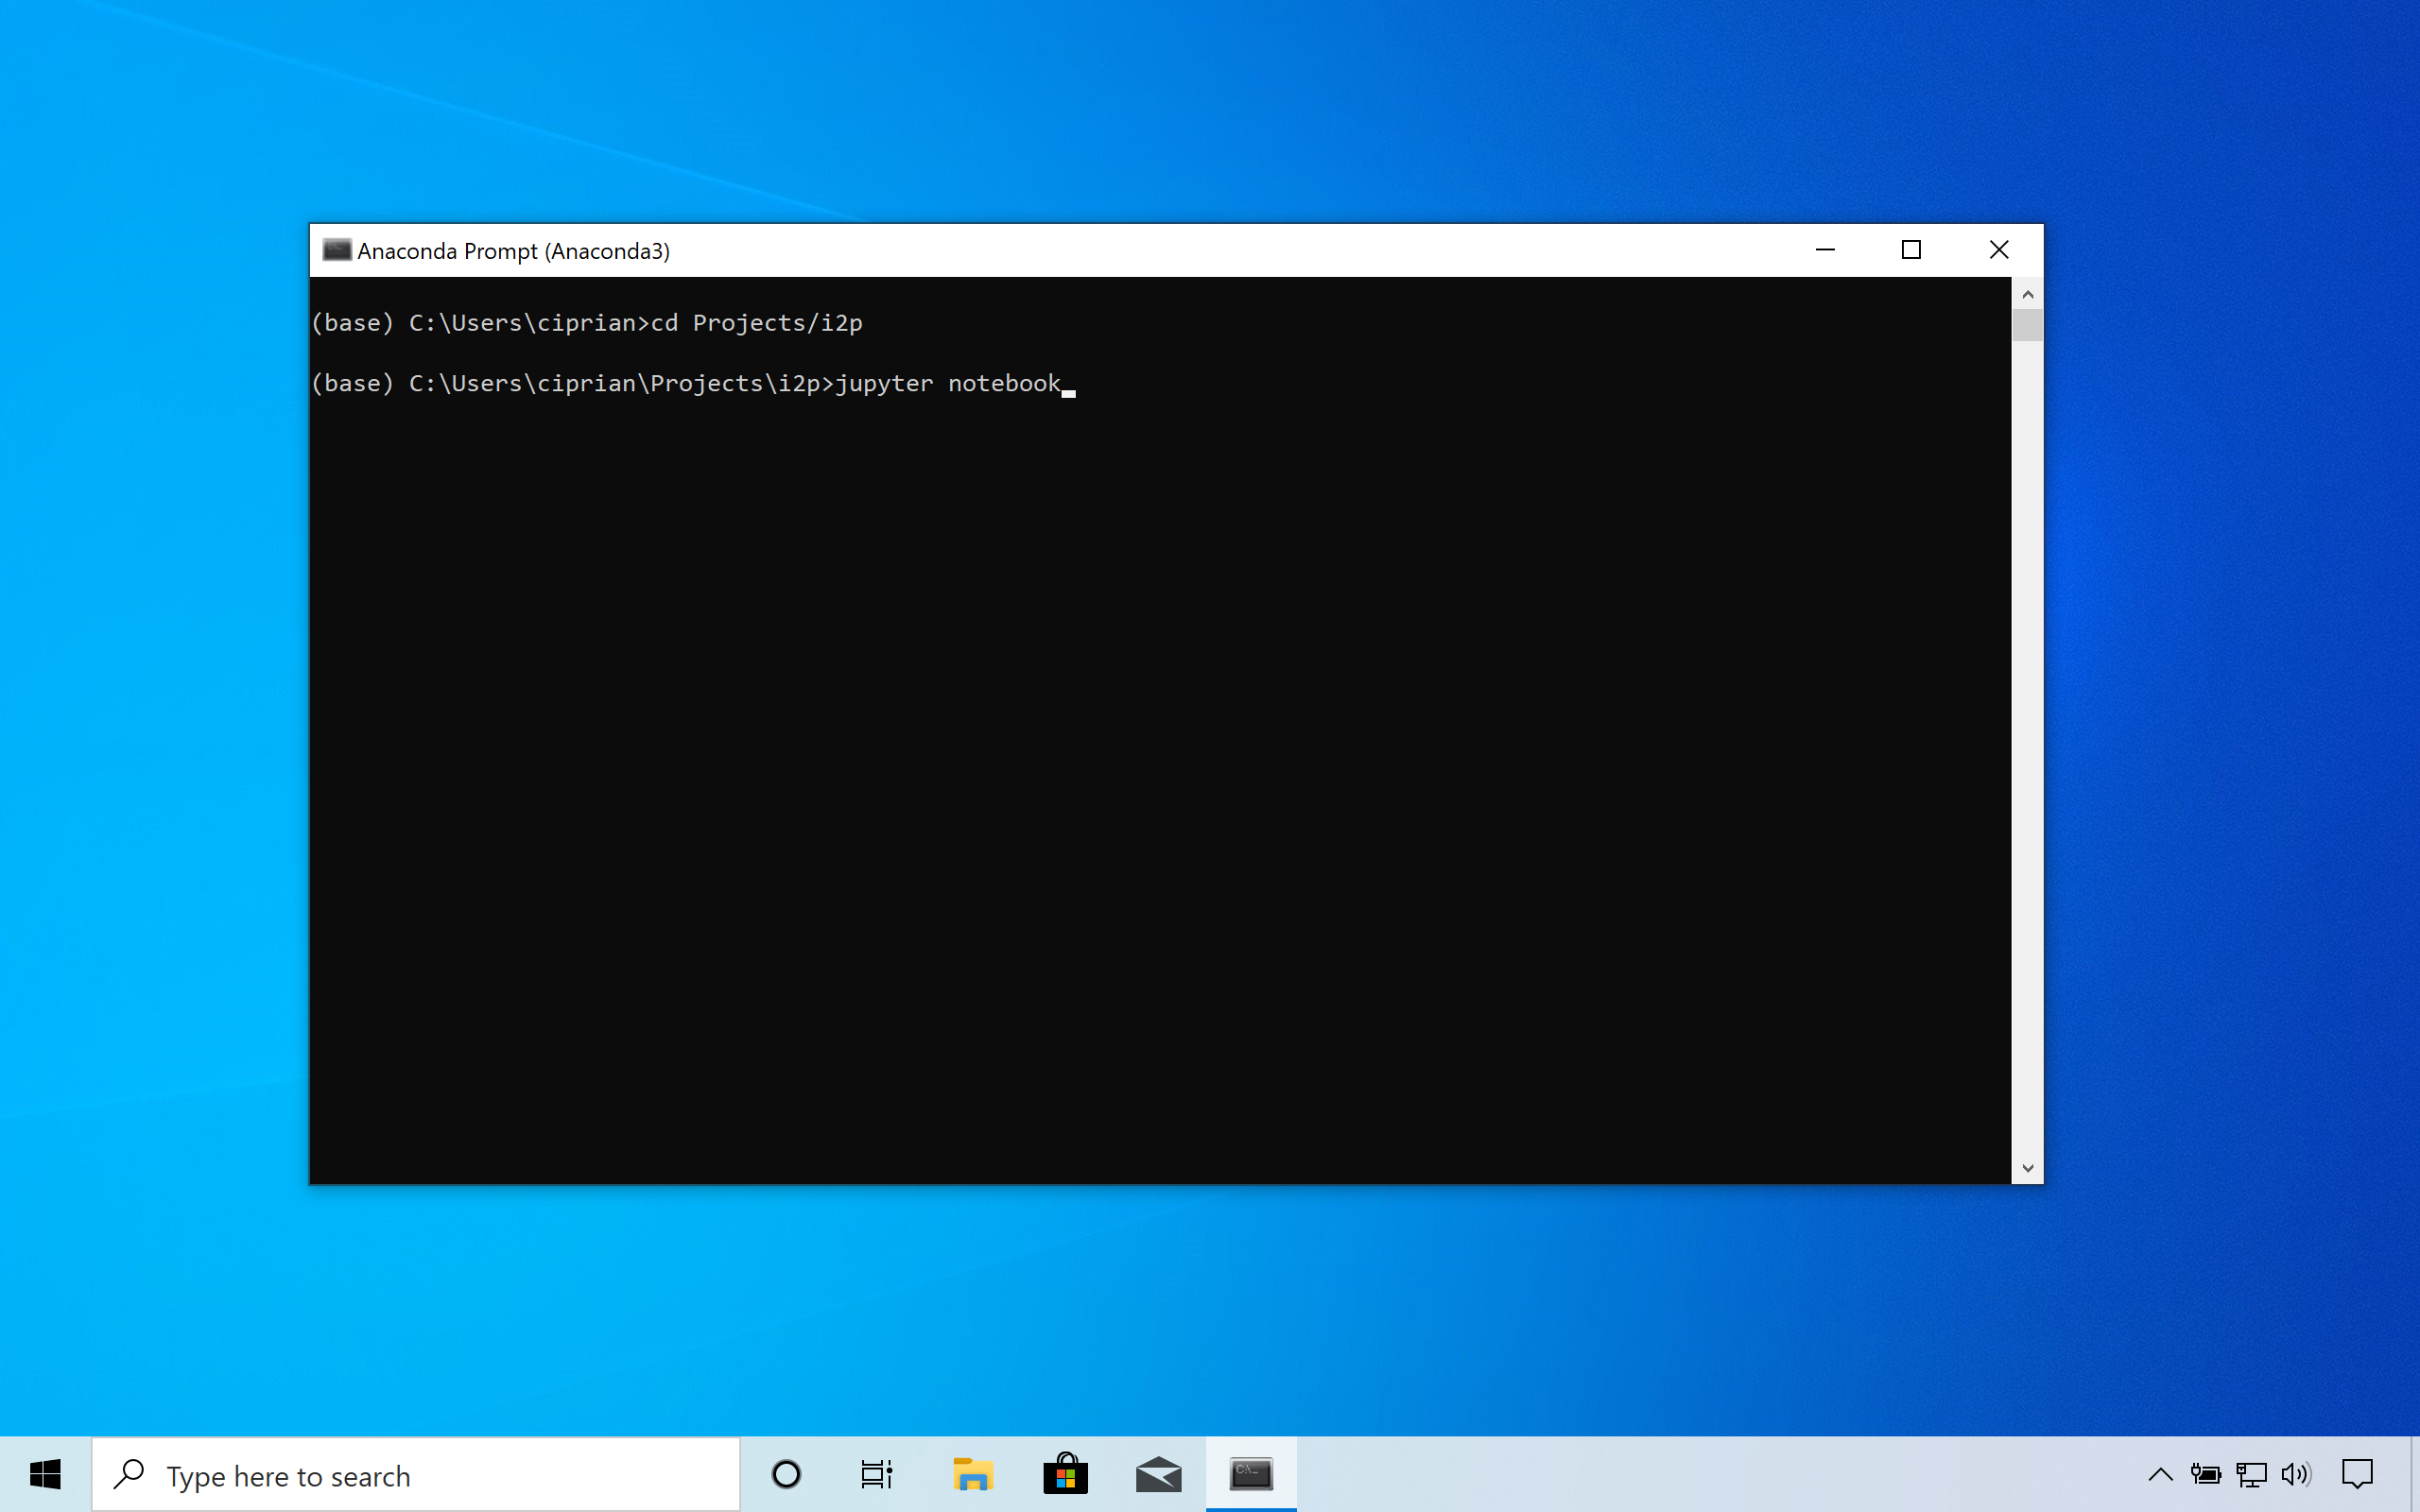
Image Source: Edlitera
Step 4. The Jupyter server will start. You should see some server logs printed. You may be prompted to select an application to open Jupyter in. Firefox or Chrome are preferred.
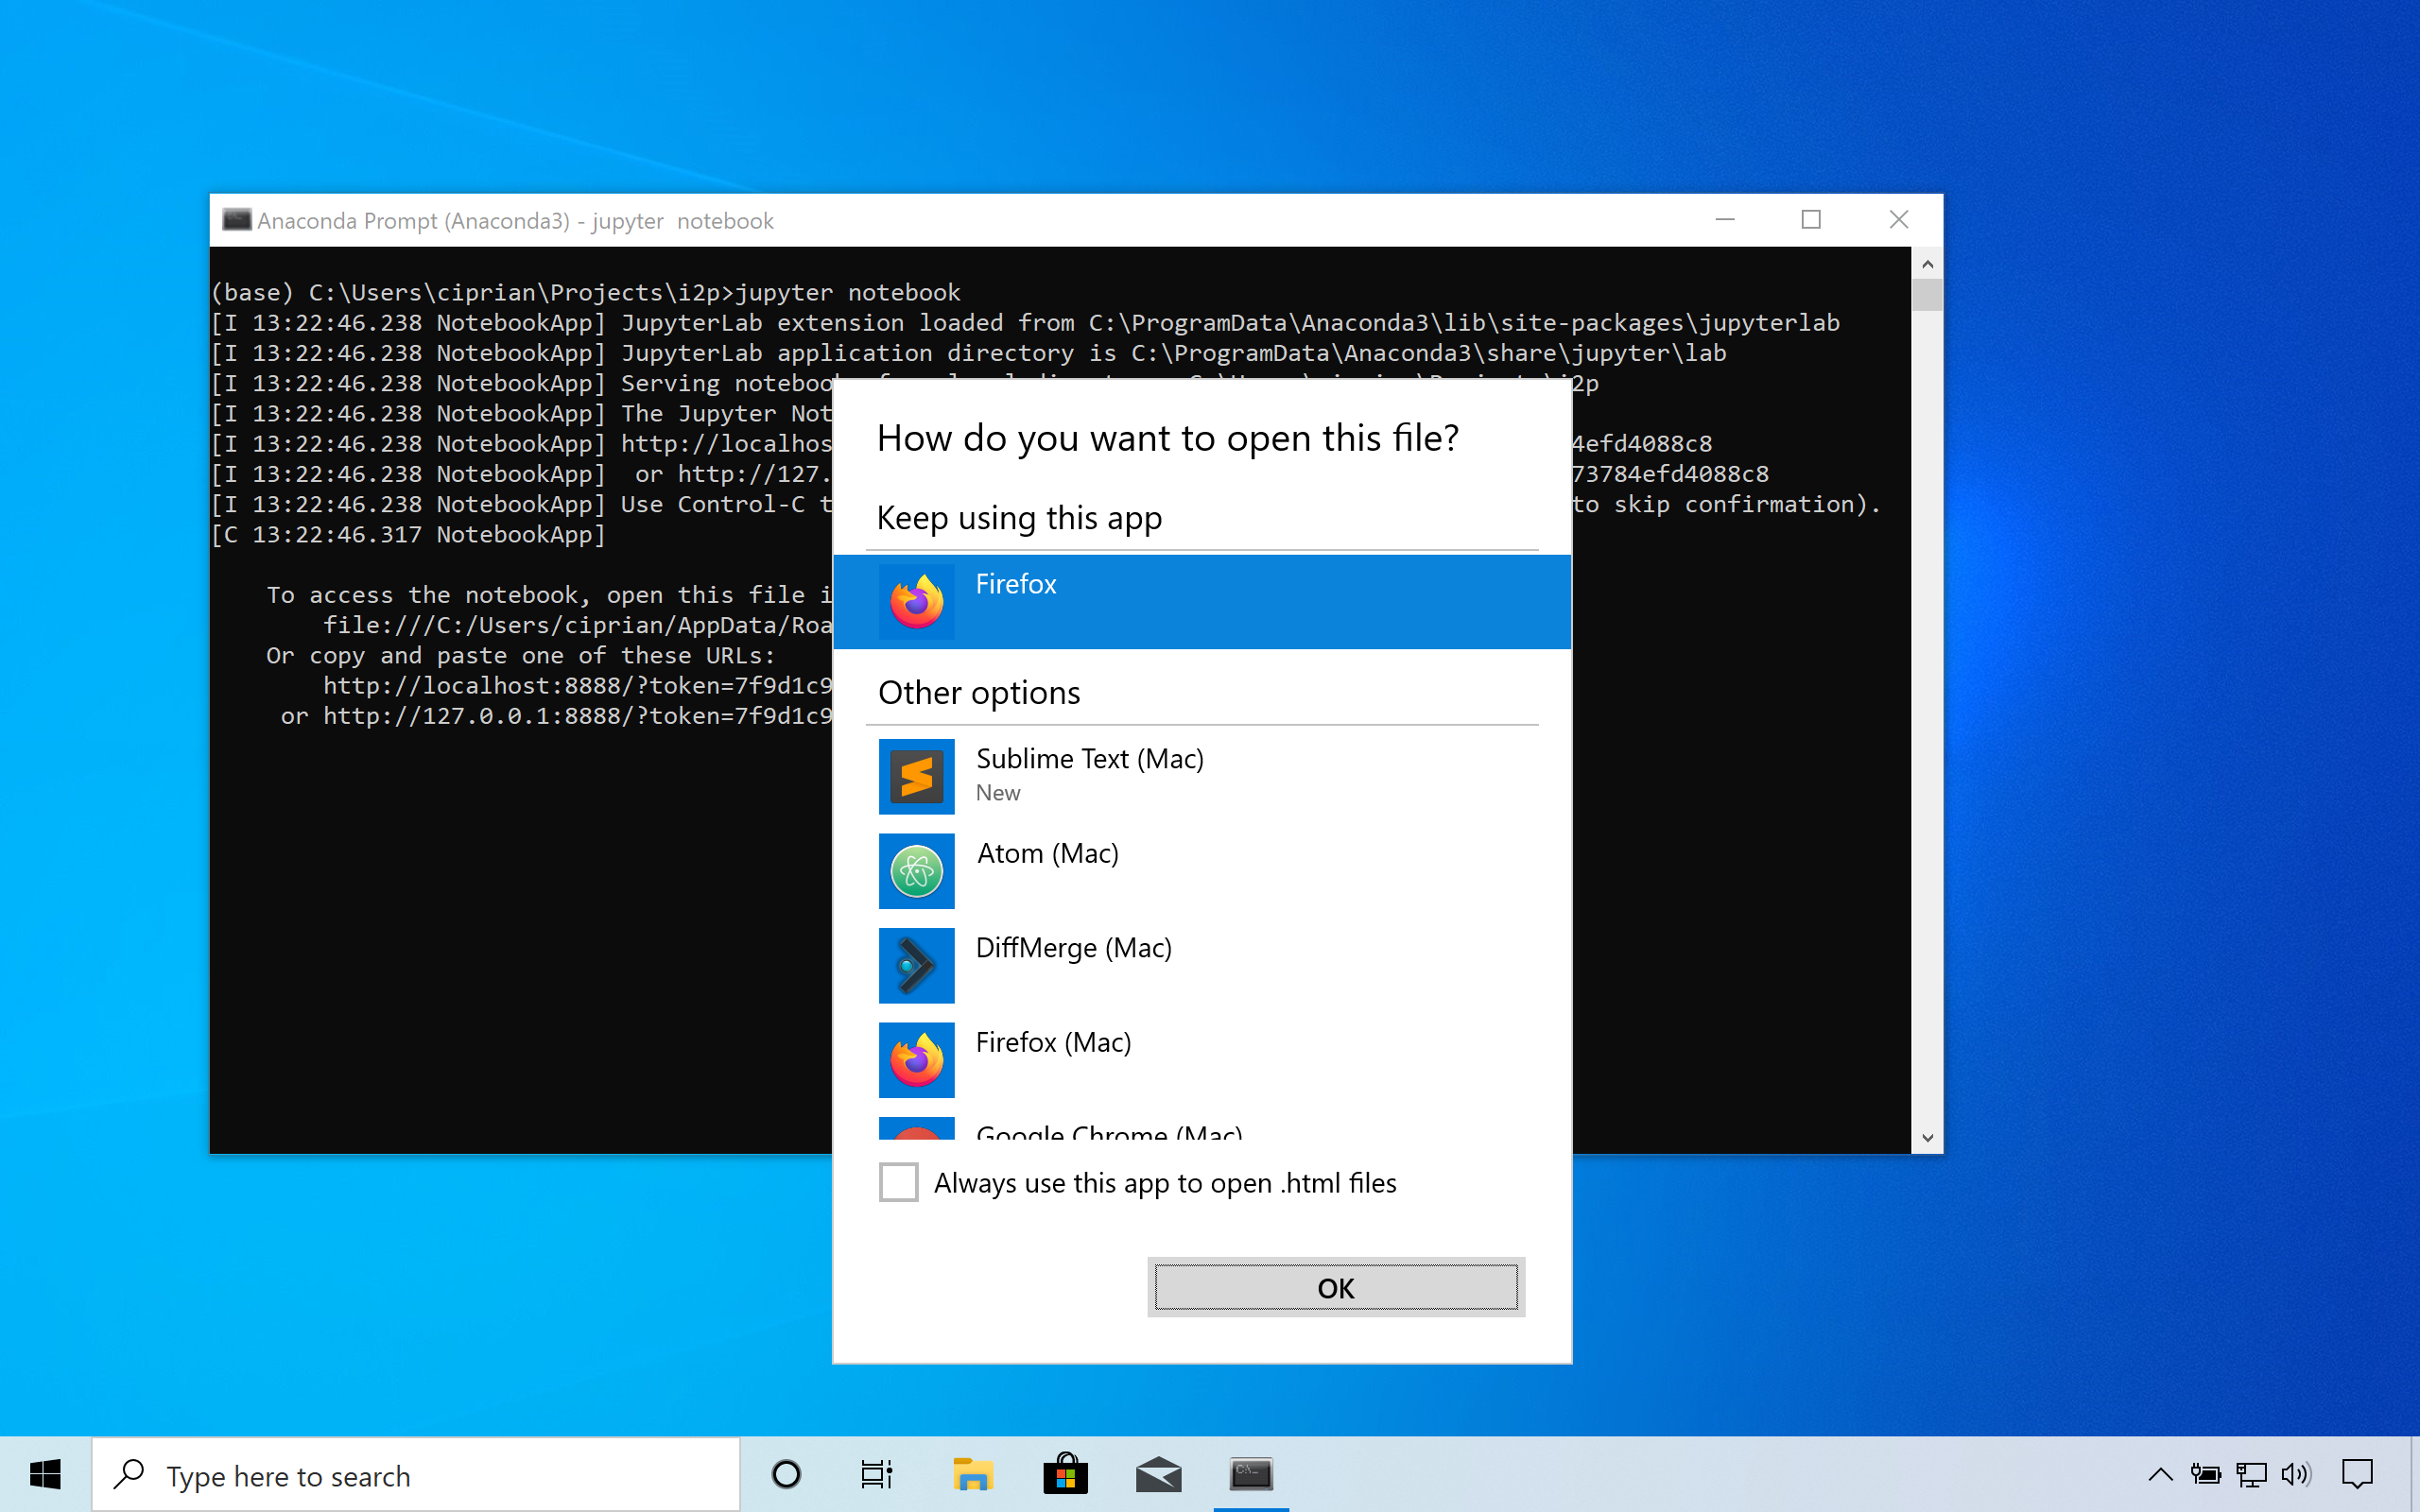
Image Source: Edlitera
Step 5. Shortly after, a browser window should open, showing the files and folders located in the folder where you started the Jupyter server (in my case, this folder is C:\Users\ciprian\Projects\i2p).
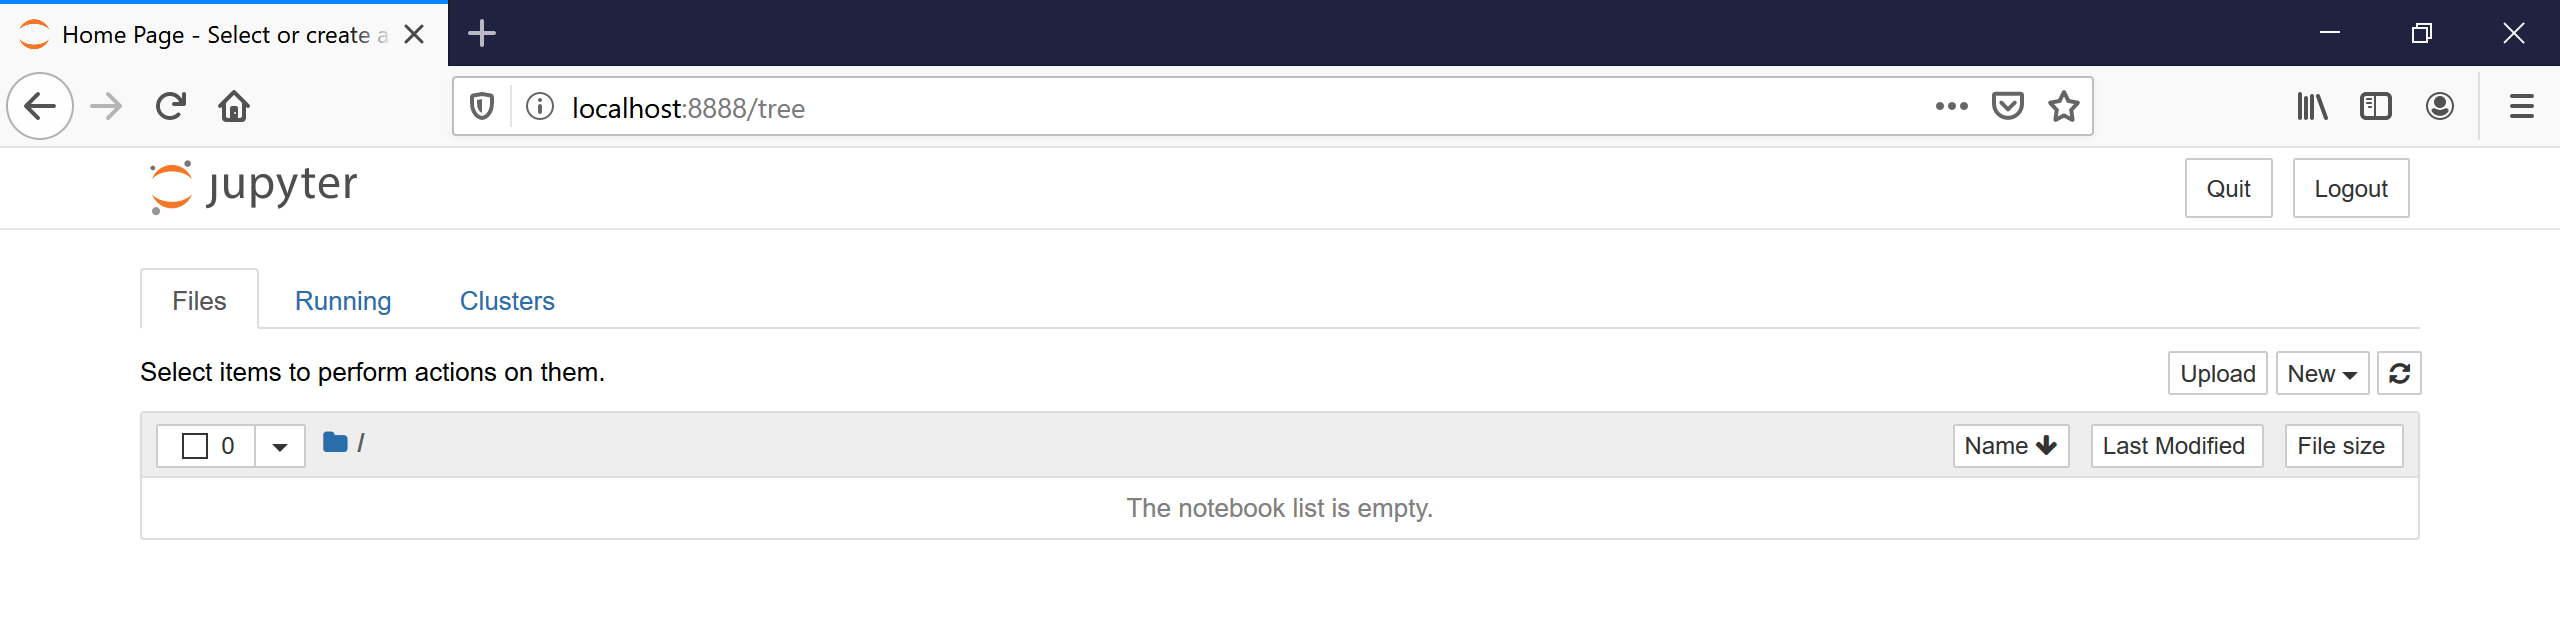
Image Source: Edlitera
Step 6. Create a new Jupyter notebook.
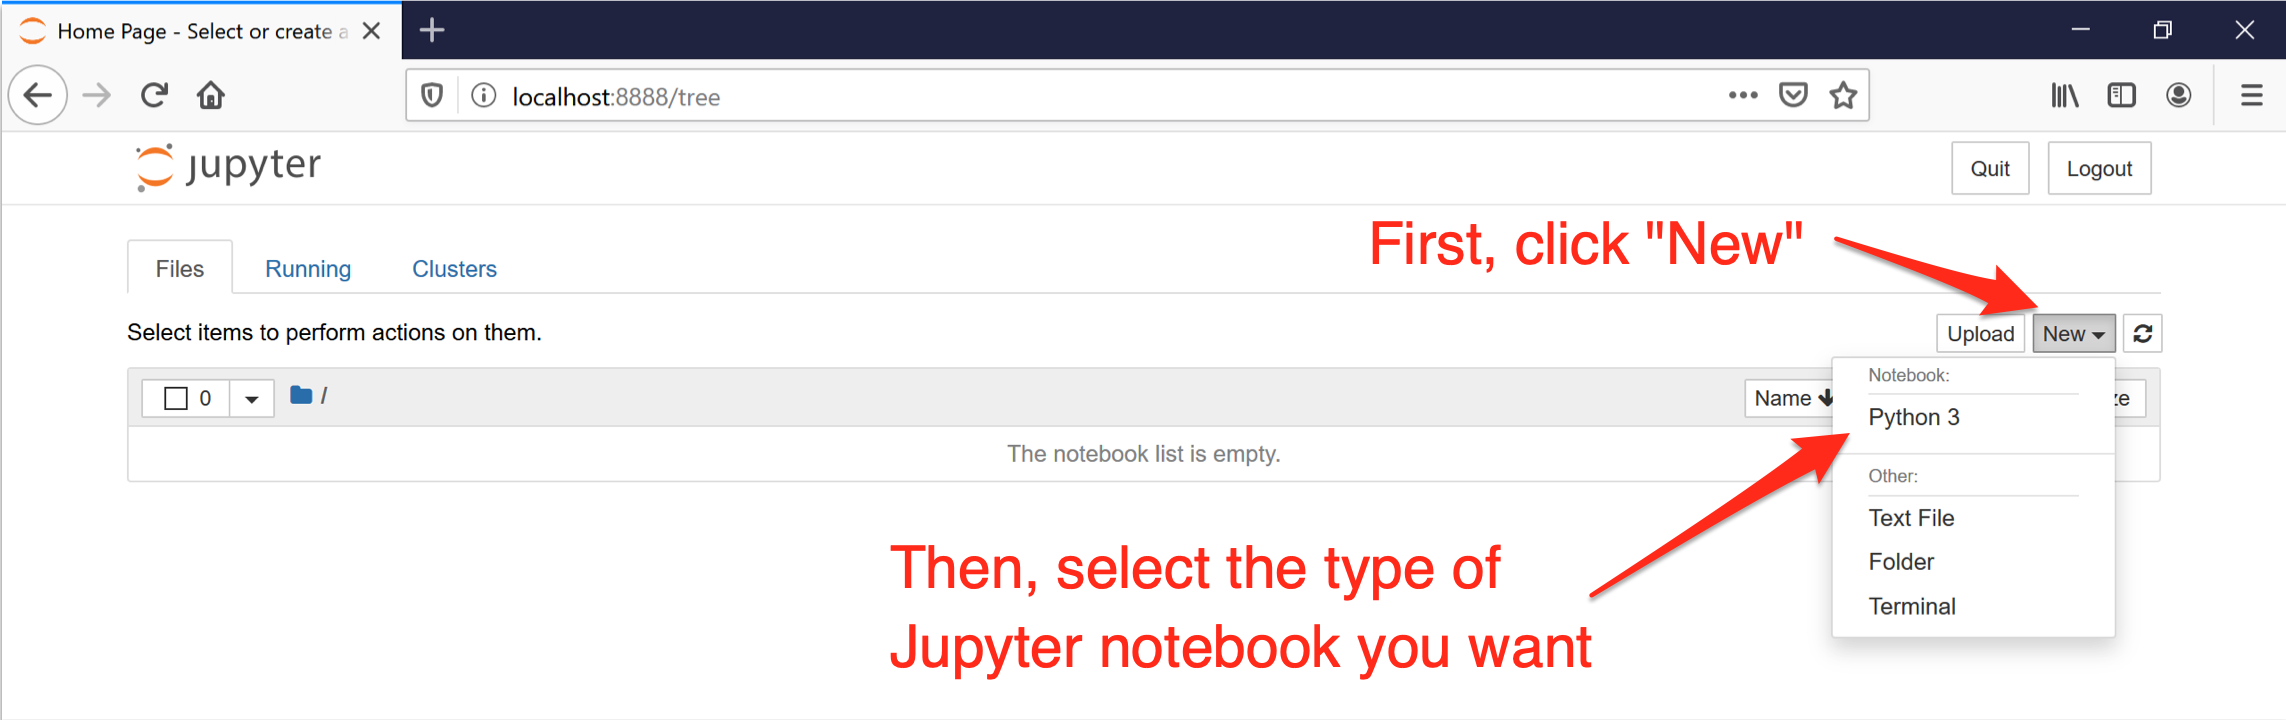
Image Source: Edlitera
Step 7. Your new Jupyter notebook is now ready and you can start learning more about data types, variables, numbers, and more!
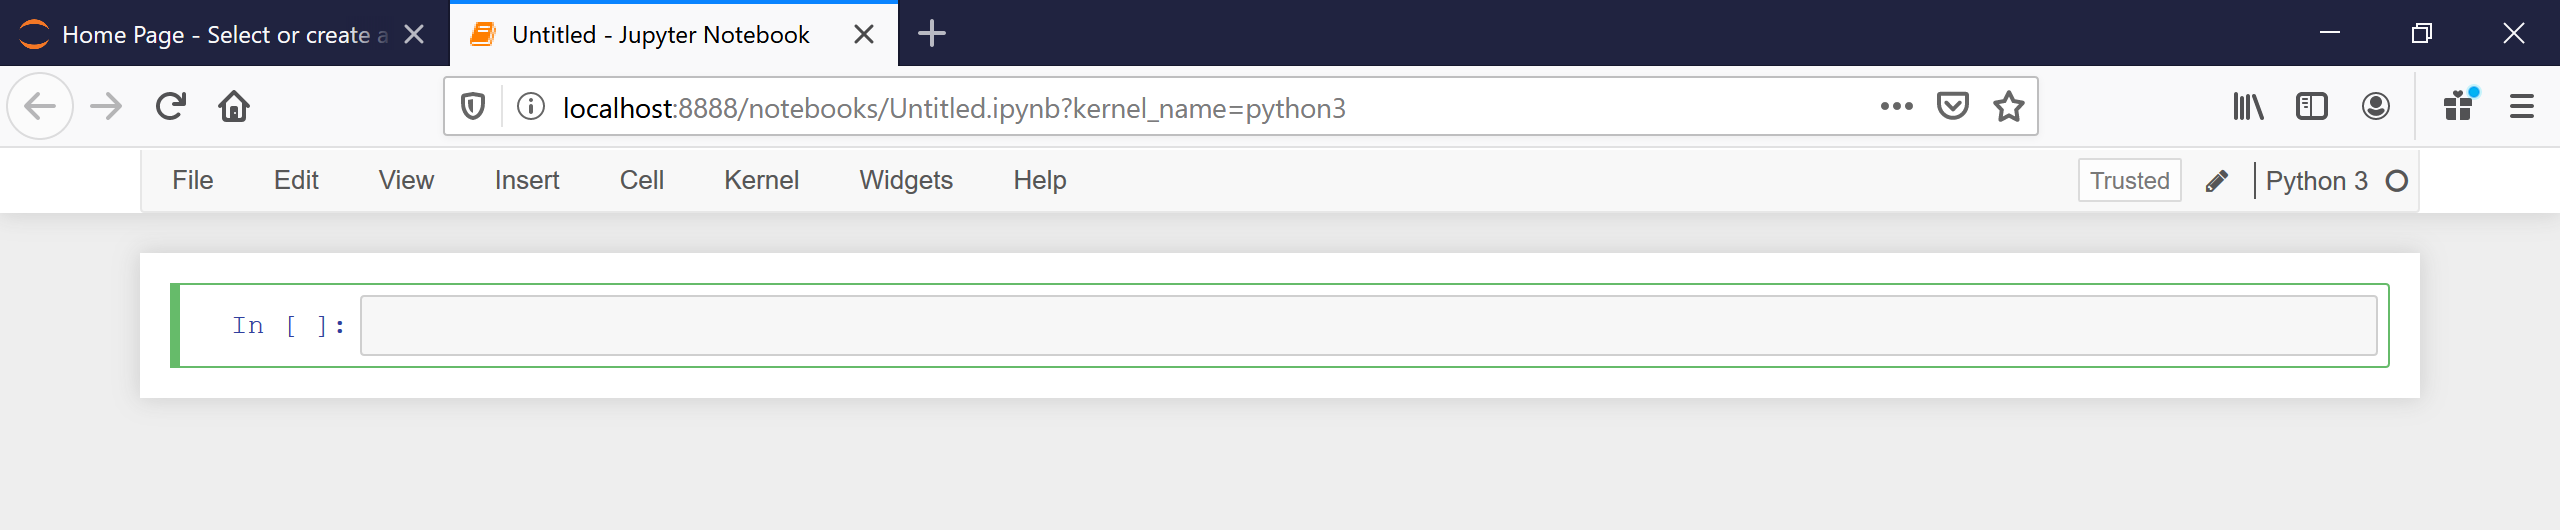
Image Source: Edlitera
- Intro to Programming: What Are Different Data Types in Programming?
- Intro to Programming: What Are Variables in Python and How to Name Them
- Intro to Programming: What Are Integer Numbers and Floating-Point Number Data Types in Python?
Jupyter Notebook is an open-source web application that allows you to create and share documents that contain live code, equations, visualizations, and narrative text. Uses include data cleaning and transformation, numerical simulation, statistical modeling, data visualization, machine learning, and much more.
Jupyter has support for over 40 different programming languages and Python is one of them. Python is a requirement (Python 3.3 or greater, or Python 2.7) for installing the Jupyter Notebook itself.
Jupyter Notebook can be installed by using either of the two ways described below:
- Using Anaconda:
Install Python and Jupyter using the Anaconda Distribution, which includes Python, the Jupyter Notebook, and other commonly used packages for scientific computing and data science. To install Anaconda, go through How to install Anaconda on windows? and follow the instructions provided. -
Using PIP:
Install Jupyter using the PIP package manager used to install and manage software packages/libraries written in Python. To install pip, go through How to install PIP on Windows? and follow the instructions provided.
Installing Jupyter Notebook using Anaconda:
Anaconda is an open-source software that contains Jupyter, spyder, etc that are used for large data processing, data analytics, heavy scientific computing. Anaconda works for R and python programming language. Spyder(sub-application of Anaconda) is used for python. Opencv for python will work in spyder. Package versions are managed by the package management system called conda.
To install Jupyter using Anaconda, just go through the following instructions:
Launching Jupyter:

Installing Jupyter Notebook using pip:
PIP is a package management system used to install and manage software packages/libraries written in Python. These files are stored in a large “on-line repository” termed as Python Package Index (PyPI).
pip uses PyPI as the default source for packages and their dependencies.
To install Jupyter using pip, we need to first check if pip is updated in our system. Use the following command to update pip:
python -m pip install --upgrade pip

After updating the pip version, follow the instructions provided below to install Jupyter:
- Command to install Jupyter:
python -m pip install jupyter
- Beginning Installation:

- Downloading Files and Data:

- Installing Packages:

- Finished Installation:


Launching Jupyter:
Use the following command to launch Jupyter using command-line:
jupyter notebook

Last Updated :
05 Oct, 2021
Like Article
Save Article
As a data scientist or software engineer, Jupyter Notebook is an essential tool for your work. Not only does it allow you to organize and document your code, but it also makes it easy to visualize data and collaborate with others. In this article, we’ll guide you through the process of installing and using Jupyter Notebook on Windows 10.
⚠ content generated by AI for experimental purposes only

How to Install and Use Jupyter Notebook on Windows 10
As a data scientist or software engineer, Jupyter Notebook is an essential tool for your work. Not only does it allow you to organize and document your code, but it also makes it easy to visualize data and collaborate with others. In this article, we’ll guide you through the process of installing and using Jupyter Notebook on Windows 10.
What is Jupyter Notebook?
Jupyter Notebook is an open-source web application that allows you to create and share documents that contain live code, equations, visualizations, and narrative text. It supports multiple programming languages, including Python, R, Julia, and more. With Jupyter Notebook, you can create interactive data visualizations, conduct data analysis, and write code in an organized and efficient manner.
Installing Jupyter Notebook on Windows 10
Before we can start using Jupyter Notebook, we need to install it on our Windows 10 machine. Here are the steps to follow:
-
First, you need to have Python installed on your machine. You can download the latest version of Python from the official website (https://www.python.org/downloads/). Make sure to select the option to add Python to your system PATH during the installation process.
-
Once Python is installed, open the command prompt by pressing the Windows key + R and typing “cmd” in the Run dialog box.
-
In the command prompt, type the following command to install Jupyter Notebook:
⚠ This code is experimental content and was generated by AI. Please refer to this code as experimental only since we cannot currently guarantee its validity
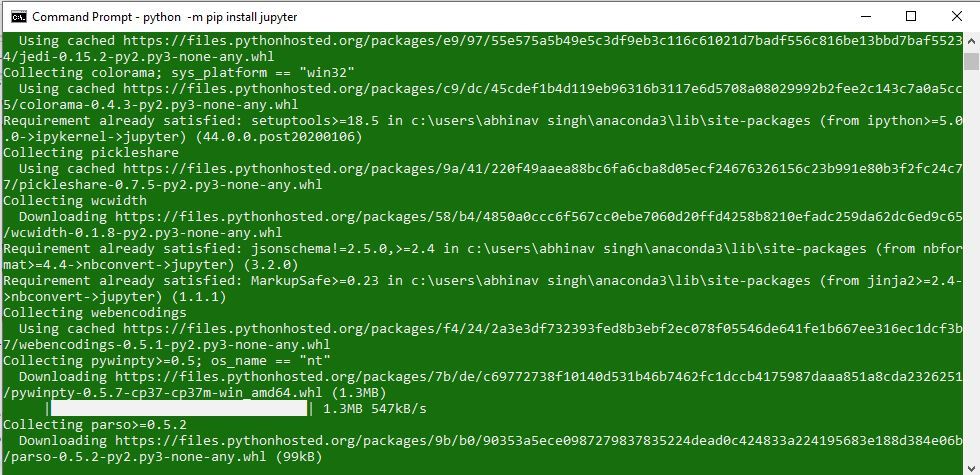
pip install jupyter
This will download and install Jupyter Notebook and its dependencies.
-
After the installation is complete, type the following command to start Jupyter Notebook:
⚠ This code is experimental content and was generated by AI. Please refer to this code as experimental only since we cannot currently guarantee its validity
jupyter notebook
This will open a new tab in your web browser with the Jupyter Notebook interface.
Using Jupyter Notebook on Windows 10
Now that we have Jupyter Notebook installed, let’s take a look at how to use it. When you first open Jupyter Notebook, you’ll see a dashboard with a list of files and folders in your current directory. To create a new notebook, click on the “New” button in the top right corner and select “Python 3” (or any other language you want to use).
Once you’ve created a new notebook, you can start writing code in the cells. To run a cell, press Shift + Enter or click the “Run” button in the toolbar. You can also add text, equations, and visualizations to your notebook using Markdown syntax.
Jupyter Notebook also supports a variety of keyboard shortcuts to make your work more efficient. Here are some of the most useful shortcuts:
- Shift + Enter: Run the current cell and move to the next one.
- Ctrl + Enter: Run the current cell.
- Esc: Enter command mode.
- Enter: Enter edit mode.
- A: Insert a new cell above the current cell.
- B: Insert a new cell below the current cell.
- D + D: Delete the current cell.
- M: Change the current cell type to Markdown.
- Y: Change the current cell type to code.
Conclusion
Jupyter Notebook is a powerful tool for data scientists and software engineers alike. With its ability to create interactive data visualizations, organize and document code, and support multiple programming languages, Jupyter Notebook is an essential part of any data science workflow. By following the steps outlined in this article, you can install and start using Jupyter Notebook on your Windows 10 machine.
About Saturn Cloud
Saturn Cloud is your all-in-one solution for data science & ML development, deployment, and data pipelines in the cloud. Spin up a notebook with 4TB of RAM, add a GPU, connect to a distributed cluster of workers, and more. Join today and get 150 hours of free compute per month.