QUICK NAVIGATION:
- Steps to Disable Startup Repair Windows 7
- Undisable Startup Repair Windows 7
- Bonus tip. Back up Data to Avoid Data Loss
- How to Disable Startup Repair Windows 7 FAQs
«We have a number of machines scattered around at our clients. The staff habitually unplug the machines causing them to enter Startup Repair mode. When this happens, we need to go on-site to cancel the wizard and reboot the machines.
Is there a way to permanently disable Startup Repair and allow the machine to boot normally?»
—-From Server Fault
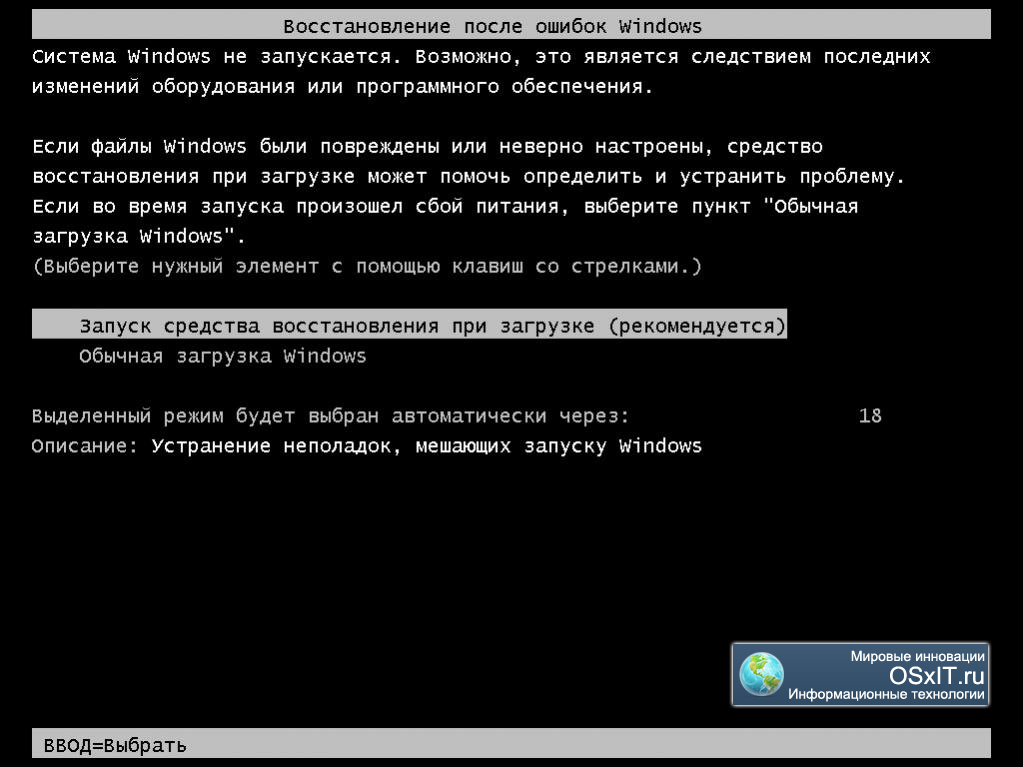
Sometimes, when you start Windows 7 computer, you will see a screen saying «Windows Error Recovery. Windows failed to start». Also, it offers the solution to start Startup Repair in the boot menu.
Here are two options, you can launch Startup Repair or start Windows normally. You can choose the second option to start Windows normally but it’s a bit annoying to choose the option every time manually. Therefore, it’s better to disable Startup Repair on Windows 7.
Here’s how to disable the Startup Repair suggestion in Windows 7:
Step 1. On your Windows computer, switch to the «Start» screen by pressing the «Win» key on your keyboard.
Step 2. Type «cmd.exe» on the «Start» screen and the search results will be displayed on the right side of the screen.
Step 3. Then you need to do one of the following:
- Press «CTRL+SHIFT+Enter» on your keyboard.
- Right-click the cmd.exe file in the search results and select «Run» as administrator.
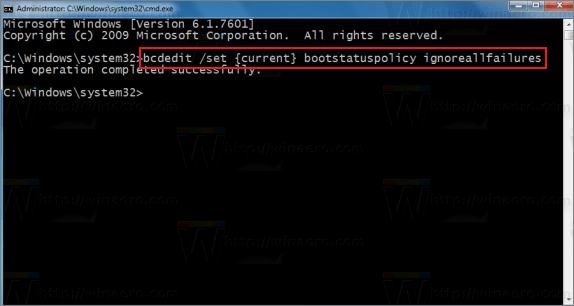
Step 4. In the next window, enter bcdedit /set {current} bootstatuspolicy ignoreallfailures. Then, Startup Repair on Windows 7 will be disabled.
Undisable Startup Repair Windows 7
If you want to undo the disable operation for some reason, you may try the tutorial below.
Step 1. Go to the «Start» screen by pressing the «Win» key on your keyboard, and type «cmd.exe» to wake up the search results.
Step 2. Press «CTRL+SHIFT+Enter» on your keyboard. Or, right-click the cmd.exe file in the search results and select «Run» as administrator.
Step 3. In the next window, enter bcdedit /deletevalue {current} bootstatuspolicy. Then, the disable operation will be canceled.
Bonus tip. Back up Data to Avoid Data Loss
As the questioner said at the beginning of this article, there are always human errors included in the issues related to computer technical problems. Therefore, to make your data safe, it’s better to back up all data to a USB or a data backup program that can be logged in on another computer.
However, if you use a USB to back up data, you will always do it manually. Therefore, here we give you the data-backup software — EaseUS Todo Backup.
With this program, you can back up an entire hard drive of Windows 10 and other Windows versions, back up selected disk partitions, or create a free system backup image. Most importantly, you can do it manually or schedule a backup task to save your data automatically.
Here are more features of EaseUS Todo Backup:
- Back up over 1000+ types of files
- Support one-click data recovery
- Save the backup to the local disk and cloud drive
- Offer full, differential, and incremental backup
- Create a schedule to backup user files
Now, you may download this backup tool from the button below and start backing up your data as follows.
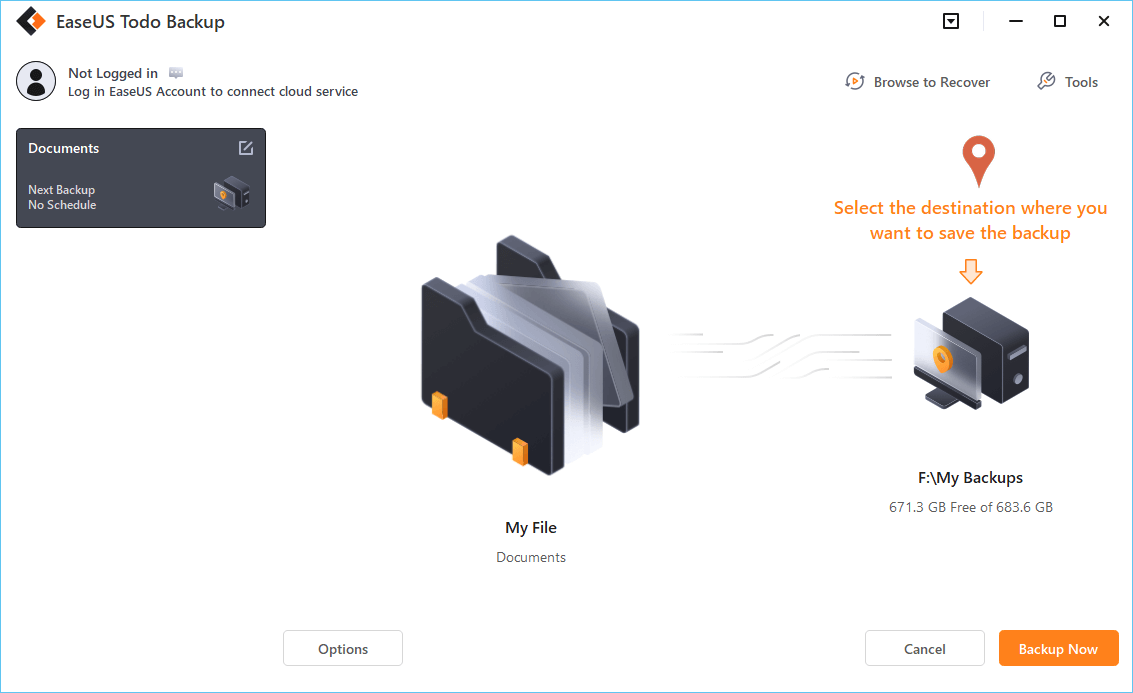
Step 1. To start backup, click the Select backup contents.
Step 2. There are four data backup categories: File, Disk, OS, and Mail.
Step 3. On the left-hand side, you’ll see a list of local and network files. Selecting the files to be backed up by expanding the directory.
Step 4. Follow the instructions on the screen and pick the location where you wish to store the backup.
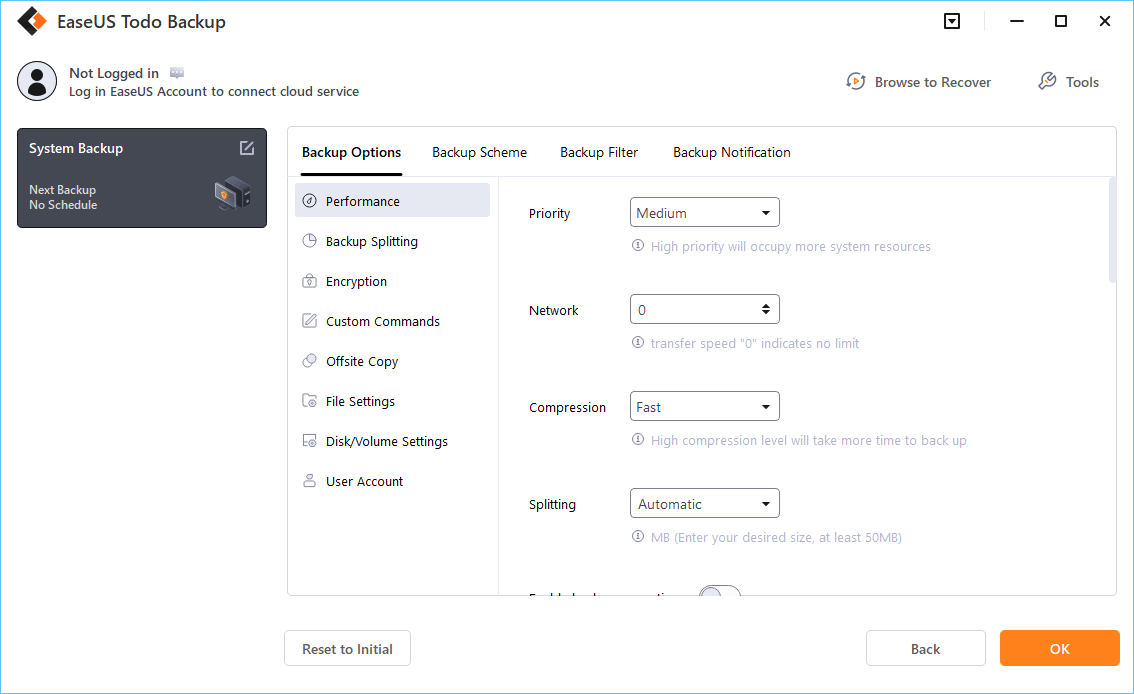
In Backup Options, click Options to encrypt the backup with a password, specify the backup schedule, and choose whether or not to start the backup at a certain event in Backup Scheme. There are a variety of customizable features available for you to explore, and you may tailor the backup operation to meet your specific requirements.
Step 5. Backups can be stored on a local disk, in EaseUS’s cloud service, or on a network attached storage device (NAS).
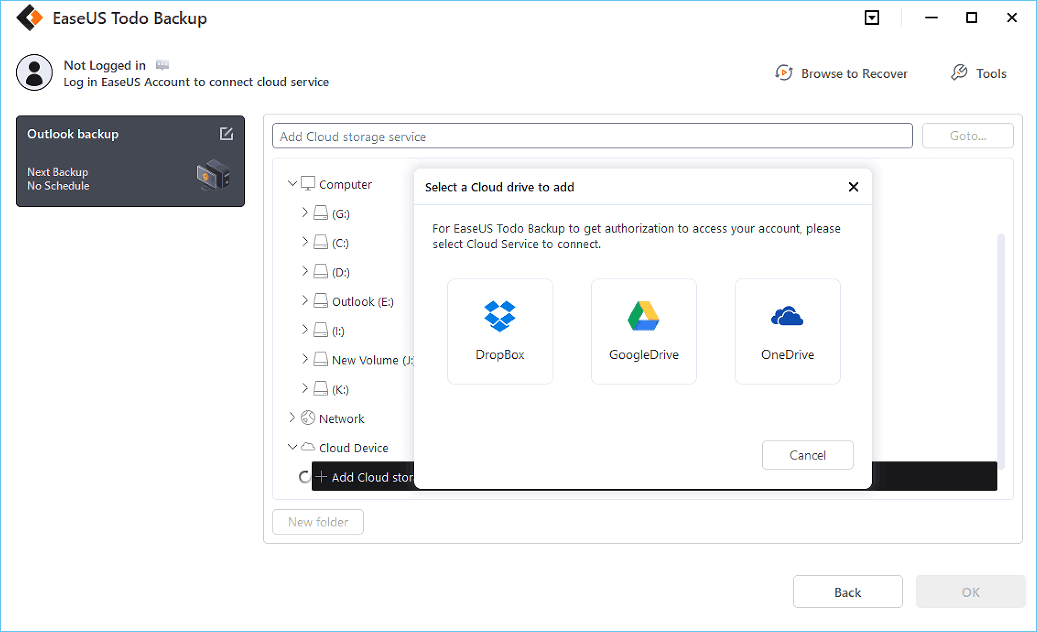
Step 6. EaseUS Todo Backup allows customers to back up data to a third-party cloud drive or the company’s own cloud storage.
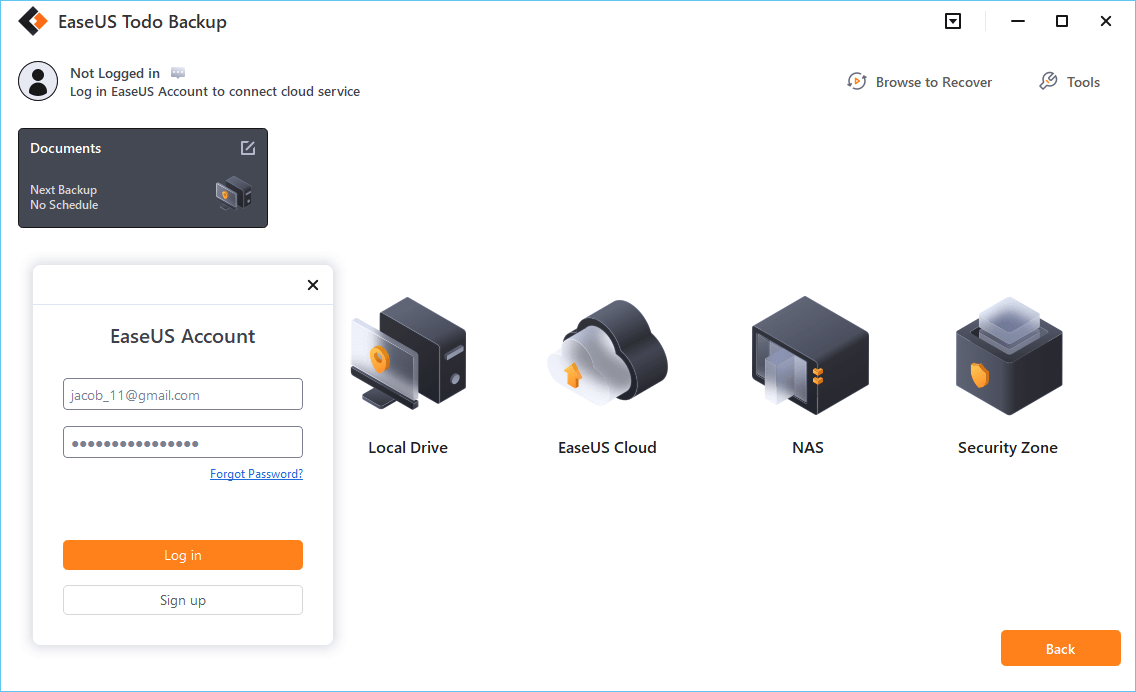
If you wish to back up your data to a third-party cloud drive, select Local Drive, scroll down to add Cloud Device and enter your account information.
You may also use EaseUS’s own cloud storage service. Click EaseUS Cloud, create an account using your EaseUS Account, then log in to your account.
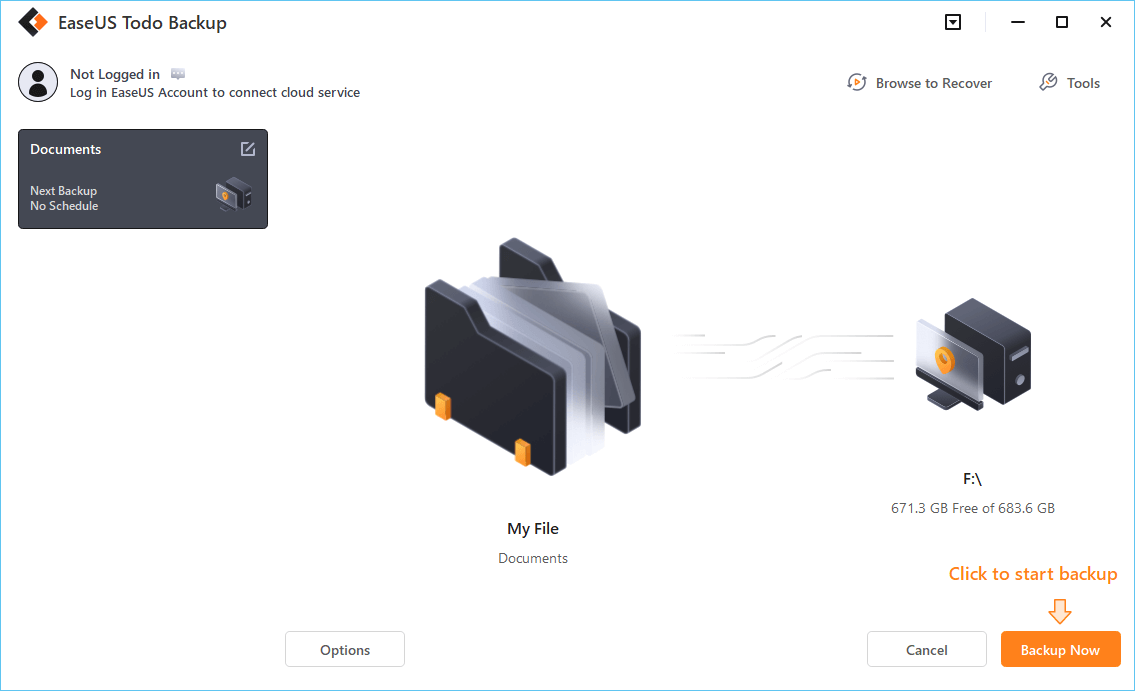
Step 7. To begin a backup, choose Backup Now. It will appear in the shape of a card on the left-hand panel when the backup process has been successfully finished. To handle the backup job in more detail, right-click on it.
How to Disable Startup Repair Windows 7 FAQs
Read the frequently asked questions and their answers we collected for you. See if they can solve your problems.
1. How to Disable Windows 10 Automatic Repair at Startup?
You may do it by following the steps below:
- 1. Open the «Command Prompt» as administrator and run the bcdedit command.
- 2. Execute this command: bcdedit /set {current} recoveryenabled no.
2. Can I stop Windows Startup Repair?
Yes, you can disable it by typing bcdedit /set {default} recoveryenabled No in «Command Prompt», press «Enter» and restart your PC.
3. How do I exit Windows repair mode?
All you need to do is to click on «Advanced Options» > Click on «Command Prompt» In the command prompt window and type bcdedit /set {current} recoveryenabled No > Hit «Enter» > Type «exit» and press «Enter».
После внезапной остановки Windows (банальное выключение питания или какой-то системный сбой) при загрузке компьютера перед нами красуется Восстановление после ошибок Windows, ожидающее от нас дальнейших действий: запустить средство восстановления загрузки или выполнить обычную загрузку Windows.
По идее, данное предложение должно отключаться при устранении проблем с загрузкой (часто достаточно выбрать обычную загрузку). Однако, Windows вещь в себе, на её работу влияют звезды, потому и подкидывает нам сюрпризы чтобы скучно не было.
Запуск средства восстановления может остаться с вами навсегда. На самом деле этот запрос можно отключить довольно просто. Запускаем командную строку (!)от имени администратора и даем такую команду:
bcdedit /set recovery enabled no
Если запуск средства после перезагрузки все еще мозолит вам глаза, попробуйте выполнить еще одну команду:
bcdedit /set bootstatuspolicy ignoreallfailures
Подписывайтесь на канал
Яндекс.Дзен
и узнавайте первыми о новых материалах, опубликованных на сайте.
Перейти к контенту
Доброе утро читали моего блога! Дело в том что я обслуживаю информационные киоски (терминалы) командировочным методом. Так вот, бывают такие ситуации когда компьютер перезагружается Внезапно!
От перегрева, от резкого отключения питания, от перегрузок питания, причины разные – И при следующем включении терминала после такого сбоя появляется окно выбора способа восстановления загрузки системы с наведенным по умолчанию курсором на “Автоматическое восстановление системы” и обратным отсчетом в 30 сек.
И так как, я думаю вы все догадываетесь что на информационных киосках обычно стоит Сенсорный монитор выбрать “Обычная загрузка Windows” мы не можем, а открутить заднюю крышку могу только я, приехав на место. В следствии чего запускается Средство восстановления при запуске и висит на кнопке далее, пока я не приеду…
Что делать?
Так вот! Решил я подумать на этой проблемой, а может как то вообще отключить этот запрос? И нашел!
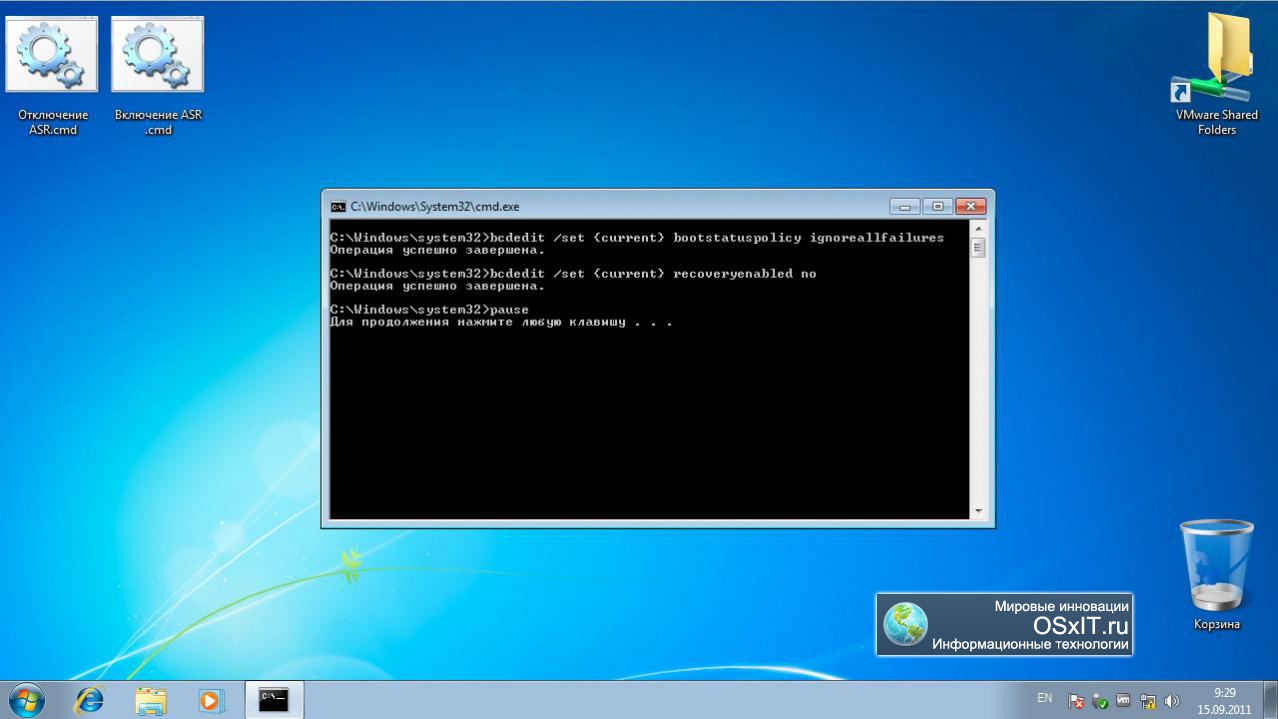
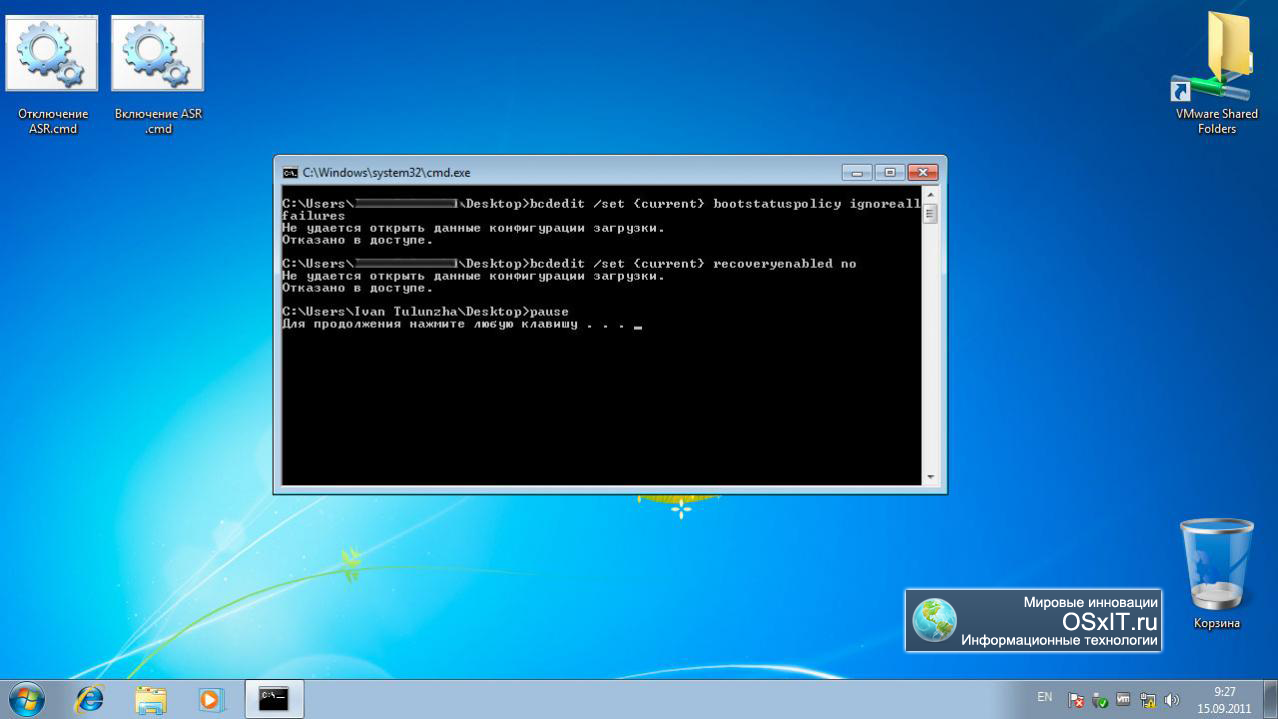
- Был специально написан исполняемый файл (внизу статьи в архиве можете его скачать) с командами:
bcdedit /set {current} bootstatuspolicy ignoreallfailures
bcdedit /set {current} recoveryenabled no
pause
Важно! Запускать его с правами Администратора:
Вот правильный результат после запуска файла:
А вот неправильный результат:
Теперь для того что бы запустить восстановление Windows, при загрузке нужно нажать F8.
Вот такая вот штука, думаю будет полезно тем кто занимается подобно моего делом. Мне очень помогло, сократились поездки.
Скачать Архив с Яндекс Диска: Отключение ASR.rar [369 байт]
( 5 оценок, среднее 5 из 5 )
После этого, в ходе последующей за тем загрузки, Windows 7 инициирует восстановление данных. В некоторых ситуациях это неудобно.
Но мы расскажем вам, как отключить запуск средства восстановления при загрузке Windows 7. Чтобы убрать эту функцию, вам понадобится выполнить такую процедуру:
- Войти в меню «Пуск». В поисковую форму ввести сочетание английских букв cmd. От имени администратора запустить программу, которая отобразится в самом верху выдачи.
- Появится диалоговое окно. В нем необходимо ввести следующее сочетание слов (можете скопировать отсюда): bcdedit /set bootstatuspolicy ignoreallfailures. Запустить выполнение команды при помощи Enter.
Теперь, если вследствие некорректного прекращения работы ОС возникнут какие-либо ошибки, они каждый раз будут игнорироваться.
Мы рады, что помогли вам узнать, как отметить функцию восстановления Windows 7 при запуске.
