Для установки ОС Windows Server 2022 на виртуальную машину нам потребуется .iso-образ системы и установленный компонент Hyper-V.
Важно: перед выполнением следующих действий убедитесь, что в настройках BIOS или UEFI вашего компьютера включена виртуализация.
Установка компоненты Hyper-V
Вызываем строку «Выполнить» сочетанием клавиш Win+R или нажатием правой кнопки мыши на меню «Пуск» и вводим следующую команду:
control /name Microsoft.ProgramsAndFeatures
Нажимаем Enter и переходим в оснастку «Программы и компоненты». Заходим в меню компонентов, нажимаем все галки в пункте Hyper-V.
Для завершения установки Hyper-V Windows потребует перезагрузить компьютер – перезагружаем.
Создание виртуальной машины
Ищем в меню пуск «Диспетчер Hyper-V», запускаем.
В меню справа выбираем «подключиться к серверу». В нашем случае мы работаем на локальной железной машине, поэтому мы выбираем «локальный компьютер».
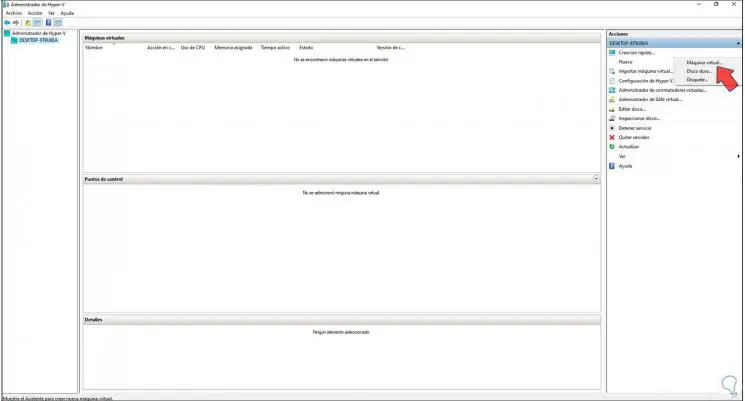
Откроется окно сервера виртуализации, в меню справа выбираем: Создать → Виртуальная машина.
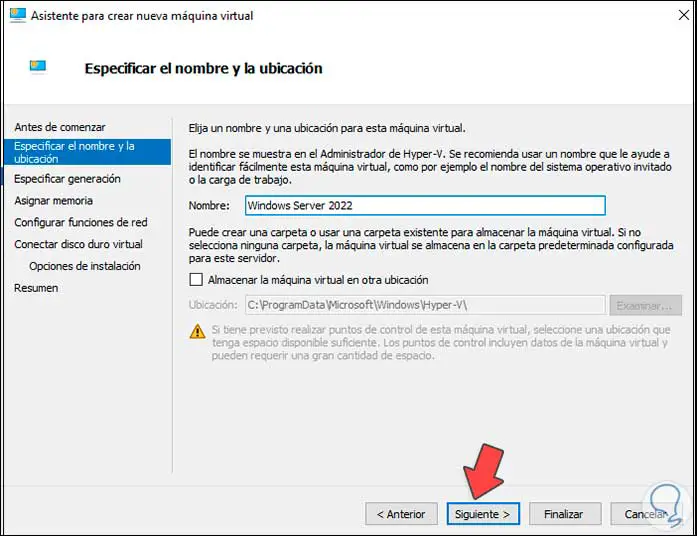
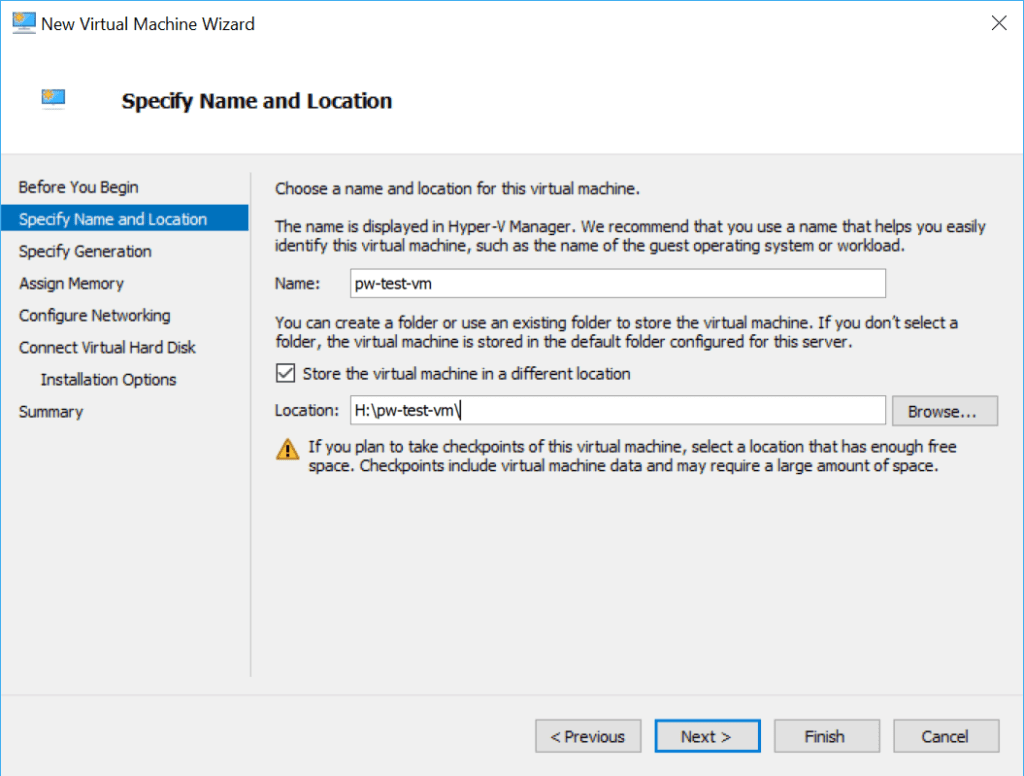
Даём название нашей ВМ и уточняем расположение (если необходимо).

Рисунок 1 — Настройки имени и местонахождения виртуальной машины
Нажимаем «Далее» и идём по пунктам меню:
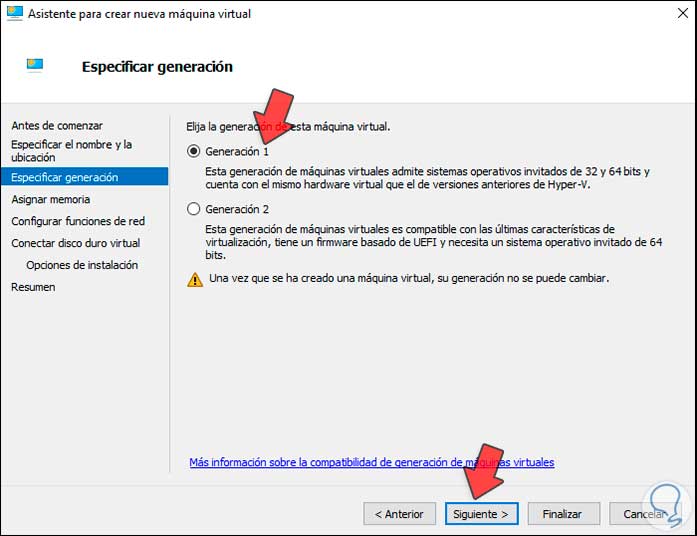
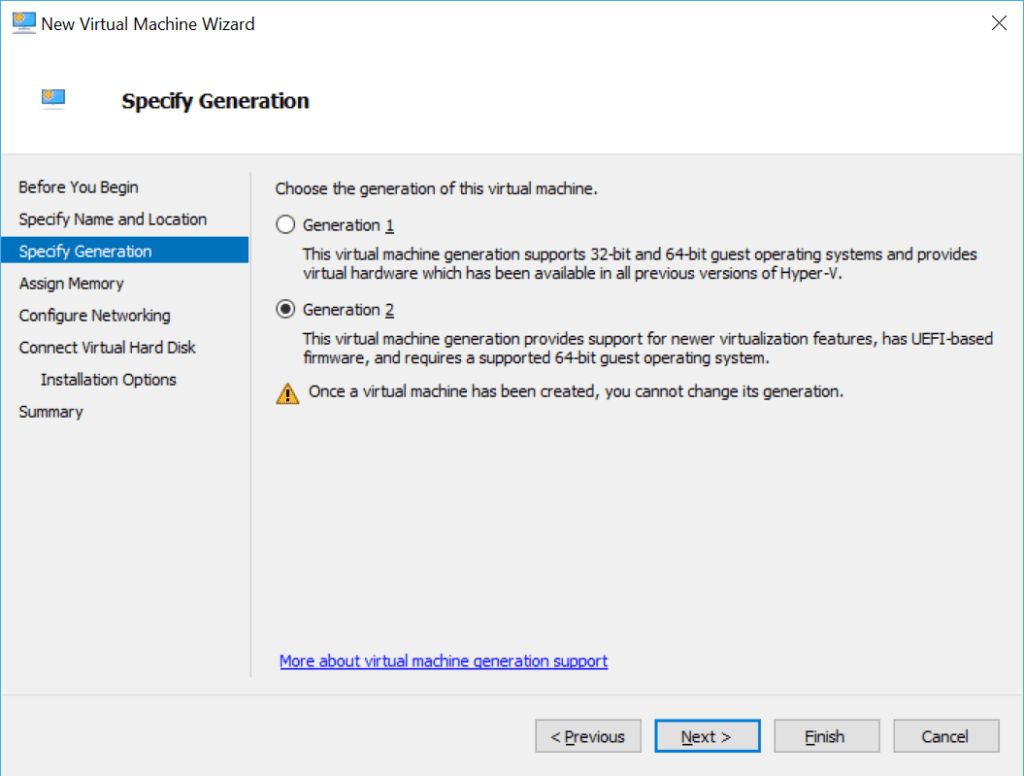
- Укажите поколение — выбираем поколение 2.
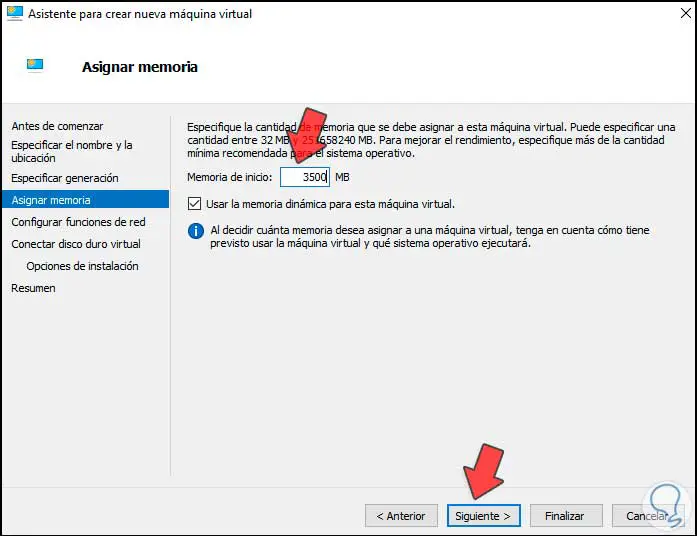
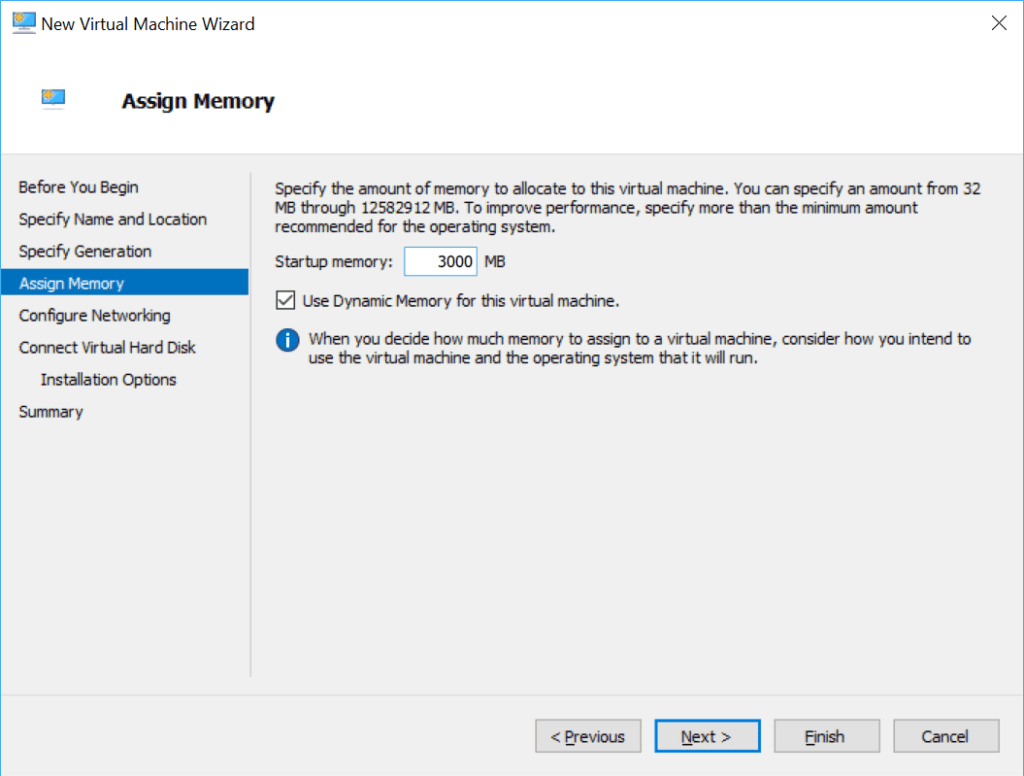
- Выделить память — выделяем необходимое нам количество оперативной памяти (в нашем случае хватит 4096 МБ).
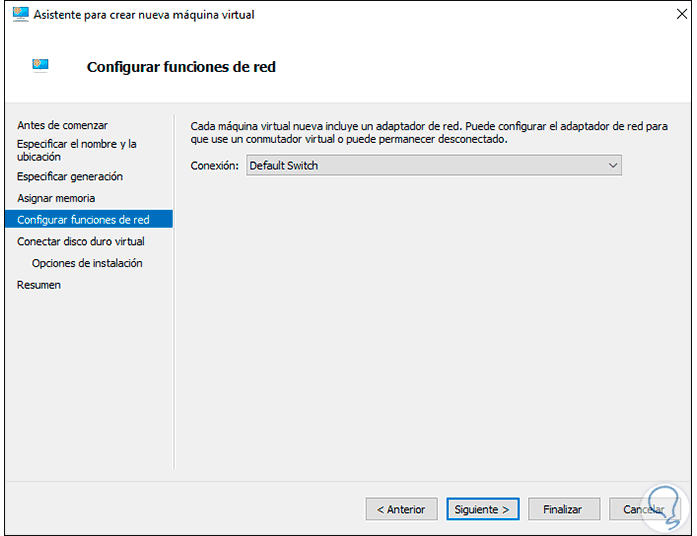
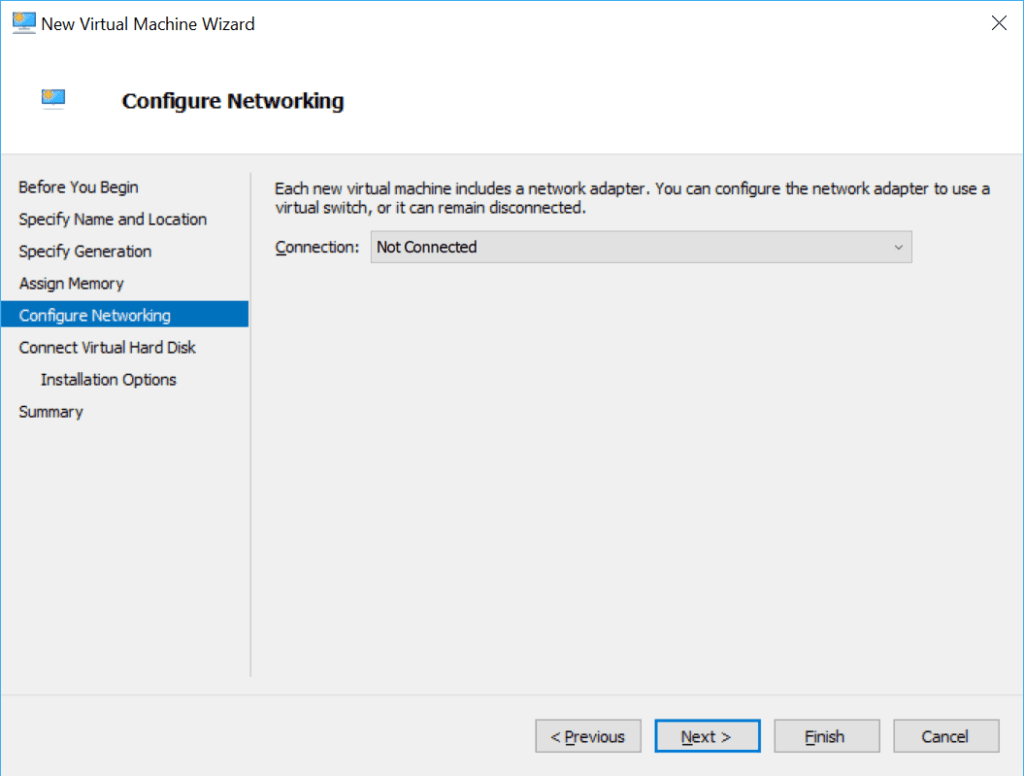
- Настройка сети — в зависимости от сценария использования, в общем случае — Default Switch.
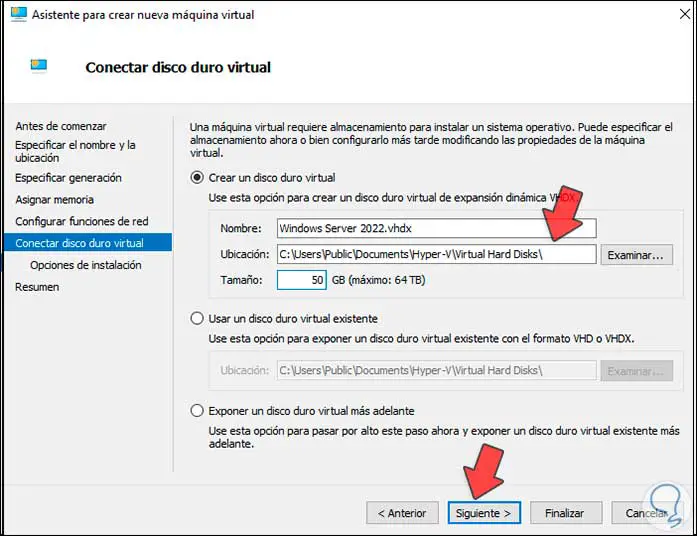
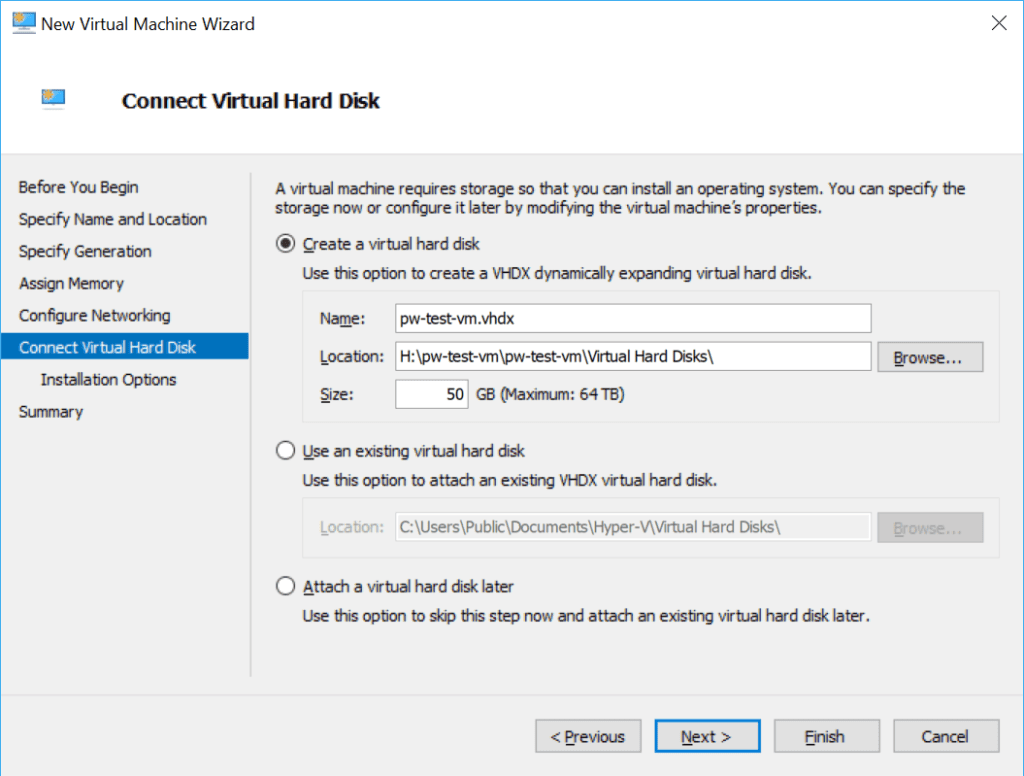
- Подключить виртуальный жёсткий диск — указываем расположение и максимальный размер виртуального диска. В общем случае можно оставить настройки по умолчанию.
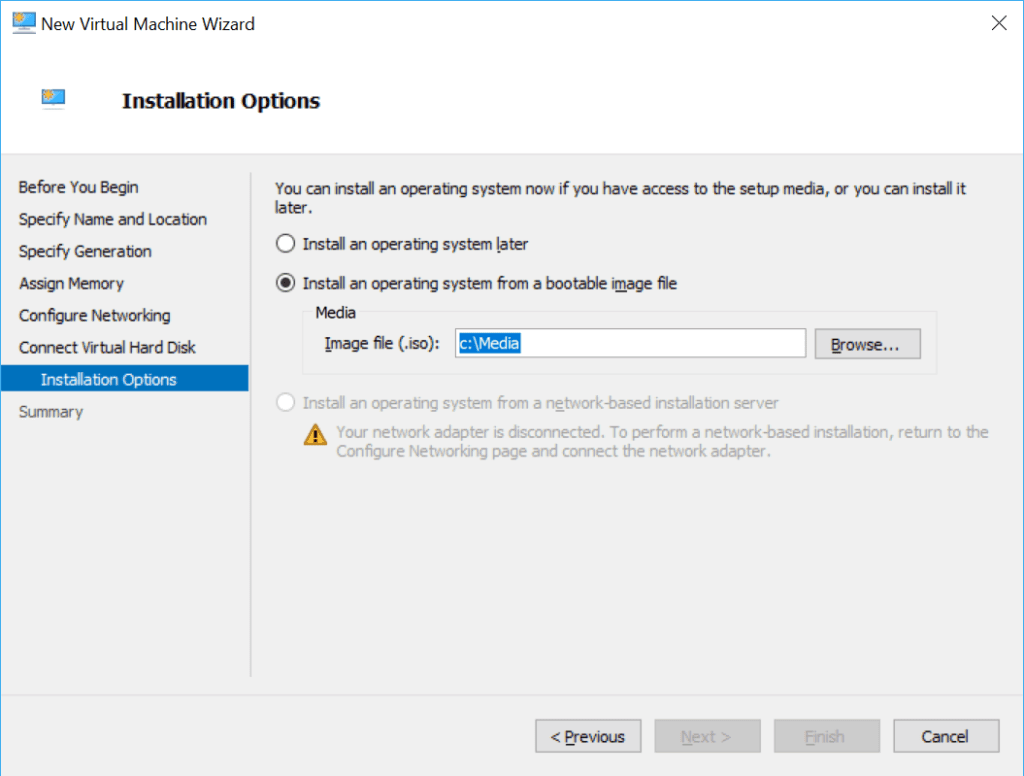
- Параметры установки — выбираем установить операционную систему из файла загрузочного образа, нажимаем «Обзор» и указываем путь до загруженного образа .iso.
- Создаём виртуальную машину.
Установка Windows Server 2022 на виртуальную машину
Нажимаем правую кнопку мыши на созданную нами виртуальную машину, в контекстном меню кликаем «Параметры». Откроется меню настроек, заходим во «Встроенное ПО».
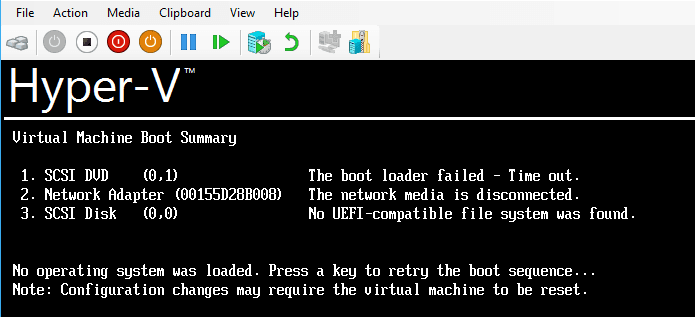
Выбираем DVD-дисковод и жмём кнопку вверх, пока не окажется первым в списке. Перемещаем виртуальные устройства таким образом, чтобы порядок запуска у вас выглядел следующим образом:

Рисунок 2 — Настройка порядка запуска
Сетевой адаптер обязательно должен следовать последним в списке.
Нажимаем ОК и опять нажимаем правой кнопкой мыши на ВМ. Кликаем «Подключить». Hyper-V предложит включить ВМ и высветит кнопку пуск — нажимаем на неё.
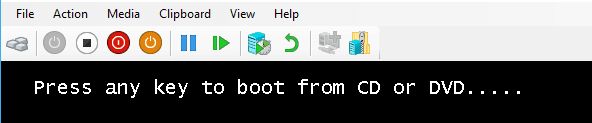
Нажимаем на любую кнопку на клавиатуре, как только в окне появится эта надпись: press any key to boot from…
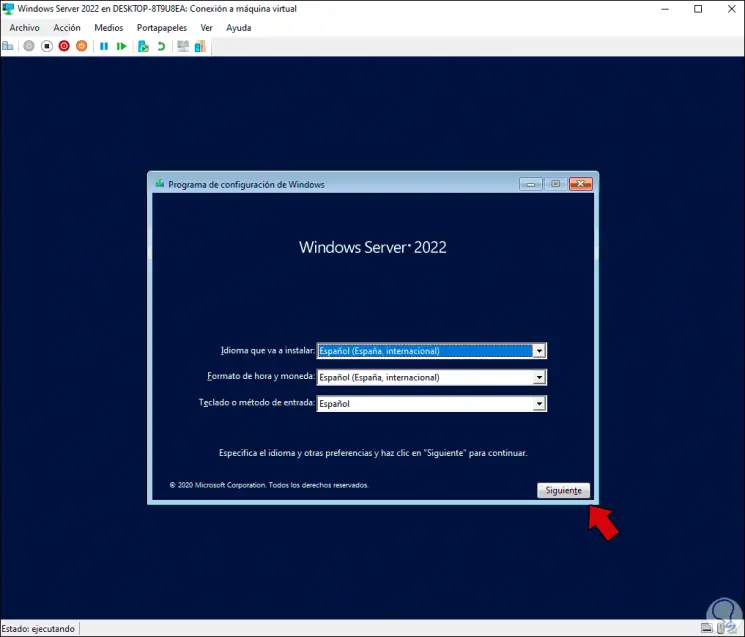
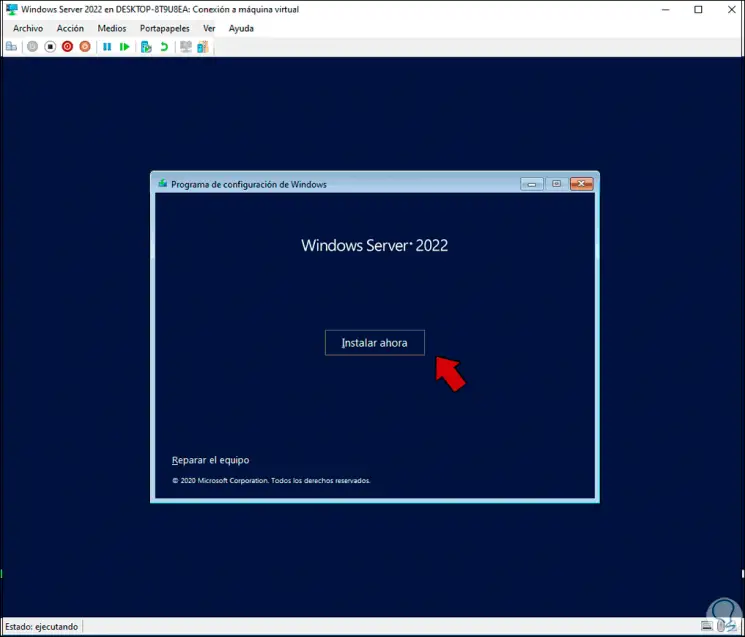
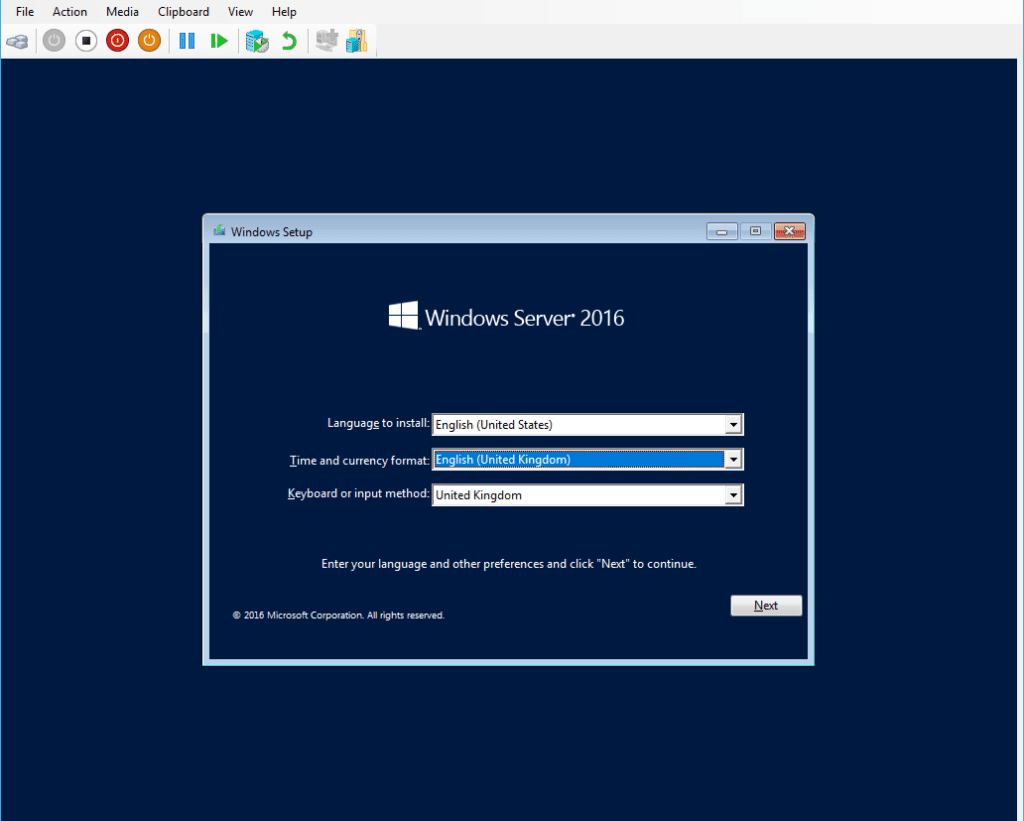
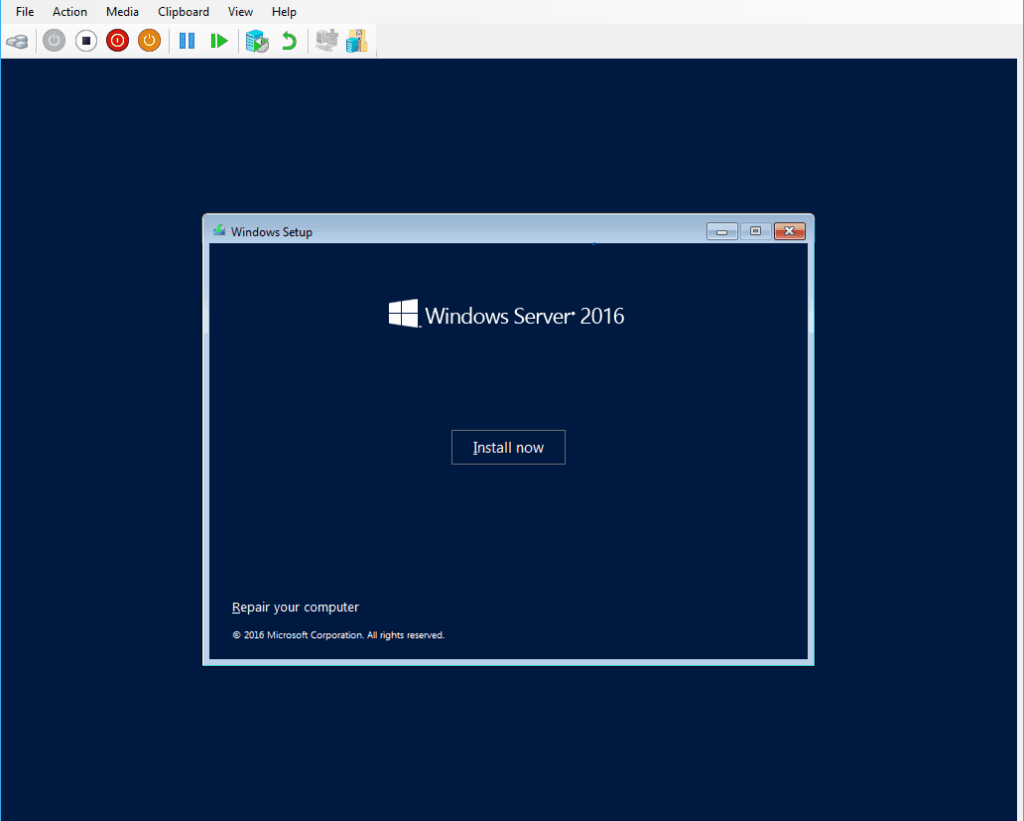
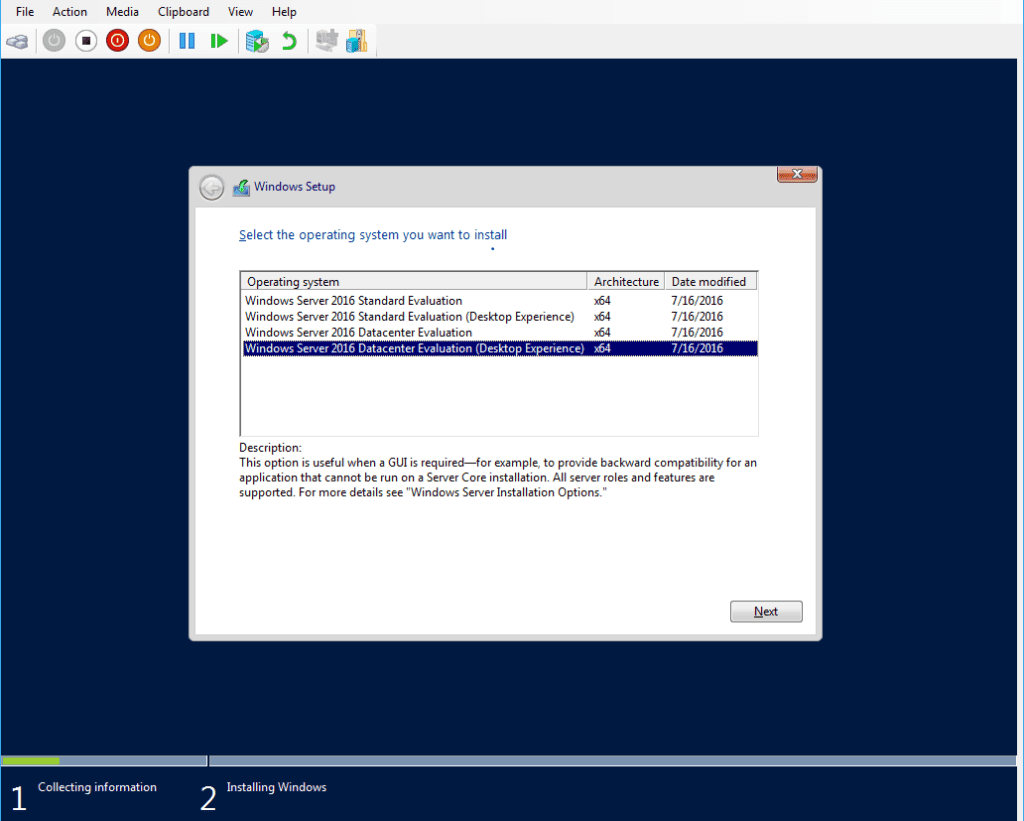
Windows начнёт загружать файлы установки, и появится окно установки: выбираем язык → далее → установить → выбираем редакцию.
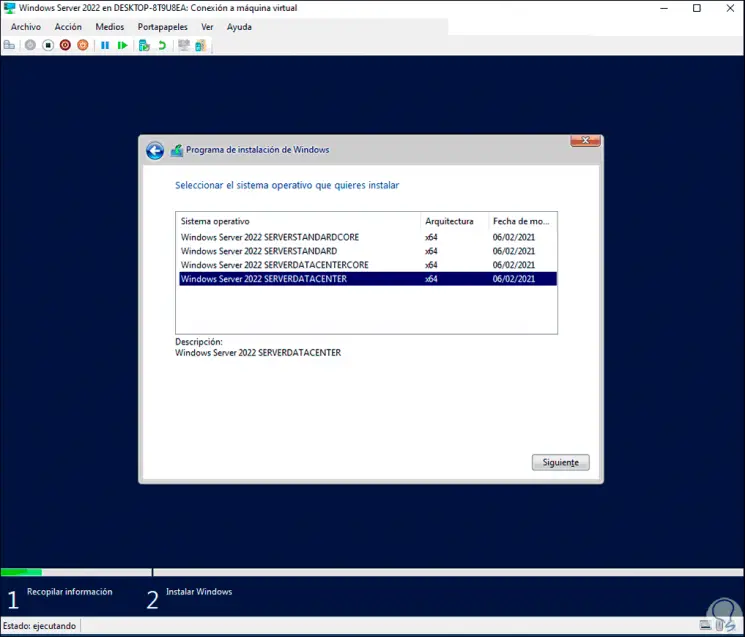
Обратите внимание: если выбрать редакцию без возможностей рабочего стола, ОС не будет оснащена графическим интерфейсом. Управление будет осуществляться лишь с помощью командной строки или Powershell.
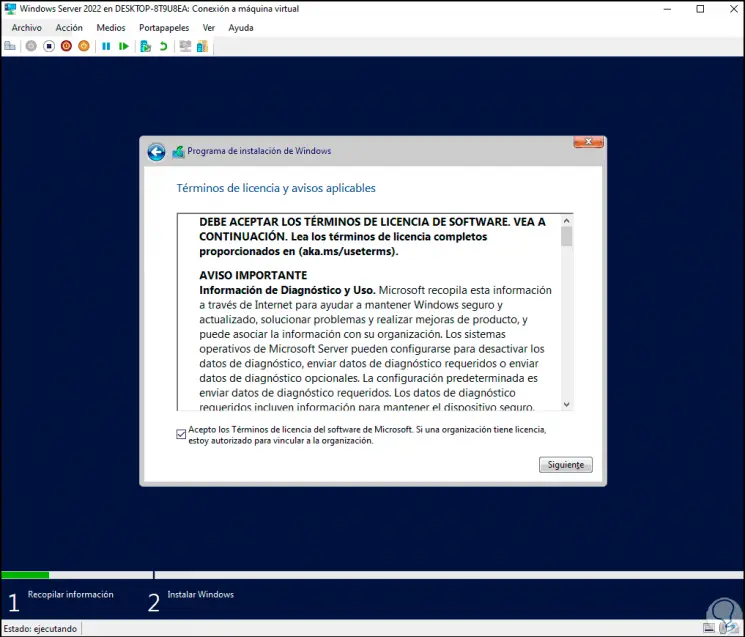
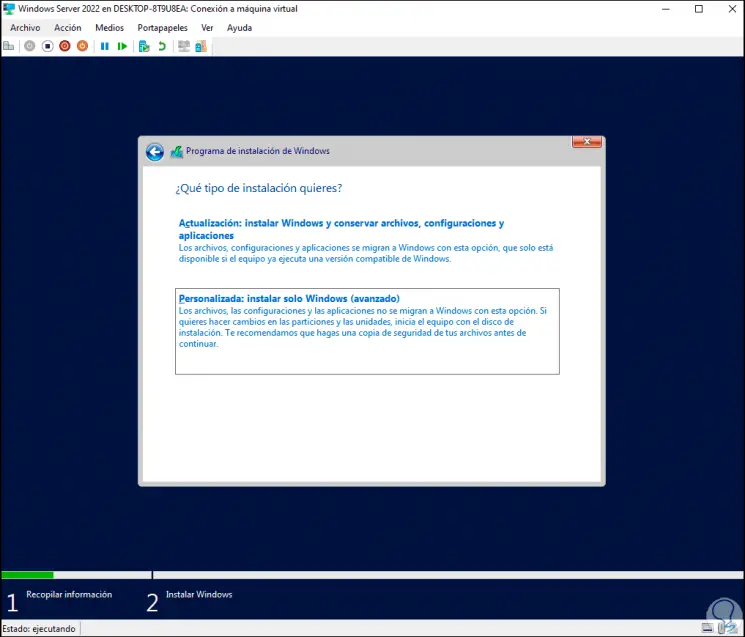
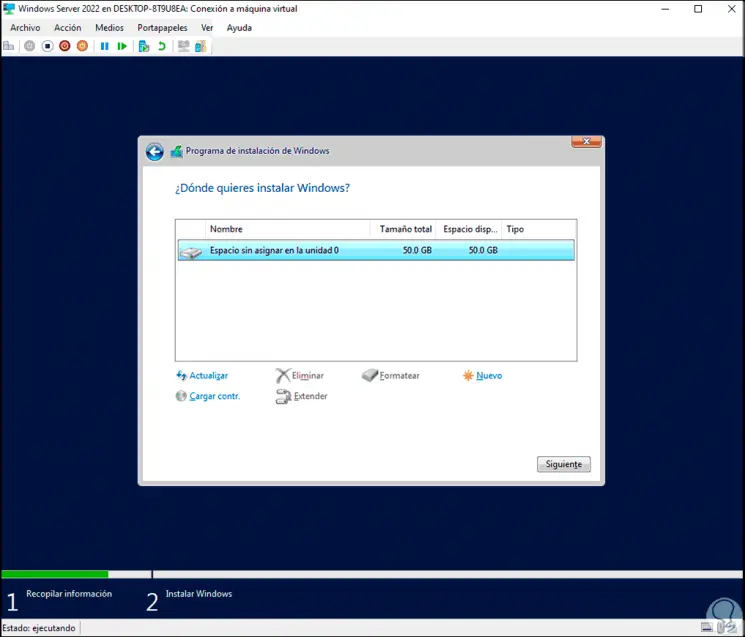
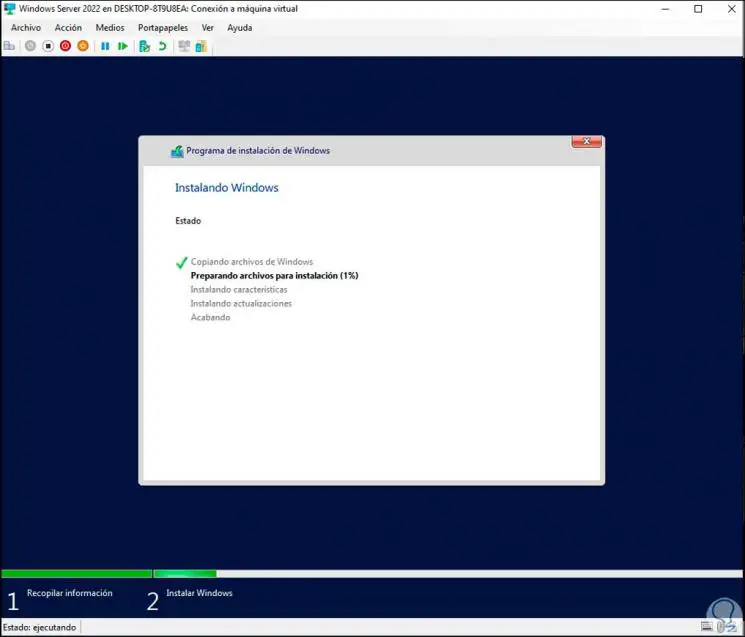
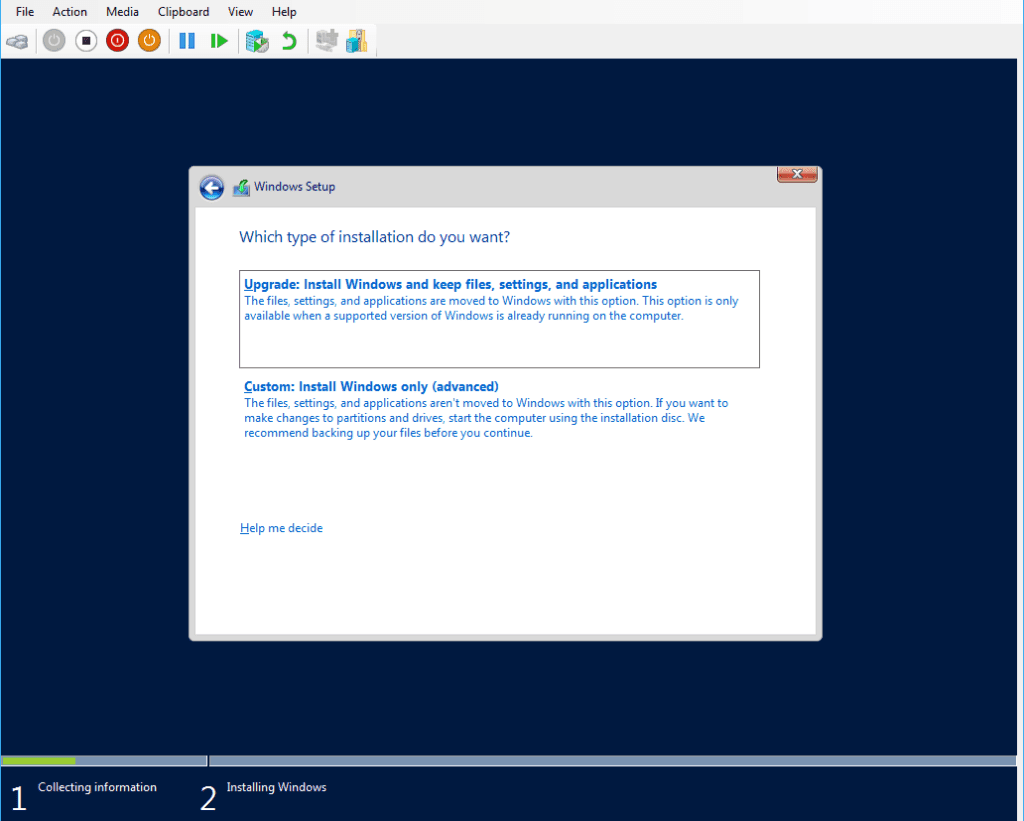
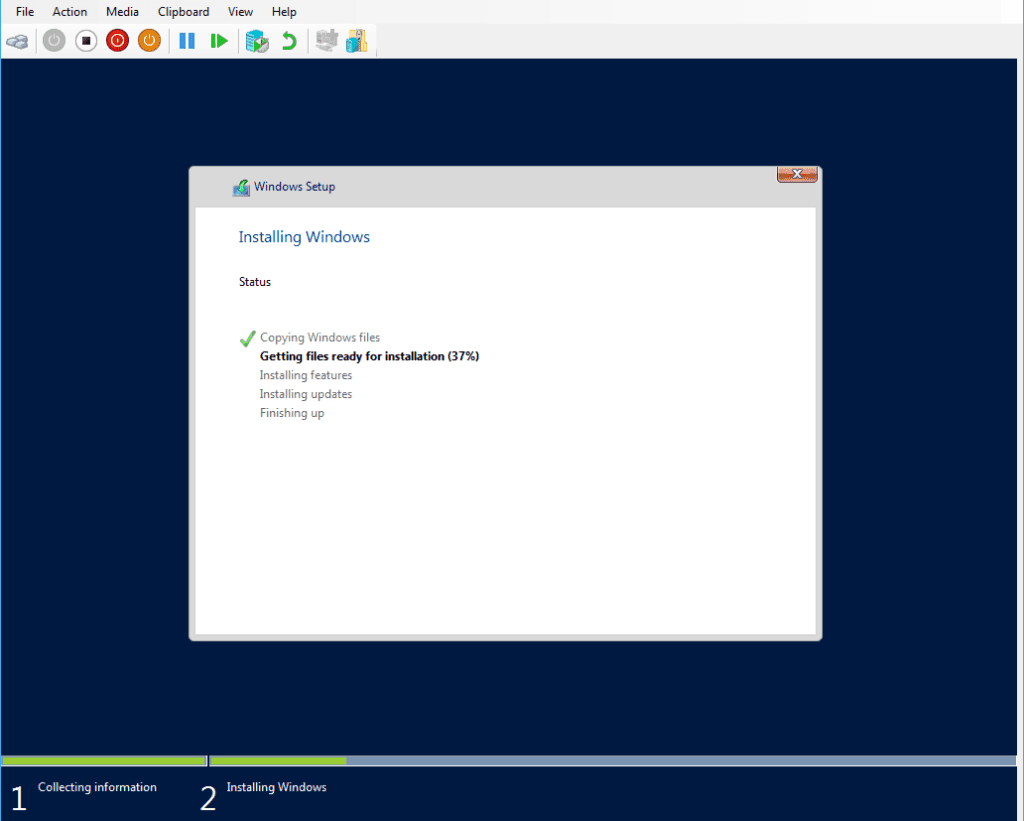
В нашем случае мы выбираем Windows Server 2022 Standard (возможности рабочего стола). Затем принимаем лицензионное соглашение, тип установки – «Другое» и размечаем виртуальный жёсткий диск. Начнётся установка Windows.
По завершению ВМ перезагрузится и запустится ОС Windows Server 2022, установка завершена успешно.
Нужна помощь? Настройки Windows Server и обслуживание серверов мы осуществляем в рамках услуги ИТ-аутсорсинг. Также возможны разовые проектные работы.
Virtualization is one of the best options we have today to make use of and learn about both new operating systems and applications that are launched without affecting the production environment or the real files on the computer, one of the best options for virtualization tasks it is the one integrated in Windows 10 and is Hyper-V..
Hyper-V has been integrated into Windows 10 as a feature with which we can take advantage of hardware virtualization resources for the creation, management and deployment of virtual machines locally.
Please note, the Hyper-V platform is available for 64-bit versions of Windows 10 Pro, Enterprise and Education and is not available for Windows Home Edition, with Hyper-V we can virtualize systems such as:
Hyper-V compatibility
- Windows 7, 8 or 10
- Windows Server 2012, 2016, 2019 and now 2022
- Fedora
- Ubuntu
- CentOS
- FreeBSD
Hyper-V advantages
When we use Hyper-V we will enjoy advantages such as:
- Default network (NAT switch)
- Quick creation of virtual machines
- Access to the VM gallery on the console
- Hyper-V replica function
- Option to share files between the virtual machine and the real system
getFastAnswer will explain how to install Windows Server 2022 on Hyper-V, remember that this is a trial version (Insider) and to download it you must register in the Windows Insider program and then download the most recent ISO at the following link:
Now we are going to see how is the process to install this server in Hyper-V.
To stay up to date, remember to subscribe to our YouTube channel! SUBSCRIBE
Once Hyper-V is enabled in Windows 10, we go to the Start menu and in Administrative Tools we select «Hyper-V Manager»:

Note
If you don’t have Hyper-V enabled, you can activate it with any of the following options:
- From Windows PowerShell run:
Enable-WindowsOptionalFeature -Online -FeatureName Microsoft-Hyper-V -All
- From a command prompt console run:
DISM / Online / Enable-Feature / All / FeatureName: Microsoft-Hyper-V
- Using Windows features in the Control Panel \ Programs \ Programs and Features path
Step 2
The Hyper-V console will be displayed:
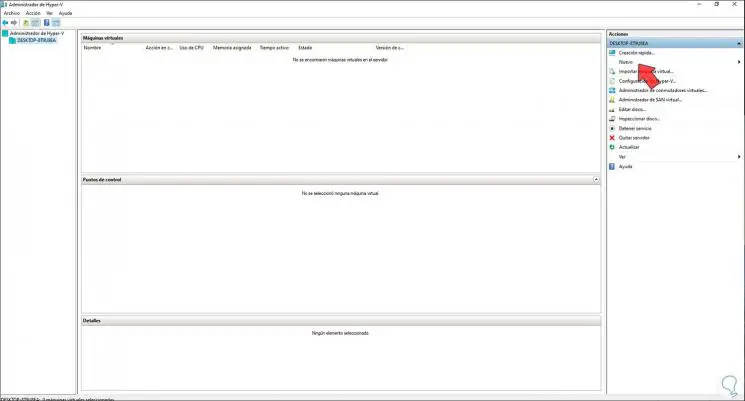
There we click on «New — Virtual machine»:
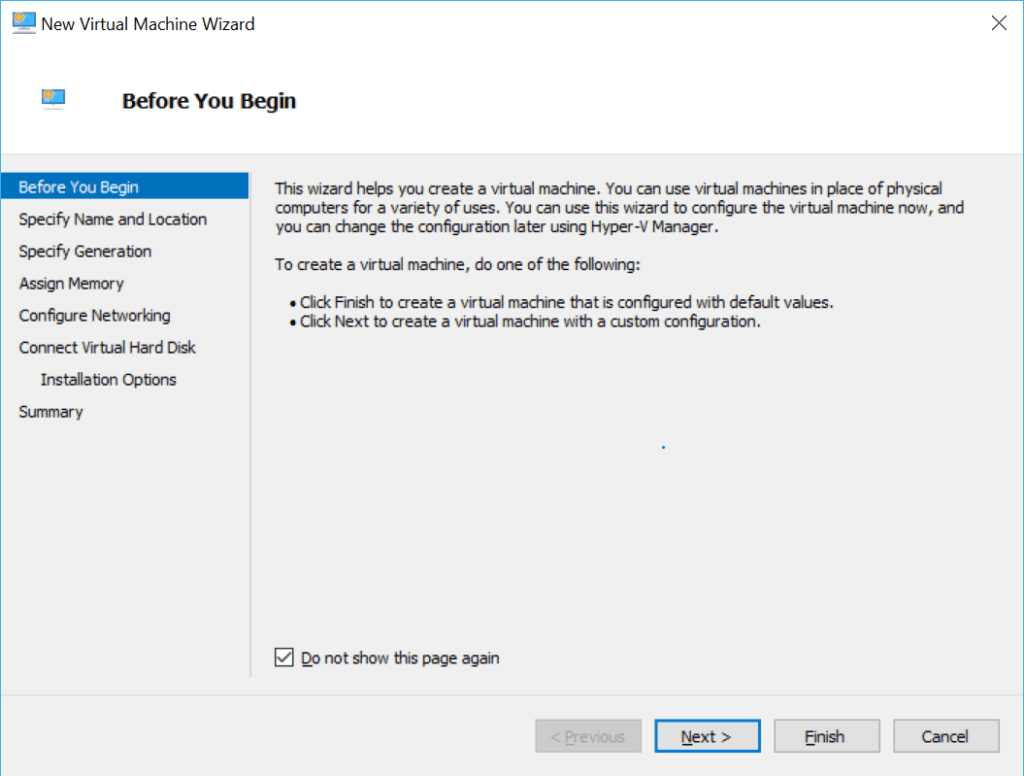
The following wizard will be displayed:
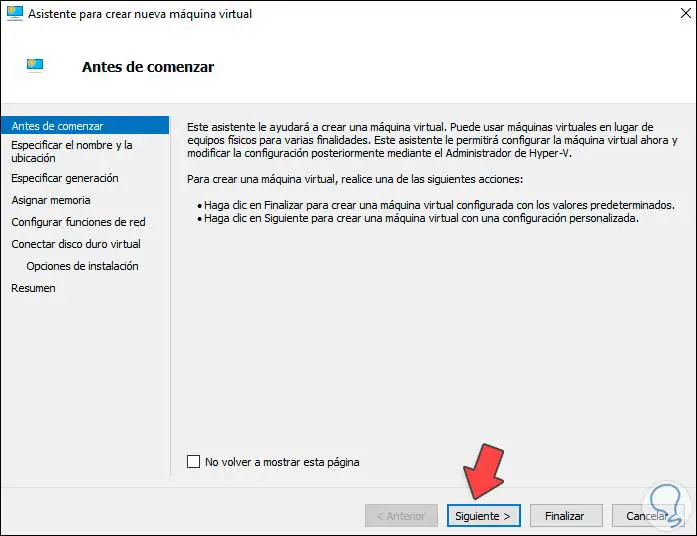
Step 5
Let’s click on Next and we will assign the name of the virtual machine and we can change the path where it will be hosted if necessary:
Click on Next and now we select the generation, the options are:
- Generation 1: This generation is BIOS-compliant and supports 32-bit and 64-bit systems
- Generation 2 — This is a more secure generation and only supports UEFI and supports 64-bit system only
Step 7
In the next window we assign the amount of RAM to use:
Click Next and select the network adapter:
In the next window we define the size of the virtual hard disk, as well as its local location:
Step 10
In this window, in special cases, it is possible to select existing hard disks or to leave the virtual machine without a hard disk. In the next window we activate the «Install an operating system from a bootable CD / DVD-ROM» box:
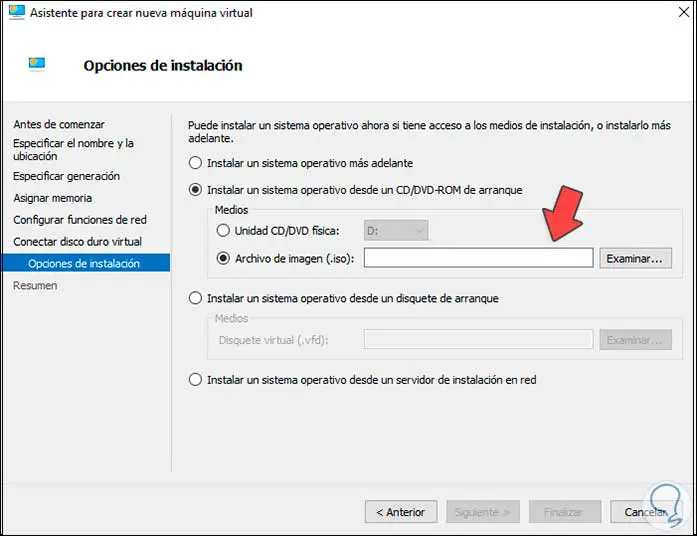
Check the box «Image file (.iso)» and click on Browse to select the ISO image of Windows Server 2022 that we have downloaded:
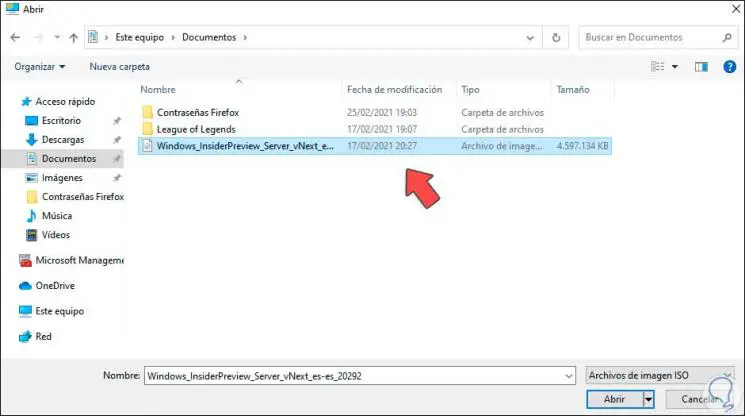
Step 12
Click Open to see it integrated:
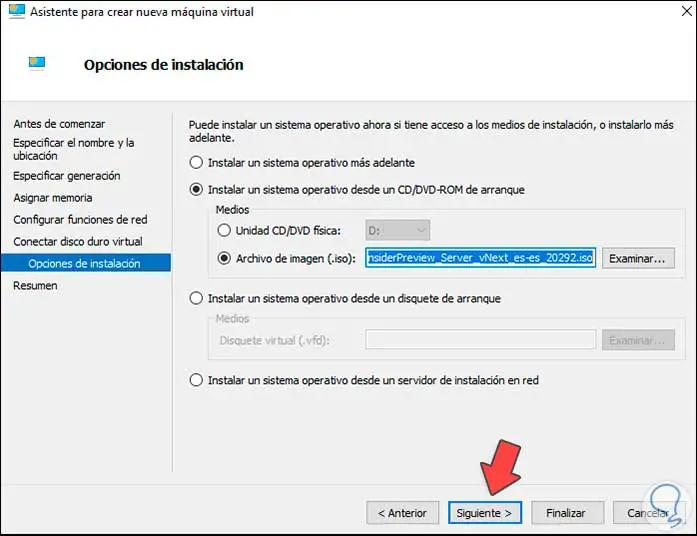
Step 13
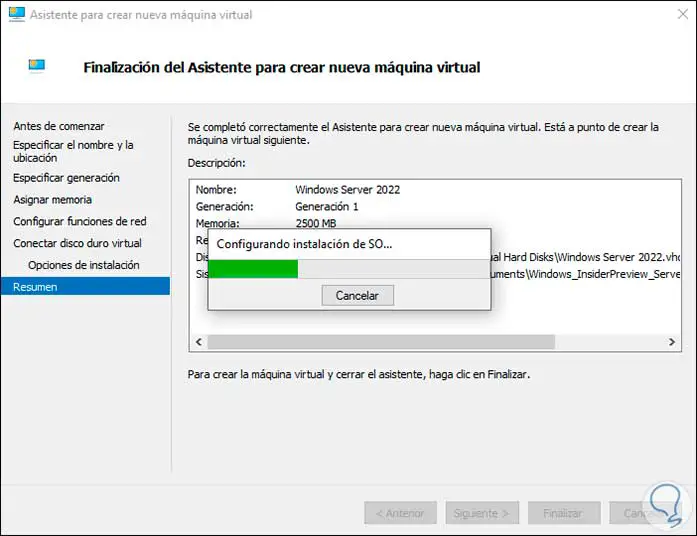
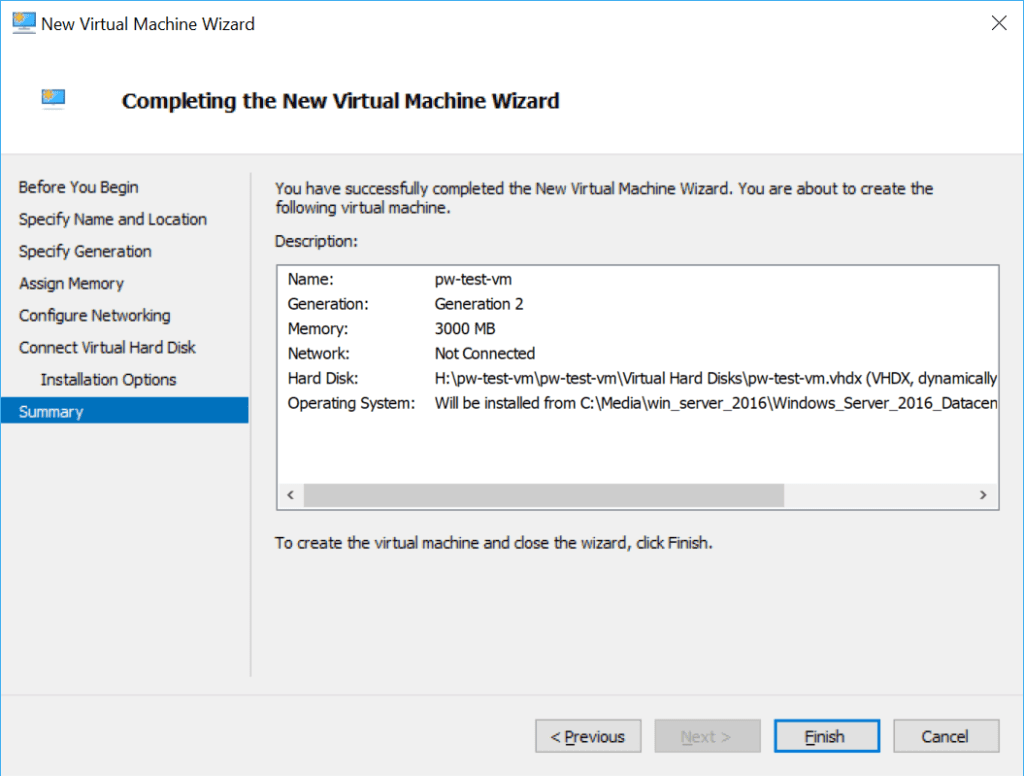
Click Next to see the summary of the Windows Server 2022 machine on Hyper-V:
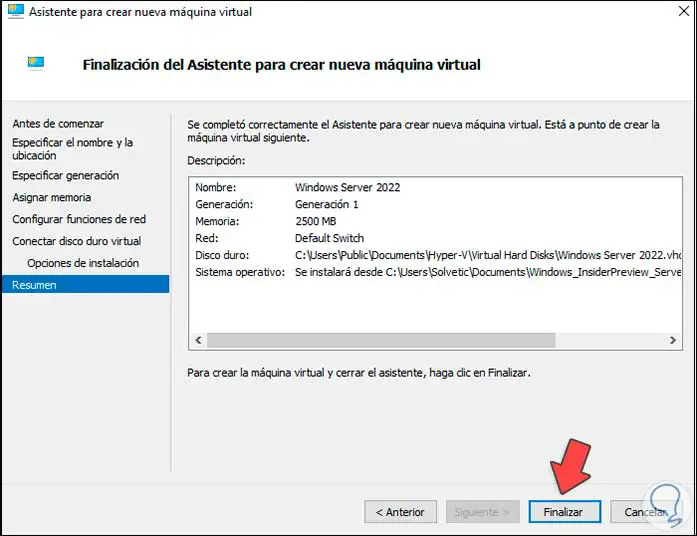
Step 14
Confirm the virtual machine creation process by clicking Finish:
Step 15
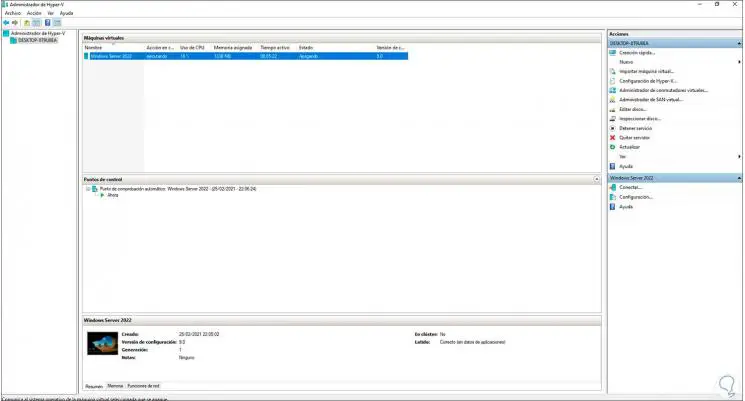
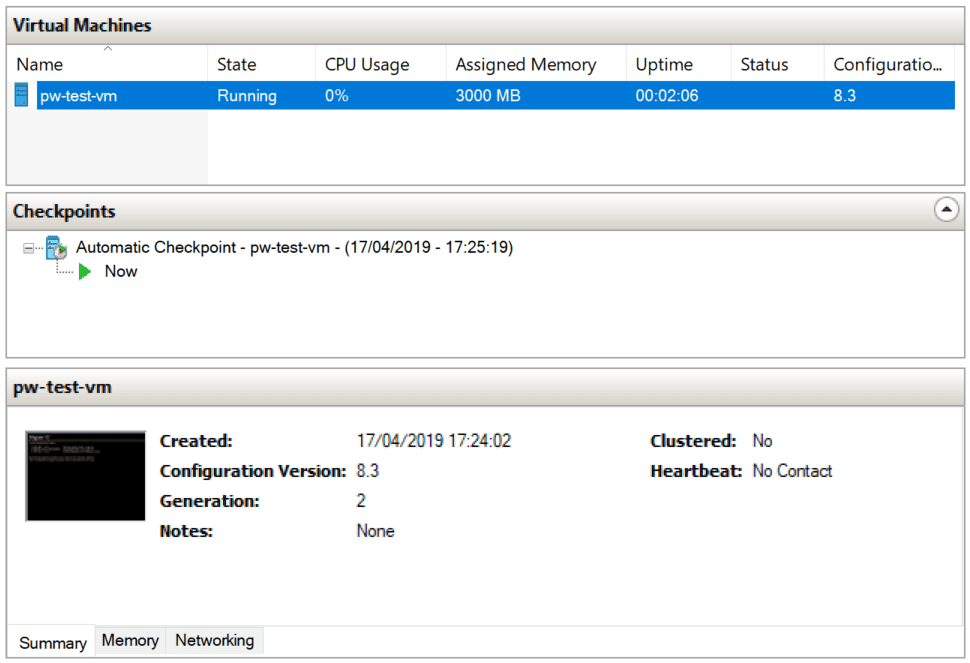
After this we will see the virtual machine created correctly in Hyper-V:
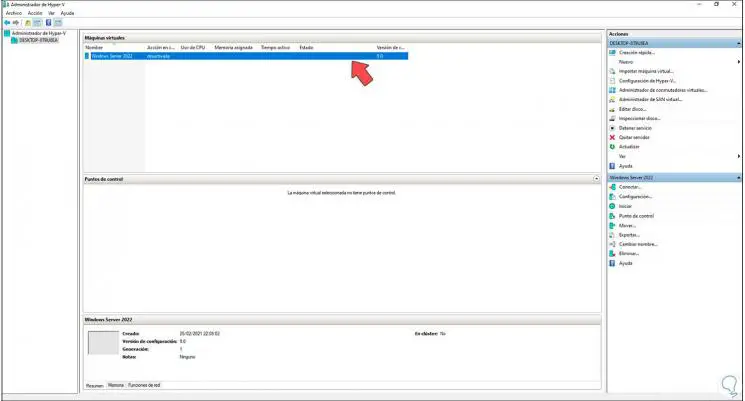
Step 16
We select the virtual machine and click on «Connect», the following window will be launched:
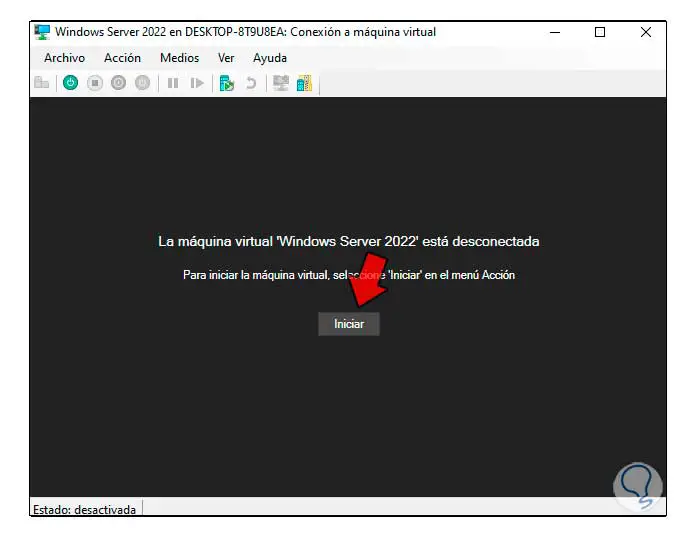
Step 17
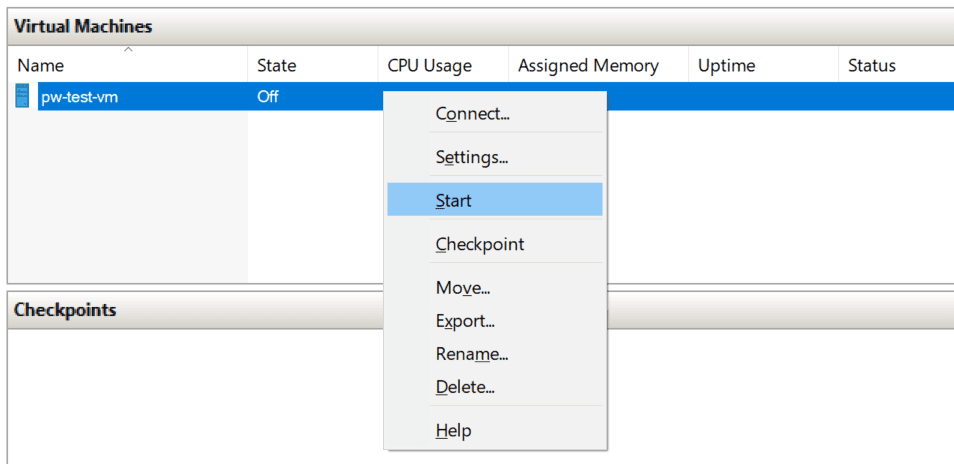
We click «Start» to go through the installation and configuration process of Windows Server 2022 in Hyper-V:
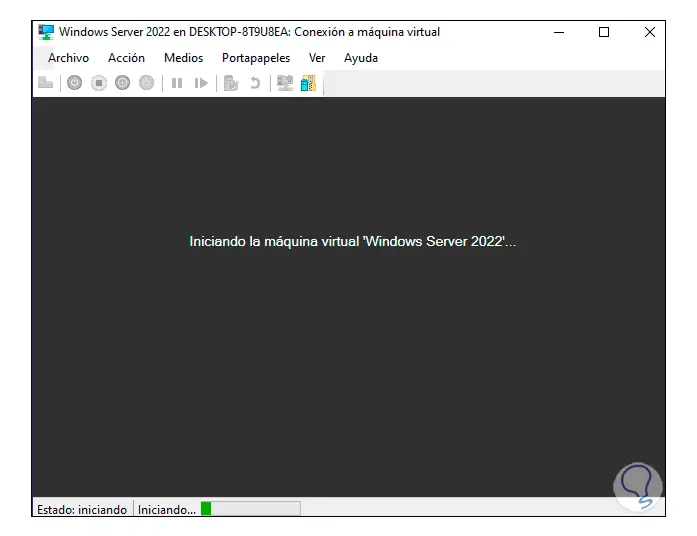
Step 18
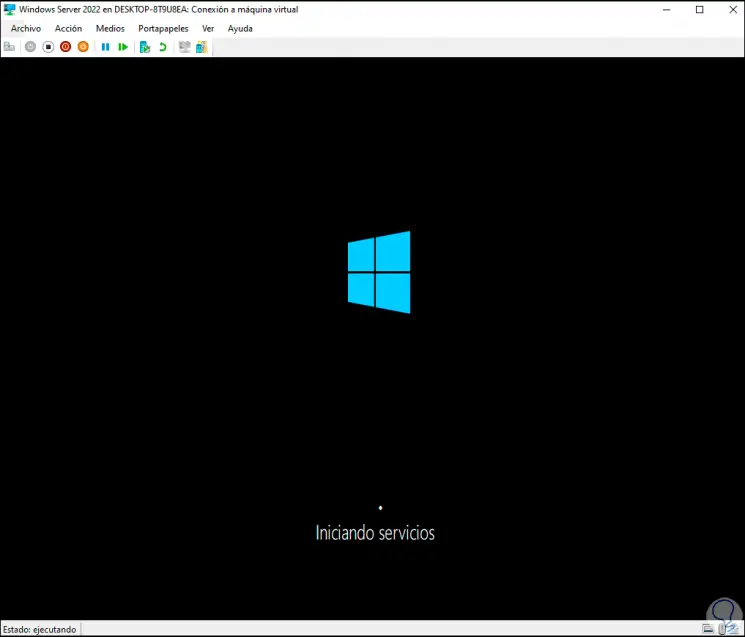
Then we will see the system startup screen:
Step 19
Click Next and we will see the following:
Step 20
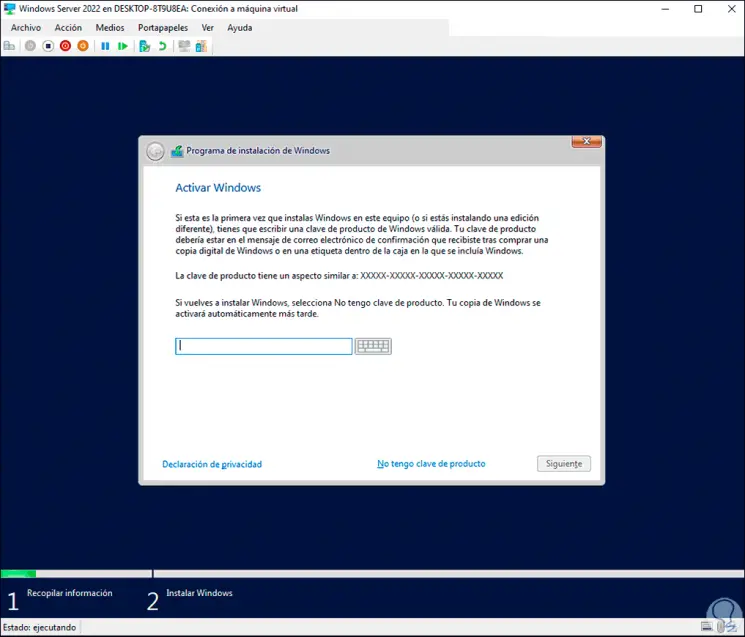
Click on «Install now» and then it is possible to enter or not the system password:
Step 21
Click Next to select the edition of Windows Server 2022 to install:
Step 22
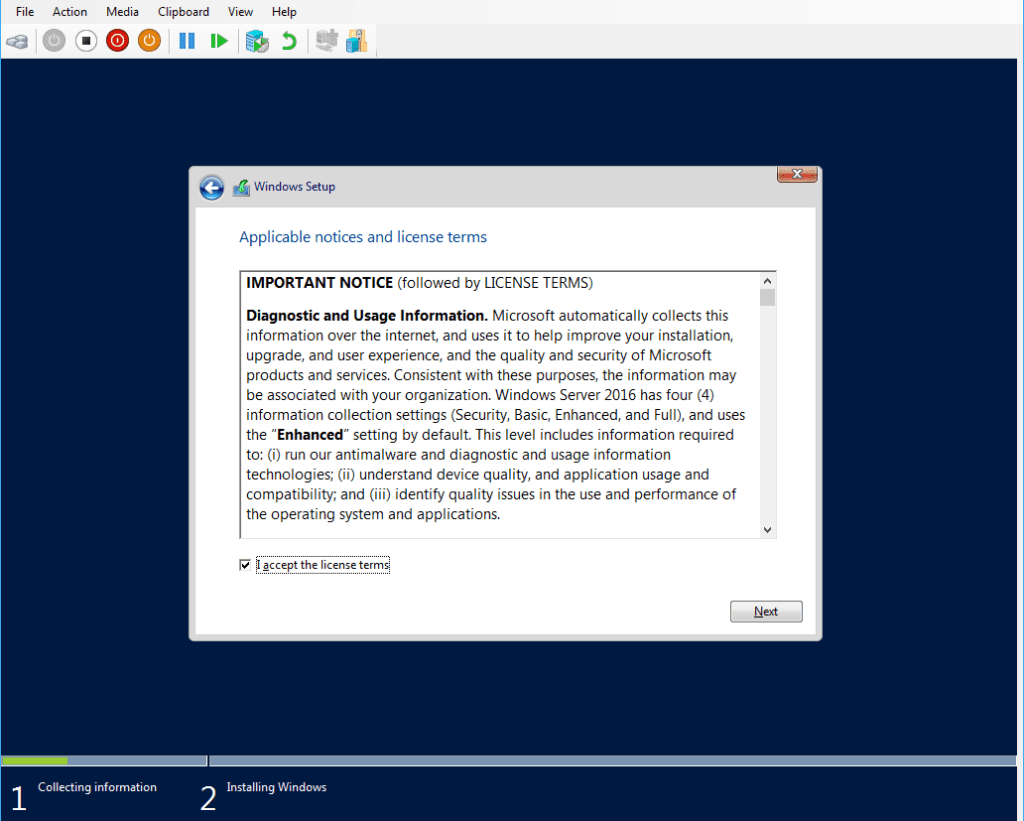
In the next window we accept the license of use:
Step 23
After this we define the type of installation to use:
Step 24
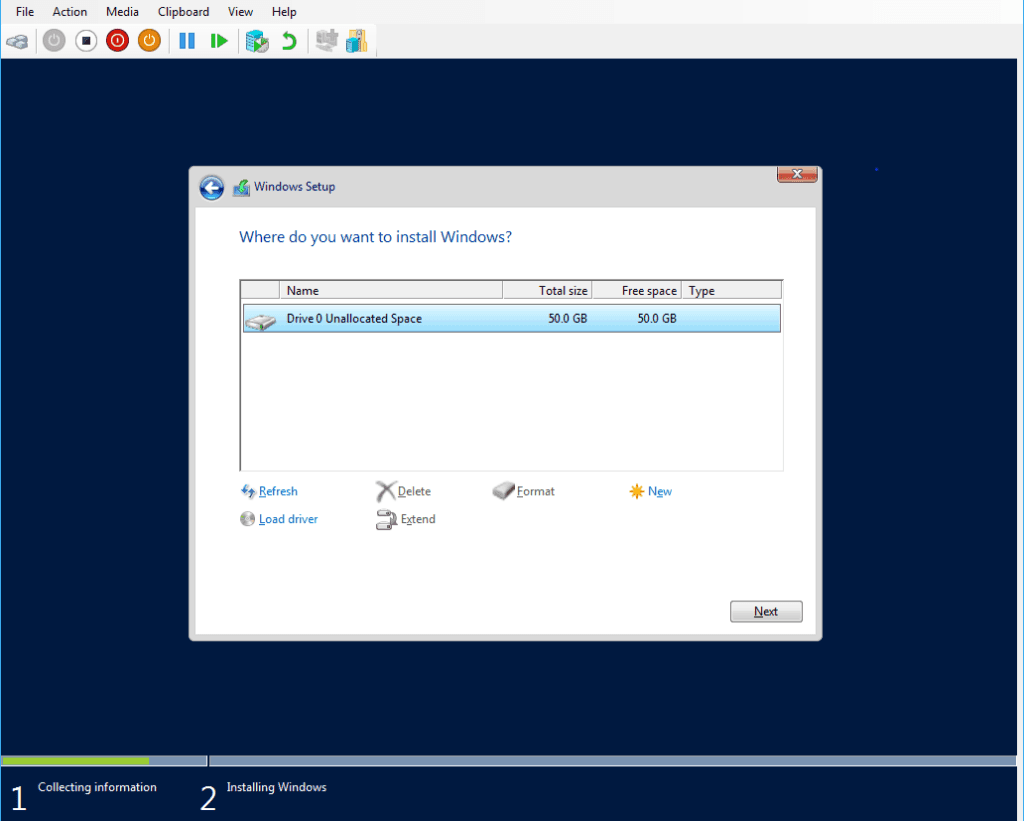
We select the disk where Windows Server 2022 will be installed:
Step 25
Click Next to start the process:
Step 26
The system will be rebooted to complete the process:
Step 27
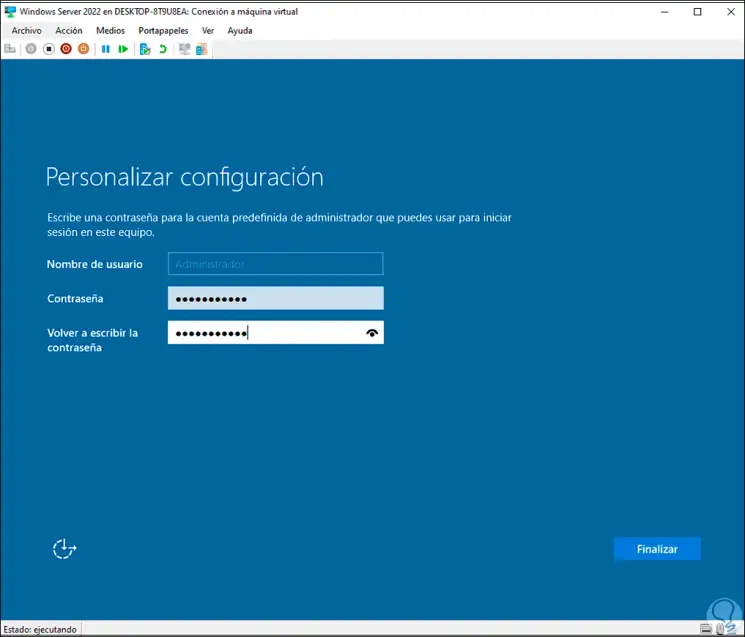
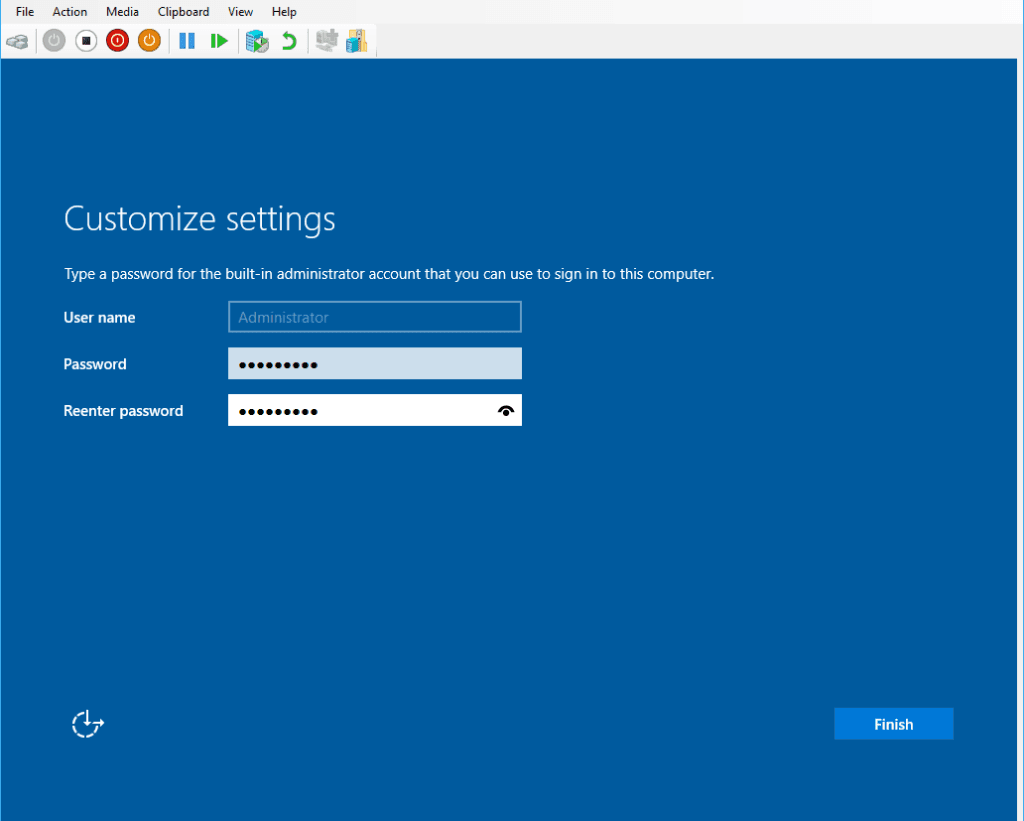
Then it is necessary to enter the administrator password:
Step 28
Click on Finish to complete the process, upon accessing we will see the following:
Step 29
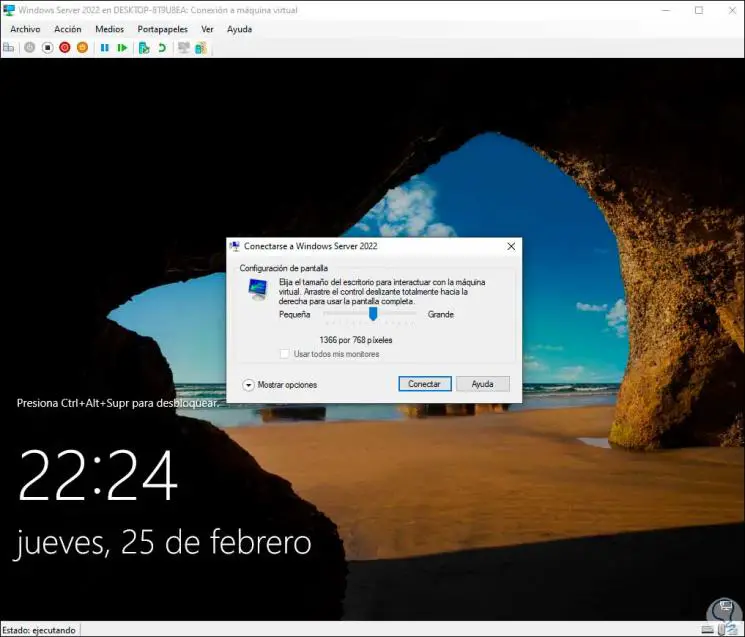
It is possible to define the size of the screen to use, click Connect to access the Windows Server 2022 start screen:

Step 30
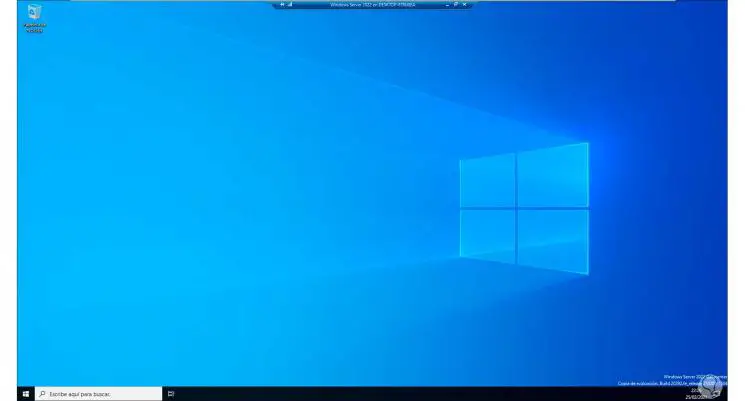
We log in:
Step 31
At this point we can use the full screen mode. You can access the Hyper-V options:
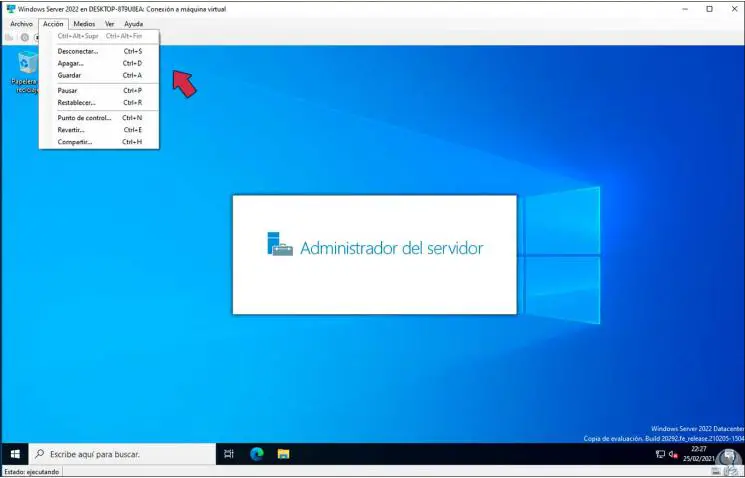
Step 32
From the console, turn off the virtual machine when it is no longer used:
This is the practical way to install Windows Server 2022 on Hyper-V..
This post contains a demo of installing the Windows Server 2016 Operating System on Hyper-V.
To install the Hyper-V Role on Windows 10, see this guide from Microsoft Docs: Install Hyper-V on Windows 10.
There are two parts to this one:
# Create a new Hyper-V Virtual Machine
# Install Windows Server 2016
Once you are done with this guide you will be logged into a new Windows Server on Hyper-V. You will then be ready to configure and run tests on your server. The next step for me would be to Install Active Directory (AD) on the server.
Creating a new Hyper-V Virtual Machine
1. Right-click your Hyper-V Manager host machine, and select New > Virtual Machine…

2. Enter the name of the new VM and the location on disk.
3. Select Generation of VM.
4. Enter the memory allocation amount.
5. Select a network connection (I’ll set this up later).
6. Enter the dynamic virtual hard disk limit, and for this tutorial, I’m leaving the vHD location as default (driven from the previous selection).
7. Select an Operating System ISO file.
8. Review configuration and hit finish.
9. Power up the new VM!
Installing Windows Server 2016
1. Connect to the new VM (ensuring step 7 above was followed).
2. Hit any key.
3. After 30 seconds or so of loading, select your location.
4. Click to start the Windows Server installation.
5. GUI this time around, and Datacenter Edition for the test environment.
6. Accept the usual.
7. Check advanced options.
8. Install on the 50GB vHD.
9. Hit next, and away it goes…
10. The installation will finish up and restart once it’s done. Before the Windows Server login screen is shown, the built-in administrator password needs to be set.
11. Login with the above password.
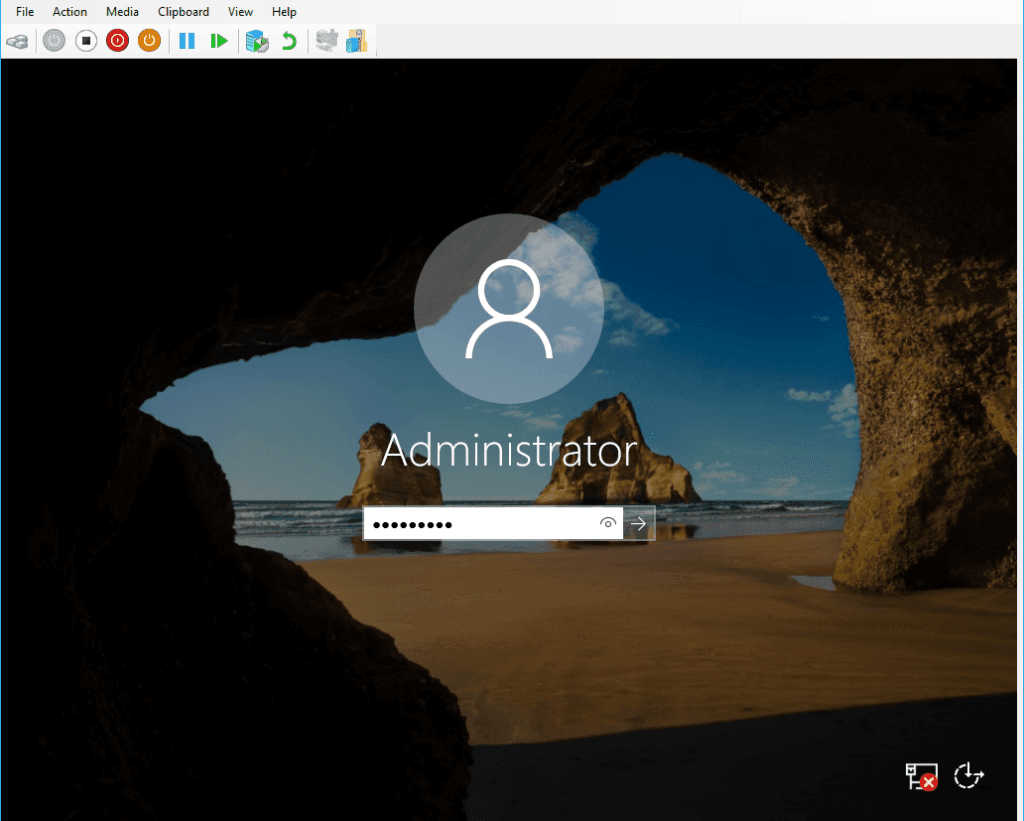
12. Hurray, it’s Windows 2016 everybody!

With the release of the latest technical preview of Windows Server 2019, we decided to learn how to install and configure Windows Server 2019. The Honolulu project has been officially released as the Windows Admin Center. Microsoft has also released the Honolulu project, which is a new management platform for Windows Server. In this tutorial, we’ll take a look at the Windows Server 2019 installation and configuration and the Henololo project. You can visit the packages available in Eldernode to purchase a Windows VPS server.
Table of Contents
Tutorial install and configure Windows Server 2019
In the first step, you have to download the latest version. In the continuation of this article, join us to learn how to install and configure Windows Server 2019.
Install and Configure Windows Server 2019
Windows Server is one of the server-specific operating systems that users install on their server according to their needs when purchasing a VPS Server or Dedicated Server. Among the different versions of Windows Server, the latest and most recent version is Windows Server 2019, which has better performance than previous versions. It should be noted that this version, despite the time since its introduction by Microsoft, is still not recognized as a completely stable version, and new updates for it are constantly released. Follow us in the continuation of this tutorial.
How to install Windows Server 2019 via ISO file in VMware
To install Windows Server 2019 on VMware, we used the following virtual machine:
– Windows Server 2019 x64 bit
– VMware ESXi version 6.5
In the images below, you can see the Windows Server 2019 installation page, the ISO file of which is in the VMware virtual machine:
On the page above, specify the language and keyboard, and then click Next.
Click Install to begin the installation process.
Select the Windows Server version and click Next.
Confirm the agreement (check I accept the license terms).
Select the drive in which you are installing Windows.
As you can see, the installation process is very simple.
How to install Windows Server 2019 on Hyper-V 2016
With Hyper-V, all you have to do is download the VHDX file and copy it to the datastore where you want to run the Hyper-V virtual machine. Details of the Hyper-V environment are as follows:
– Windows Server 2016 Hyper-V
– Windows Server 2016 is installed on VMware ESXi 6.5.
The process of using the downloaded VHDX file is similar to creating other Hyper-V virtual machines. But here we connect the disk to the downloaded Microsoft Insider file.
In the image above, we specify the name and path of the virtual machine storage.
Then select Generation 2 for the Generation version:
In the image below, we allocate only 2 GB of RAM to this virtual machine.
Note: If you do this in operating environments, be aware that high RAM should be allocated to virtual machines, otherwise you will face many problems when loading high.
Then select the network card configuration for the Hyper-V virtual machine in Windows Server 2019.
In the Connect Virtual Hard Disk section, select Use an existing virtual hard disk. Below is the path to the downloaded VHDX file that is attached to the virtual machine.
On the last page, you will see a summary of the status of the virtual machine that you configured. Click Finish to create this machine.
After turning on Hyper-V, you will see that the technical preview is Server Core.
How to install the Honolulu project on Windows Server 2019
Honolulu is a browser-based local tool that allows you to manage Windows Server without the need for Azure or cloud. Honolulu allows IT administrators access to full control of all server structural features. It is generally suitable for management on private networks that are not connected to the Internet.
Honolulu is a modern evolutionary tool for in-box management tools, such as Server Manager or MMC. In fact, the project complements the System Center and Operations Management Suite but has not been created to replace these products and services.
You can install the Honolulu project locally on the Windows Server 2019 Core version. To do this, we need to run and install the MSI package using CMD.
C:\Users\administrator.CLOUD\Downloads>msiexec /i honolulu_install.msi /qn /L*v log2.txt SME_port=6513 SSL_CERTIFICATE_OPTION=generateNote: Instructions for installing the Honolulu project on the Windows Server 2019 can be found on the official Microsoft page.
msiexec /i <HonoluluInstallerName>.msi /qn /L*v log.txt SME_PORT=6513 SSL_CERTIFICATE_OPTION=generateAs you can see in the above command, we also specify the log file. Using the log file to see the installation status and troubleshooting problems during installation is appropriate. At first, the installation of Honolulu was faulty, but after resetting the server and reinstalling it, the problem was solved.
The Honolulu project and its implementation on Windows Server 2019
At first glance, the Honolulu project on Windows Server 2019 was very appealing to us. Microsoft has done an interesting job of designing and adding charm to it. In addition, the dashboard has an interesting search feature that allows you to easily find different items. You can type the letters in it so that the Honolulu project quickly displays the item you were looking for. Of course, the Search feature still needs improvements, which I hope will be improved in future versions.
Below you can see pictures of the Honolulu project on Windows Server 2019.
*
**
***
****
Conclusion
This article is one of the most complete Windows Server 2019 installation and configuration training references. In this tutorial, we tried to fully teach you how to install Windows Server 2019 via ISO file in VMware and Hyper-V 2016. You were also taught how to install the Honolulu project on Windows Server 2019.
How to Create/Install Windows Server 2016 VM on your Hyper-V Windows 10 Device (Surface Pro 4)

As you might know Hyper-V role/feature is included on Windows 7,8, 8.1 and 10. This allows you to create your own test environments and also you pre-production development systems. So you can test new features and so on.
How to install the role on my Windows 10 ?
To install the role/feature is pretty straight forward just make sure you perform the following tasks;
1. Go to your BIOS and make sure the Hypervisor /Virtualization Technology is enabled.
2. After enabling your Hypervisor, search on Turn Windows Features on or off and enable all the Hyper-V features.

3. After enabling the role, restart your computer and open the Hyper-V manager Console.

4. That’s it, now you have Hyper-V Role installed on your Windows 10 Device.
Creating and Installing the 2016 VM Step by Step
1. Open the Hyper-V Manager, click New then create a new Virtual machine.
2. On the Virtual Machine Wizard specify he following: Name, Path, Generation, RAM, Network, VHD and the ISO to install the OS in my case Windows Server 2016.

3. Once the VM is created then start the VM and press any key to install the OS from the attached ISO then follow all the OS installation wizard.


4. Now you have your new VM installed on your Windows 10 device.

You can also create the VM utilizing PowerShell
1. Go to your PowerShell ISE as Admin then run the following pscript.
# Make sure you change the VM Name, Switch Name, and Installation Media Path.
$VMName = ‘Server2016’
$Switch = ‘Private NIC Teaming Switch’
$InstallMedia = ‘C:\Temp\Server2016.iso’
# Create New Virtual Machine
New-VM -Name $VMName -MemoryStartupBytes 2147483648 -Generation 2 -NewVHDPath «C:\Virtual Machines\$VMName\$VMName.vhdx» -NewVHDSizeBytes 53687091200 -Path «C:\Virtual Machines\$VMName» -SwitchName $Switch
# Add DVD Drive to Virtual Machine
Add-VMScsiController -VMName $VMName
Add-VMDvdDrive -VMName $VMName -ControllerNumber 1 -ControllerLocation 0 -Path $InstallMedia
# Mount Installation Media
$DVDDrive = Get-VMDvdDrive -VMName $VMName
# Configure Virtual Machine to Boot from DVD
Set-VMFirmware -VMName $VMName -FirstBootDevice $DVDDrive
Thanks for watching! 