-
#1
Здравствуйте добрые люди. Помогите пожалуйста новичку, 2й день пошел как мучаюсь с esp8266. Имею модуль esp8266 ESP-01. После получения проделывал следующее:
1. Прошил прошивкой AT21SDK95-2015-01-24
Модуль стал реагировать на AT команды, видеть сети wi-fi, домашний роутер, с помощью АТ команд даже подключился к нему.
2. Залил через arduino uno скетч брал отсюда ESP8266 – Шаг №1 * WI-FI подключение | Программирование ESP8266 в среде Arduino IDE
ввел данные от своего роутера, но esp8266 не хочет подключаться.
Создает свою точку доступа (в мониторе порта пишет:
WiFi up AP
Start 2-WebServer) со смартфона видится, можно подключиться.
При попытке в браузере подключиться, пишет что нет не удается установить соединение. Помогите пожалуста, 2 дня уже мучаюсь. поиски по интернету и форуму не дали ответа.
более-менее похожая тема https://esp8266.ru/forum/threads/ne-podkljuchaetsja-wifi-pri-proshivke-cherez-arduino-ide.3672/ пробовал менять, мне не помогло.
-
#2
Start 2 Покажите все при помощи скриншотов, подробно.
-
#3
извините. не понял, что именно сфотографировать?
-
#4
Скетч, процесс заливки, результат работы и то, что может помочь увидеть, что у вас творится.
-
#5
Ура, часть проблемы я решил. А именно чтобы создалась точка доступа. К сожалению к роутеру подключиться пока не могу. Описываю по-порядку как и что делал. может кому-то пригодится.
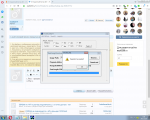
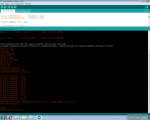
1. Прошил прошивкой AT21SDK95-2015-01-24 (рис 1, 1_2)
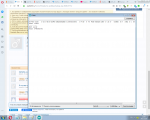
2. Командой AT+CLAP вывел список всех wifi сетей, нашел свой роутер (рис_2)
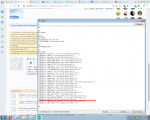
3. Командой AT+CWJAP подключился к своему роутеру (рис 3_1). Посмотрел на телефоне, модуль
появился (рис 3_2)
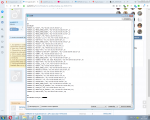
4. Залил скетч. Шаг №2 * WebServer WEB сервер | Программирование ESP8266 в среде Arduino IDE как я понял, если esp не сможет подключиться к роутеру, то он создаст свою точку. (рис 4_1). перезагрузил esp.
5. Модуль несколько секунд думает (пытается подключиться к роутеру), потом создает свою точку с именем WiFi. (рис 5_1, 5_2)
6. Далее вводим ip который ввели в скетче, в IPAddress apIP (у меня 192, 168, 4, 101); до 7 пункта при попытке зайти на страницу была ошибка err_connection_refused
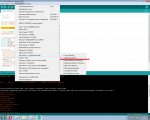
7. на каком-то сайте (закрыл случайно вкладку) обсуждалась эта пробьлема. оказывается нужно поменять на (рис 6_2). Мне помогло, заработало.
Вопрос с подключением к роутеру домашней сети остается открытым. Может кто знает в чем проблема?
Вложения
-
239.8 KB
Просмотры: 43 -
337.8 KB
Просмотры: 40 -
240 KB
Просмотры: 43 -
225.5 KB
Просмотры: 38 -
111.4 KB
Просмотры: 39
-
#6
в одно сообщение не влезли скриншоты.
Вложения
-
96.1 KB
Просмотры: 35 -
149.2 KB
Просмотры: 45 -
123.8 KB
Просмотры: 61
-
#7
Скетч виден, как на ладони… Настройки роутера аналогично.
Попробуйте в роутере установить шифрование wpa2.
-
#8
/*
* Шаг №1
* WI-FI подключение
*/
#include <ESP8266WiFi.h> //Содержится в пакете
IPAddress apIP(192, 168, 4, 1);
// Определяем переменные
String _ssid = «waflya»; // Для хранения SSID
String _password = «*****»; // Для хранения пароля сети
String _ssidAP = «WiFi»; // SSID AP точки доступа
String _passwordAP = «»; // пароль точки доступа
void setup() {
Serial.begin(115200);
Serial.println(«»);
Serial.println(«Start 1-WIFI»);
//Запускаем WIFI
WIFIinit();
}
void loop() {
delay(1);
}
void WIFIinit() {
// Попытка подключения к точке доступа
WiFi.mode(WIFI_STA);
byte tries = 11;
WiFi.begin(_ssid.c_str(), _password.c_str());
while (—tries && WiFi.status() != WL_CONNECTED)
{
Serial.print(«.»);
delay(1000);
}
if (WiFi.status() != WL_CONNECTED)
{
// Если не удалось подключиться запускаем в режиме AP
Serial.println(«»);
Serial.println(«WiFi up AP»);
StartAPMode();
}
else {
Serial.println(«»);
Serial.println(«WiFi connected»);
Serial.println(«IP address: «);
Serial.println(WiFi.localIP());
}
}
bool StartAPMode()
{
WiFi.disconnect();
WiFi.mode(WIFI_AP);
WiFi.softAPConfig(apIP, apIP, IPAddress(255, 255, 255, 0));
WiFi.softAP(_ssidAP.c_str(), _passwordAP.c_str());
return true;
}
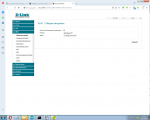
извиняюсь за глупый вопрос, когда ставлю на роутере wpa2 какие настройки в скетче ставить? если все тоже оставлять, то не соединяется. На рис 3_1 я приводил пример, что с помощью АТ команды и настроек роутера (Сетевая аутентификация: open) модуль подключается. через скетч нет.
Вложения
-
88.5 KB
Просмотры: 23 -
102.6 KB
Просмотры: 20 -
107.2 KB
Просмотры: 15 -
109.3 KB
Просмотры: 19
-
#9
Вместе с wpa2 обычно идет пароль.
В настройках безопасности роутера кроме Open, что там еще есть?
Нормальное подключение к сети выглядит так
Код:
  WiFi.mode(WIFI_STA);
  WiFi.begin(ssid, password);
Зачем брать пример, который не ясно как работает(не посмотрел что есть вторая часть скетча), возьмите пример ESP8266WiFi WiFiClient из ардуиноиде и на нем попробуйте.
-
#10
Извините что долго не отвечал. сделал как вы сказали, все заработало. спасибо большое.
-
#11
Всем привет. Есть аналогичная проблема. Все из темы перепробовал. Сеть видит, но пишет, что неправильный пароль (точно правильный) и не подключается, понятное дело.
Посоветуйте по делу. Спасибо!
-
#12
Всем привет. Есть аналогичная проблема. Все из темы перепробовал. Сеть видит, но пишет, что неправильный пароль (точно правильный) и не подключается, понятное дело.
Посоветуйте по делу. Спасибо!
Извините, но экстрасенсы в отпуске.
Кто видит сеть? На чем поднята сеть? Какое шифрование у сети? Откуда известно, что пароль правильный? Кто не подключается?
Одни вопросы. Чем вам можно помочь?
-
#13
модуль esp8266 ESP-01
прошито AT21SDK95
точка доступа создается и работает
подключаюсь, но пишет, что неправильный пароль (точно правильный)
-
#14
Почему так решили, если
пишет, что неправильный пароль
Задайте имя точки доступа ESP8266 и пароль 123456789 и попробуйте ещё раз.
-
#15
подключаюсь, но пишет, что неправильный пароль (точно правильный)
Пароль, должен содержать не менее 8 символов.
-
#16
а он там стандартный? я другой использую, который я задавал.
-
#17
или мы о разных вещах говорим или я не все понимаю. возможно оба варианта сразу
-
#18
я другой использую, который я задавал.
Что вам мешает задать пароль который вам посоветовал
Задайте имя точки доступа ESP8266 и пароль 123456789
-
#19
или мы о разных вещах говорим или я не все понимаю. возможно оба варианта сразу
Я предлагаю задать пароль в котором нельзя сделать ошибку и содержащий только разрешенные знаки. Для проверки. Потом можете поменять. Но дело ваше.
-
#20
Что вам мешает задать пароль который вам посоветовал
где его указывать?
п.с. новичок, немного запутался или не понимаю (возможно). строго не судите
Problem Description
I used the WiFiAccessPoint example and I couldn’t find the network using both laptop and mobile phone.
I tried to run the WiFiScan example to check if the hardware is working or not. The ESP couldn’t find my wifi, phone hotspot. But it only finds mobile hotspot created from laptop. I checked the router and confirmed that the router is working on 2.4 GHz not 5 GHz.
I tried the HelloServer example with my wifi network name (which is couldn’t be found in the Scan example) and the status is WL_DISCONNECTED for sometime and then WL_NO_SSID_AVAIL.
I tried the HelloServer example with hotspot created from the laptop (which is found in the Scan example) and the status is WL_DISCONNECTED for sometime and then WL_CONNECT_FAILED.
What is the issue and how to fix it ? Or how o debug this kind of issues ?
Note:
I’m using Core version 3.0.2, Nodemcu with ESP8266 and Arduino IDE.
I also tested 3.0.0, 2.7.2, 2.4.2 and all of them not working too.
I enabled the debugging and when running the AP example I get
20:10:38.091 -> Configuring access point…fpm close 3
20:10:38.091 -> mode : softAP(32:83:98:a5:34:f3)
20:10:38.091 -> add if1
20:10:38.091 -> dhcp server start:(ip:192.168.4.1,mask:255.255.255.0,gw:192.168.4.1)
20:10:38.091 -> bcn 100
20:10:38.982 -> bcn 0
20:10:38.982 -> del if1
20:10:38.982 -> usl
20:10:38.982 -> add if1
20:10:38.982 -> dhcp server start:(ip:192.168.4.1,mask:255.255.255.0,gw:192.168.4.1)
20:10:38.982 -> bcn 100
20:10:38.982 -> Awifi evt: 8
20:10:38.982 -> P IP address: 192.168.4.1
20:10:38.982 -> HTTP server started
and in HelloServer
20:19:07.653 -> scandone
20:19:08.544 -> state: 0 -> 2 (b0)
20:19:08.544 -> state: 2 -> 3 (0)
20:19:08.544 -> state: 3 -> 5 (10)
20:19:08.544 -> add 0
20:19:08.544 -> aid 1
20:19:08.544 -> cnt
20:19:18.541 -> pm open,type:2 0
20:19:18.541 -> state: 5 -> 0 (2)
20:19:18.541 -> rm 0
20:19:18.541 -> pm close 7
20:19:18.541 -> reconnect
20:19:18.541 -> wifi evt: 1
20:19:18.587 -> STA disconnect: 204
20:19:18.667 -> scandone
20:19:18.667 -> state: 0 -> 2 (b0)
20:19:18.667 -> state: 2 -> 3 (0)
20:19:18.716 -> state: 3 -> 5 (10)
20:19:18.716 -> add 0
20:19:18.716 -> aid 1
20:19:18.716 -> cnt
20:19:28.683 -> pm open,type:2 0
20:19:28.683 -> state: 5 -> 0 (2)
20:19:28.683 -> rm 0
20:19:28.683 -> pm close 7
20:19:28.683 -> reconnect
20:19:28.683 -> wifi evt: 1
20:19:28.683 -> STA disconnect: 204
20:19:28.824 -> scandone
20:19:28.824 -> state: 0 -> 2 (b0)
20:19:28.824 -> state: 2 -> 3 (0)
20:19:28.824 -> state: 3 -> 5 (10)
20:19:28.824 -> add 0
20:19:28.824 -> aid 1
20:19:28.824 -> cnt
20:19:38.860 -> pm open,type:2 0
20:19:38.860 -> state: 5 -> 0 (2)
20:19:38.860 -> rm 0
20:19:38.860 -> pm close 7
20:19:38.860 -> reconnect
20:19:38.860 -> wifi evt: 1
20:19:38.860 -> STA disconnect: 204
20:19:38.953 -> scandone
20:19:38.953 -> state: 0 -> 2 (b0)
20:19:39.938 -> state: 2 -> 0 (2)
20:19:39.938 -> reconnect
20:19:39.938 -> wifi evt: 1
20:19:39.984 -> STA disconnect: 2
20:19:40.078 -> scandone
20:19:40.078 -> state: 0 -> 2 (b0)
20:19:40.078 -> state: 2 -> 3 (0)
20:19:40.078 -> state: 3 -> 5 (10)
20:19:40.078 -> add 0
20:19:40.078 -> aid 1
20:19:40.078 -> cnt
I have a very similar problem:
the same code that I use regularly for other esp8266 (and that work) has stopped working and now going to debug it no longer sees any wifi network.
i installed arduino IDE 1.8.19 on my new mac with M1 processor, and it doesn’t seem to work anymore.
core version 3.0.2 which has been standing still for almost a year.
Did you try the option «erase flash > all flash content» ?
I still have the same issue and didn’t fix it yet.
Did you try the option «erase flash > all flash content» ?
I tried it back then and had the same issue.
I tested all core versions from 2.4 up to 3.0.2.
every time I erased everything.
today I try with an external power supply, maybe the USBC-USB-ESP8266 adapter can’t power it
I tested all core versions from 2.4 up to 3.0.2. every time I erased everything. today I try with an external power supply, maybe the USBC-USB-ESP8266 adapter can’t power it
It’s good idea. I didn’t try external power supply. Let us know the result.
no change, same error: no SSID found
same problem, running this basic code does not set a SSID nor does it set a password. what’s going on?
erasing all contents; usually powering from PC usb, but also tried 2A wall chargers with same results..
#include <ESP8266WiFi.h>
#include <WiFiClient.h>
#include <ESP8266WebServer.h>

ESP8266WebServer server(80);

void handleRoot() {
  server.send(200, "text/html", "<h1>You are connected</h1>");
}

void setup() {
  delay(1000);
  Serial.setDebugOutput(true);
  Serial.begin(115200);

  WiFi.softAP("ESPap", "thereisnospoon");

  server.on("/", handleRoot);
  server.begin();

  WiFi.printDiag(Serial);
}

void loop() {
  server.handleClient();
}
SDK:2.2.2-dev(38a443e)/Core:3.0.2=30002000/lwIP:STABLE-2_1_2_RELEASE/glue:1.2-48-g7421258/BearSSL:6105635
fpm close 3
mode : softAP(26:a1:60:3a:b7:98)
add if1
dhcp server start:(ip:192.168.4.1,mask:255.255.255.0,gw:192.168.4.1)
bcn 100
bcn 0
del if1
usl
add if1
dhcp server start:(ip:192.168.4.1,mask:255.255.255.0,gw:192.168.4.1)
bcn 100
Mwifi evt: 8
ode: AP
PHY mode: N
Channel: 1
AP id: 0
Status: 255
Auto connect: 1
SSID (0):
Passphrase (0):
BSSID set: 0
config: https://i.postimg.cc/GhcP23ZJ/Untitled.jpg
I made an even simpler test with the example of the CORE 3.0.2 library — ESP8266WiFi.h
WifiScan.ino
result:
wemos d1 mini (on the right): everything ok
wemos d1 mini v3 (on the left): cannot find any networks
I begin to think that it is version 3 of the wemos that has something wrong, there must be some incompatibility.
All wemos old versions work
I’ve got this one:
It came with the manual where it says to choose «Generic ESP8266 Module» board option. It used to work very well a few years back, but I couldn’t make it work yesterday… Thanks to pictures @lorerave85 posted, I noticed «D1 mini» written on the corner of my board, so I picked «LOLIN(WEMOS) D1 mini (clone)» and this solved my problem. The code is working now. Thank you!
It turns out RTFM, but don’t fcuking trust it. lol
If your ESP8266 based board is not connecting to WiFi, there are some specific things you can troubleshoot in order to get it to work. In this article we cover everything you need to fix the problem of ESP8266 not connecting to WiFi.
This article is suitable for anyone having trouble with their ESP8266 based board, meaning any board with an ESP8266 chip on board.
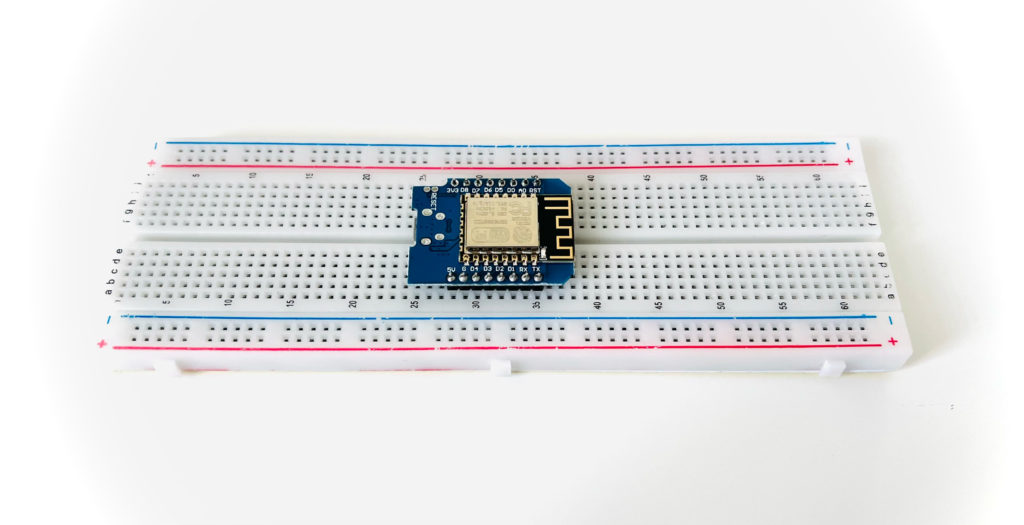
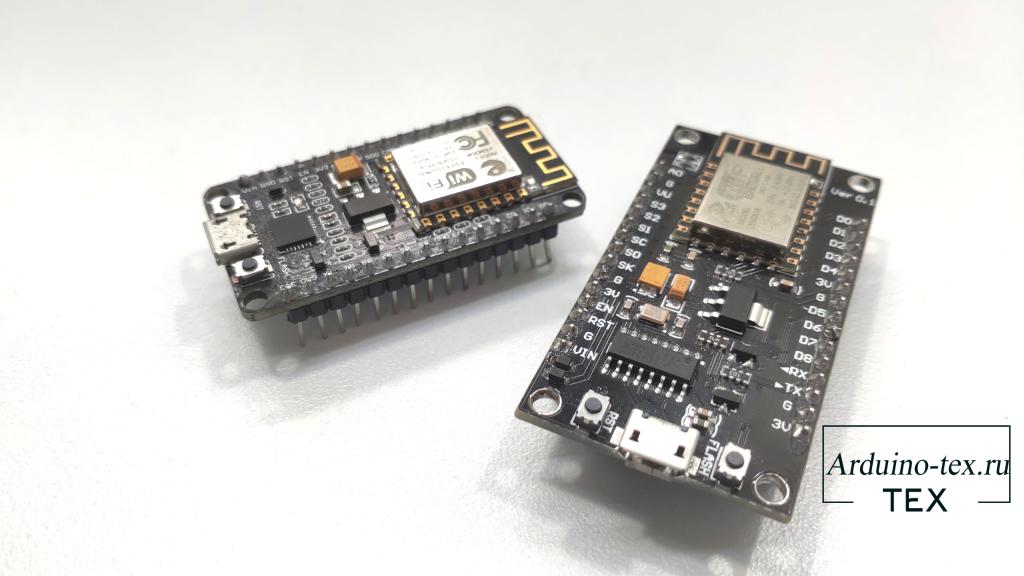
This could be one of the popular Wemos D1 Mini type boards. It could be an ESP-01 module or any other board that features the ESP-12 module.
Table Of Contents
- Did You Set The ESP8266 With The Correct SSID And Password?
- Are You Trying To Connect The ESP8266 To A Router Set To Channel 13 or 14?
- Are You Trying To Connect The ESP8266 To A 2.4GHz Access Point?
- Is The ESP8266 Set Up In Station Mode?
- Are You Trying To Read The Analog To Digital Converter?
- Are You Trying To Connect ESP8266 To A WEP Key Network?
- Conclusion
Did You Set The ESP8266 With The Correct SSID And Password?
Ok we should start with the obvious. Yes I know, I know, we are all super-duper electronics experts, of course we didn’t do something as type an incorrect password… did we?
Is your SSID typed in EXACTLY as it needs to be?
Is your password typed in EXACTLY as it needs to be?
Go check again, yes again …and again, at least three times to be sure!
I have been caught out by this one several times, especially when setting up the ESP8266 to connect in the Arduino IDE.
#include <ESP8266WiFi.h>

// Set WiFi credentials
#define WIFI_SSID "YOUR WIFI NETWORK SSID"
#define WIFI_PASS "YOUR WIFI PASSWORD"

void setup() {
  // put your setup code here, to run once:

}

void loop() {
  // put your main code here, to run repeatedly:

}
If you are trying to set up an ESP8266 to connect to WiFi with Arduino, you should definitely check out my tutorial on how to do this, its very easy to follow and has simple yet detailed examples of code, check it out!
Are You Trying To Connect The ESP8266 To A Router Set To Channel 13 or 14?
There has been some discussion regarding channels 13 and 14, whereby users have been unable to connect an ESP8266.
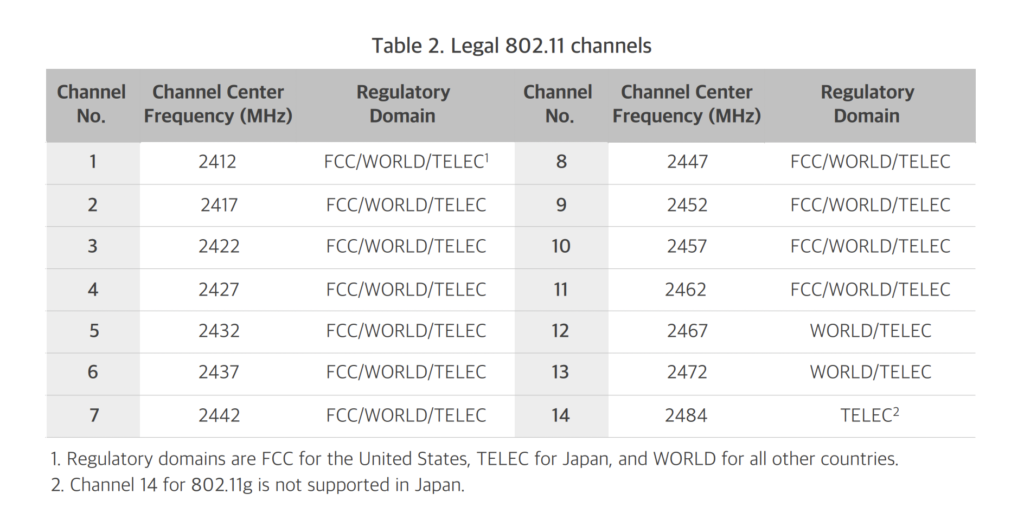
I decided to look into this a little further and I found that Espressif published a WiFi selection guide for the ESP8266. Within this document, the following table is published:
This would seem to support some of the feedback given regarding channels 13 and 14. It seems channels 12 through to 14 are not legal for use in geographical regions governed by the FCC (the United States).
In any case the simple solution to this problem would be to ensure that your router is not set to these channels and make sure you operate on a channel that is known to work.
Most likely setting your router channel and bandwidth to the auto setting will solve this issue.
Are You Trying To Connect The ESP8266 To A 2.4GHz Access Point?
The ESP8266 only operates on the 2.4GHz band and it is not compatible with the 5.8GHz band.
You must ensure that the router you are trying to connect to has the 2.4GHz band enabled and that you are trying to connect to it.
Depending on the router, you may needs to set the router AP band to 2.4GHz.
Is The ESP8266 Set Up In Station Mode?
There are two modes that the ESP8266 can operate in:
- Station mode
- AP mode
In station mode the ESP8266 is operating like a WiFi client and is able to connect to a WiFi access point, like your router.
In AP mode (access point mode) your ESP8266 is acting as the AP, so it IS the router.
If your ESP8266 is configured in AP mode, you will not be able to connect to the router, you must configure it in station mode.
Note that your ESP8266 may retain certain settings from previous projects. It is advisable to include the instruction to switch to station mode within the code to make sure the mode is correct.
For further information on how to set up the ESP8266 in station mode, check out this tutorial. It is also possible to get the ESP8266 to function in station mode and AP mode simultaneously!
Are You Trying To Read The Analog To Digital Converter?
Another problem that has been reported by several sources concerns the analog to digital converter (ADC) within the ESP8266.
The ADC has the capability to read the voltage applied to the amplifier and in this configuration the A0 (TOUT) pin must be left floating.
Although it is not clear from the datasheet, it is generally known that the analogRead() function can disrupt the WiFi signal if it is called very frequently.
The simple solution to the problem is to make sure that there is a delay in the code using the millis() function, such as in the following example taken from Stack Exchange.
unsigned int tempSensRead() {

  const unsigned long MEASURE_INTERVAL = 2L * 1000 * 60; // 2 minutes
  static unsigned long lastMeasureMillis;
  static unsigned int lastValue;

  if (millis() - lastMeasureMillis > MEASURE_INTERVAL) {
    lastMeasureMillis = millis();
    lastValue = analogRead(A0);
  }
  return lastValue;
}
Are You Trying To Connect ESP8266 To A WEP Key Network?
So you’re the oldskool type and want to connect to a network that requires a WEP key? …nothing wrong with that!
However you should be aware that in terms of security, WEP is about as useful as an ashtray on a motorbike. Therefore it is necessary to write into your code that you understand that you are being reckless.
In order to connect the ESP8266 to a network that requires a WEP key, you must first enable WEP with the following code before you begin the WiFi:
WiFi.enableInsecureWEP();
Conclusion
As we have seen in this article, there are a number of things that could be preventing the ESP8266 from connecting to WiFi. All of which are relatively easy to solve, once you understand what is happening.
If you are still having problems, I would recommend going back to the beginning and starting with this tutorial.
If you have two ESP8266 boards available you can also follow this tutorial which will teach you how to link them together with WiFi.
If you have another problem that is not listed here, I would be very interested to hear about it so I can consider adding it to this guide, just drop me an email. Thanks!
Thanks so much for visiting my site! If this article helped you achieve your goal and you want to say thanks, you can now support my work by buying me a coffee. I promise I won’t spend it on beer instead… 😏
На самом деле у меня та же ситуация.
Сделал прошивку, где использовал метод описный Вами. Тоесть есть веб страница, на которой мы задаем адрес и пароль от сети. Когда сохраняем – устройство перезагружается. При перезагрузке есть 7 попыток через секунду подключится к сети с указаными параметрами. Если не подключилось – тогда создает точу доступа с указаными именем и паролем. Все как бы норм работает. Но например когда я оставляю устройство включенным + комп, который подключен к этому же роутеру, потом иду на работу, то приходя с работы – замечаю очень интересную картину:
При подключении телефона к сети – он подключается не к роутеру, а к ЕСП, и получает маску сети (192,168,4,1). Я неделю потратил на то, чтобы понять почему у меня роутер так плохо работает и нет на нем интернета… Потом понял что просто ЕСП сам раздает вайфай с указаными параметрами (выходит что сеть роутера и сеть модуля имеют одинаковые логин/пароль) а телефон подключается к ЕСП (может сеть у него сильнне, так как лежит на столе). Что выдает в компорт не мониторил… Проблему решил простым удалением этого метода.
П.С. Интересно что при этом ЕСпшой можно было управлять из назначеного ей роутером ИП адреса (192,168,1,101 напимер) и ИП ее сети (192,168,4,1) на разных устройствах. Это было очень даже интересно…
Цель этого урока — объяснить, как подключить ESP8266 к сети Wi-Fi с помощью Arduino IDE.
Возможность подключения устройства к сети Wi-Fi — очень мощная функция, которая открывает возможность использования интернет-протоколов для связи с другими устройствами. Например, после подключения к сети можем выполнять HTTP-запросы к серверу, что позволяет нам публиковать измерения датчиков, собранные ESP8266. И многое другое.
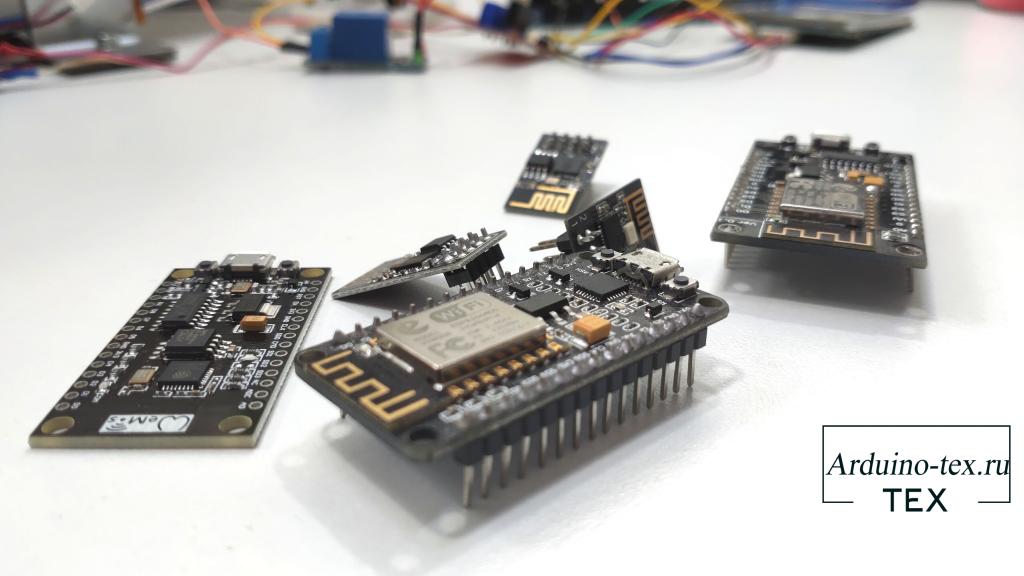
Это делает ESP8266 очень хорошим микроконтроллером для реализации Интернета вещей. Другой важный фактор — это относительно дешевая стоимость устройства реализованных на ESP8266.
В предыдущем уроке рассказал, как можно подключиться к сети Wi-Fi с помощью ESP32.
Прежде чем приступить к уроку, нужно настроить Arduino IDE для работы с ESP8266.
Описание скетча подключение к сети Wi-Fi ESP8266.
Прежде всего, подключаем библиотеку ESP8266WiFi.h, которая сделает доступной глобальную переменную с именем WiFi, она является объектом класса ESP8266WiFiClass. В этом классе есть методы, необходимые для подключения к сети Wi-Fi.
#include <ESP8266WiFi.h>
Чтобы сделать код более читабельным, создадим две глобальные переменные для хранения учетных данных, необходимых для регистрации в сети. Первый соответствует SSID (Service Set IDentifier), который является именем беспроводной сети, к которой мы хотим подключиться. Естественно, чтобы иметь возможность подключиться, нам также необходимо указать пароль от сети.
const char* ssid = "NetworkName";
const char* password =  "NetworkPass";
Внимание, используйте учетные данные вашей сети.
Теперь мы укажем функцию настройки, в которой подключимся к сети. Но сначала откроем последовательное соединение, чтобы мы могли вывести результат работы программы.
Затем вызываем метод begin для объекта WiFi, передавая в качестве аргументов SSID (имя сети) и переменную пароля, указанные ранее. Это инициализирует подключение к сети.
WiFi.begin(ssid, password);
После этого выполним цикл while, пока соединение не будет установлено. Для этого можем вызвать метод status для объекта WiFi и дождаться, пока результат не совпадет с перечислением WL_CONNECTED. Между каждой итерацией мы вводим небольшую задержку, чтобы избежать постоянного опроса.
while (WiFi.status() != WL_CONNECTED) {

  delay(1000);
  Serial.println("Connecting..");

}
После успешного установления соединения можем проверить IP-адрес, назначенный ESP8266, вызвав метод localIP . Это полезно, если мы хотим отправлять данные на ESP8266 из этой сети. Имейте в виду, что это локальный IP-адрес, и поэтому мы не можем связаться с устройством из-за пределов этой сети.
Serial.println(WiFi.localIP());
Полная функция настройки setup() показана ниже.
void setup (){

  Serial.begin(115200);
  WiFi.begin(ssid, password);

  while (WiFi.status() != WL_CONNECTED) {

    delay(1000);
    Serial.println("Connecting..");

  }

  Serial.println(WiFi.localIP());

}
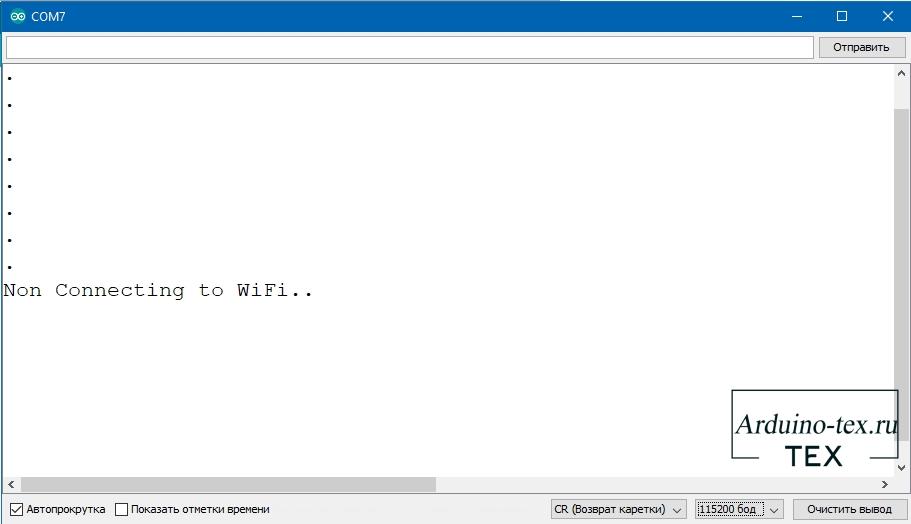
Данный скетч не выводит информацию, если ESP8266 не подключилась к сети. Это может произойти, если у нас отключено сетевое оборудование или указаны неверные данные для подключения. Давайте дополним код и ограничим попытки подключения до 10, и вывод сообщения, если подключиться не удалось.
#include <ESP8266WiFi.h>

const char* ssid = "NetworkName";
const char* password =  "NetworkPass";
byte tries = 10;  // Попыткок подключения к точке доступа
void setup() {

  Serial.begin(115200);

  WiFi.begin(ssid, password);

  while (--tries && WiFi.status() != WL_CONNECTED) {
    delay(500);
    Serial.println(".");
  }
  if (WiFi.status() != WL_CONNECTED)
  {
    Serial.println("Non Connecting to WiFi..");
  }
  else
  {
    // Иначе удалось подключиться отправляем сообщение
    // о подключении и выводим адрес IP
    Serial.println("");
    Serial.println("WiFi connected");
    Serial.println("IP address: ");
    Serial.println(WiFi.localIP());
  }

}

void loop() {}
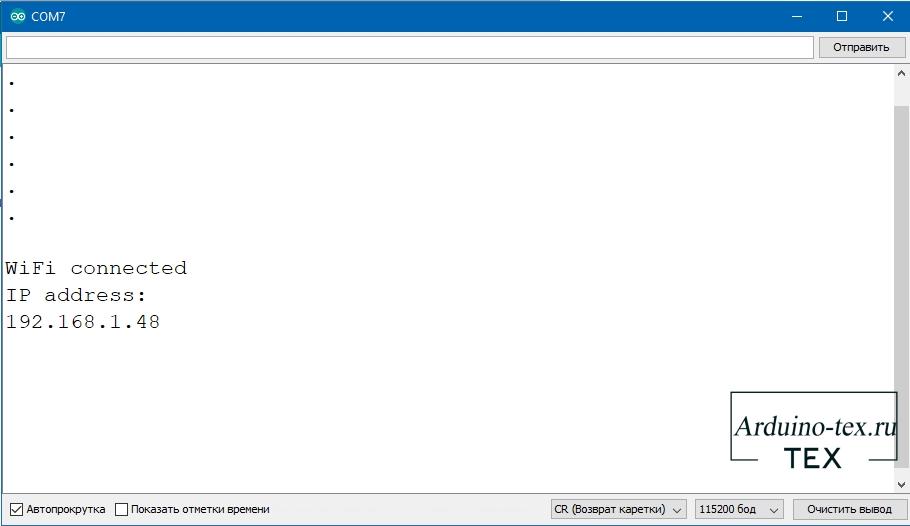
В мониторе порта должны увидеть следующий результат, если подключиться удалось.
И вот такое уведомление, если ESP8266 не удалось подключиться к Wi-Fi сети.
Этот пример показывает только основы подключения к сети Wi-Fi. В следующем уроке рассмотрим, как выполнять более сложные процедуры, такие как отправка HTTP-запросов.
Понравился ESP8266 уроки. Подключение к сети Wi-Fi? Не забудь поделиться с друзьями в соц. сетях.
А также подписаться на наш канал на YouTube, вступить в группу Вконтакте, в группу на Facebook.
Спасибо за внимание!
Технологии начинаются с простого!
Фотографии к статье
Файлы для скачивания
| Скетч подключения к сети Wi-Fi ESP8266.ino | 1 Kb | 761 | Скачать |
