Цепочка Daisy Chain Zyxel – это метод подключения нескольких сетевых устройств в цепочку с помощью одного кабеля Ethernet. Эта методика, также известная как «цепочка маршрутизаторов», позволяет расширить сеть и обеспечить удобное подключение различных устройств.
Правильная настройка цепочки Daisy Chain Zyxel включает несколько этапов. Во-первых, необходимо подключить каждое устройство к предыдущему с помощью Ethernet-кабелей. Важно учесть, что первое устройство в цепочке должно быть подключено к интернету, а последнее – к компьютеру или другому сетевому устройству.
Далее, необходимо настроить каждое устройство в цепочке. Для этого заходим в web-интерфейс каждого устройства, где можно задать IP-адрес, маску подсети и другие параметры. Важно настроить каждое устройство таким образом, чтобы оно принимало сигналы от предыдущего и передавало их следующему устройству в цепочке.
Важно помнить, что при настройке цепочки Daisy Chain Zyxel необходимо установить одинаковые настройки скорости и дуплексного режима на всех устройствах. Это обеспечит правильную передачу данных между устройствами и исключит возможность конфликтов.
Если все устройства в цепочке правильно настроены, то они начнут обмениваться данными между собой, создавая удобную и стабильную сетевую инфраструктуру. Не забывайте регулярно проверять работоспособность каждого устройства и в случае необходимости вносить корректировки в его настройки.
Содержание
- Что такое цепочка Daisy Chain Zyxel?
- Зачем нужна цепочка Daisy Chain Zyxel?
- Настройка цепочки Daisy Chain Zyxel
- Шаг 1: Подключение устройств
- Шаг 2: Настройка основного устройства
- Шаг 3: Конфигурация вторичного устройства
- Шаг 4: Проверка итоговой настройки
Что такое цепочка Daisy Chain Zyxel?
Цепочка Daisy Chain Zyxel позволяет расширить сеть и управлять большим количеством устройств без необходимости использовать дополнительное сетевое оборудование, например, коммутаторы или маршрутизаторы.
Каждое устройство в цепочке должно иметь два порта: один порт используется для подключения к предыдущему устройству в цепочке, а другой порт — для подключения следующего устройства. Таким образом, информация передается по цепочке от одного устройства к другому.
Преимущества цепочки Daisy Chain Zyxel:
- Упрощенная конфигурация сети без необходимости настройки дополнительного сетевого оборудования;
- Улучшенное управление и мониторинг сети;
- Большая гибкость в размещении устройств;
- Возможность масштабирования сети без значительных затрат;
- Увеличение пропускной способности сети.
Однако стоит помнить, что при использовании цепочки Daisy Chain Zyxel возможны некоторые ограничения, такие как ухудшение производительности при дальнейшем увеличении количества устройств в цепочке и потеря связи при отключении одного из устройств.
Зачем нужна цепочка Daisy Chain Zyxel?
Основная задача цепочки Daisy Chain Zyxel — передача сигнала от одного устройства к другому, создавая последовательность устройств, которые могут работать друг с другом в режиме мультисегментной сети.
Цепочка Daisy Chain позволяет использовать каждое устройство как точку доступа, располагая их на значительном расстоянии друг от друга и покрывая большую площадь.
Завязывая цепочку устройств, можно объединить офисные или домашние помещения с несколькими зонами и получить стабильное и надежное подключение к сети во всех точках помещения.
Цепочка Daisy Chain Zyxel позволяет гибко управлять и настраивать сеть, создавать несколько сетевых сегментов с разными настройками без необходимости подключения всех устройств к одному центральному маршрутизатору.
В целом, цепочка Daisy Chain Zyxel обеспечивает простоту настройки и стабильное функционирование сети, позволяя увеличить покрытие Wi-Fi сети и подключить большое количество устройств без потери скорости и стабильности сигнала.
Настройка цепочки Daisy Chain Zyxel
Цепочка Daisy Chain в сети Zyxel позволяет объединить несколько устройств в одну логическую сеть и создать единую сеть с настройками в одном центральном устройстве. Такая конфигурация удобна для организации распределенных сетевых систем и обеспечивает удобство управления и настройки.
Для настройки цепочки Daisy Chain в сети Zyxel следуйте следующим шагам:
- Подключите все устройства в цепочке Daisy Chain. Убедитесь, что каждое устройство имеет свое уникальное имя и разные IP-адреса.
- На центральном устройстве войдите в его веб-интерфейс, введя соответствующий IP-адрес в браузере.
- Перейдите в раздел «Дополнительные настройки» или «Настройки цепочки Daisy Chain».
- Включите режим цепочки Daisy Chain и выберите устройства, которые вы хотите добавить в цепочку.
- Настройте параметры каждого устройства в цепочке, такие как IP-адреса, подсети, шлюзы и другие сетевые настройки.
- Сохраните изменения и перезагрузите центральное устройство. После этого все устройства в цепочке будут работать в единой сети.
Важно помнить, что при настройке цепочки Daisy Chain необходимо правильно настроить IP-адреса и сетевые настройки каждого устройства, чтобы они были в одной сети и имели доступ друг к другу. Также следует обратить внимание на физические подключения, чтобы цепочка была собрана в правильном порядке.
При выполнении настройки цепочки Daisy Chain Zyxel рекомендуется обращаться к документации и руководству пользователя для конкретной модели устройства, так как процедура настройки может незначительно отличаться в зависимости от модели.
Шаг 1: Подключение устройств
Прежде всего, убедитесь, что все устройства, которые вы собираетесь подключить в цепочку, имеют соответствующие порты. Обычно в большинстве устройств есть порт с надписью «Daisy Chain» или «Daisy Chain Out».
Включите все устройства и подключите их в цепочку так, чтобы порт «Daisy Chain Out» одного устройства был подключен к порту «Daisy Chain» следующего устройства.
Не забудьте использовать правильные кабели для подключения устройств. Рекомендуется использовать качественные Ethernet-кабели категории 5е или выше.
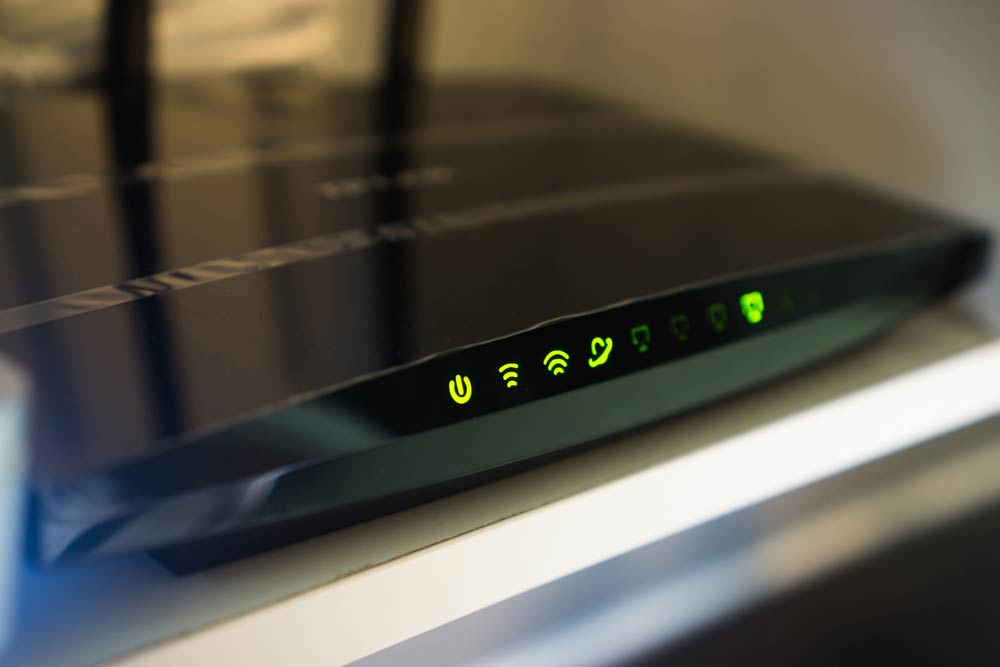
После того, как все устройства будут подключены, убедитесь, что каждое устройство в цепочке правильно работает. Проверьте световые индикаторы на каждом устройстве — они должны гореть или мигать.
Теперь вы готовы перейти к следующему шагу — настройке устройств в цепочке Daisy Chain Zyxel.
Шаг 2: Настройка основного устройства
1. Подключите основное устройство к вашему компьютеру с помощью Ethernet-кабеля.
2. Откройте веб-браузер и введите IP-адрес основного устройства в адресной строке.
3. Введите имя пользователя и пароль, чтобы войти в административную панель основного устройства.
4. Перейдите в раздел «Настройки сети» или «Network Settings» и выберите режим работы «Цепочка Daisy Chain».
5. Введите IP-адрес первого устройства в цепочке и сохраните настройки.
6. Подключите второе устройство к основному с помощью Ethernet-кабеля, обеспечивая физическое соединение в цепочке Daisy Chain.
7. Повторите шаги 2-4 для второго устройства, указав IP-адрес второго устройства и настройки сети.
8. Проверьте подключение, попробовав открыть веб-страницу или выполнить другую сетевую операцию.
9. Убедитесь, что оба устройства в цепочке работают корректно и обеспечивают нужное вам сетевое подключение.
10. При необходимости повторите шаги 6-9 для подключения дополнительных устройств в цепочку.
Теперь ваша цепочка Daisy Chain настроена и готова к использованию.
Шаг 3: Конфигурация вторичного устройства
1. Подключите кабель Ethernet между портом WAN вторичного устройства и портом LAN основного устройства.
2. Войдите в веб-интерфейс вторичного устройства, и, используя предоставленные учетные данные, войдите в систему.
3. Найдите раздел настроек сети и выберите вкладку «WAN».
4. В настройках WAN выберите опцию «Статический IP» и введите необходимую информацию о сетевых настройках.
5. Установите IP-адрес вторичного устройства как внутренний IP-адрес основного устройства.
6. Сохраните настройки и перезагрузите вторичное устройство.
7. После перезагрузки вторичного устройства оно должно автоматически получить IP-адрес от основного устройства и подключиться к сети.
8. Проверьте подключение к Интернету, открыв веб-браузер и попробовав открыть любую веб-страницу.
Шаг 4: Проверка итоговой настройки
После завершения настройки Daisy Chain Zyxel необходимо проверить, что все работает корректно. Процесс проверки включает следующие шаги:
- Выберите устройство, которое будет являться основным и подключитесь к нему через браузер.
- Войдите в панель управления основного устройства, используя соответствующие учетные данные.
- Проверьте отображение списка подключенных устройств, чтобы убедиться, что они все правильно настроены и работают.
- Проверьте сетевое подключение каждого устройства в цепочке, чтобы убедиться, что они все успешно соединены друг с другом.
- Протестируйте скорость и качество сетевого соединения, используя специальные инструменты или сервисы для измерения скорости интернета.
- Проверьте доступность интернета на каждом устройстве и убедитесь, что все работает стабильно и без проблем.
Если вы обнаружите какие-либо проблемы или нерегулярности, повторите предыдущие шаги настройки или обратитесь за помощью к специалисту.
Содержание
- Определение — Что означает Маршрутизатор Daisy?
- Введение в Microsoft Azure и Microsoft Cloud | Из этого руководства вы узнаете, что такое облачные вычисления и как Microsoft Azure может помочь вам перенести и запустить свой бизнес из облака.
- Techopedia объясняет Маршрутизаторы Daisy
Определение — Что означает Маршрутизатор Daisy?
Маршрутизаторы с последовательным подключением — это маршрутизаторы, которые были подключены каскадно, последовательно или по кольцу, либо для увеличения числа компьютеров, которые могут быть подключены через провода к локальной сети, либо для добавления беспроводных возможностей в сеть.
Идея состоит в том, чтобы подключить один маршрутизатор в качестве расширения основного маршрутизатора, либо в качестве удлинителя порта, либо удлинителя сигнала. Термин «гирляндная цепь» происходит от гирлянды, созданной путем соединения ромашек друг с другом, образуя цепочку.
Введение в Microsoft Azure и Microsoft Cloud | Из этого руководства вы узнаете, что такое облачные вычисления и как Microsoft Azure может помочь вам перенести и запустить свой бизнес из облака.
Techopedia объясняет Маршрутизаторы Daisy
Маршрутизаторы с последовательным подключением — это два или более маршрутизаторов, соединенных друг с другом, где каждый маршрутизатор между концами подключен точно к двум другим маршрутизаторам, причем терминальные маршрутизаторы подключены только к одному маршрутизатору. В сети с линейной топологией существует двусторонняя связь между одним узлом и следующим. Если два конца соединены, то это становится кольцевой сетью.
Целью последовательного подключения является увеличение числа компьютеров, которые могут быть подключены к сети, но только один маршрутизатор выступает в качестве основного маршрутизатора и DHCP-сервера; все остальные маршрутизаторы просто подключаются к другим компьютерам. Другая цель — добавить беспроводную точку доступа в проводную сеть. Беспроводной маршрутизатор или точка доступа подключены последовательно к основному маршрутизатору, но его возможности обслуживания DHCP следует отключить, чтобы избежать конфликтов IP-адресов.
Возможности DHCP-сервера других маршрутизаторов могут быть включены, но результирующая конфигурация будет более сложной, так как каждый маршрутизатор будет эквивалентен отдельной локальной сети, поэтому для взаимодействия компьютеров, подключенных к различным маршрутизаторам, потребуется дополнительная специальная конфигурация. ,
Disclosure: RoutersNetwork Is Reader-Supported. As An Amazon Associate I Earn From Qualifying Purchases.

A router is an essential device for every home and office. It plays a crucial role in establishing and maintaining a reliable internet connection by serving as the central hub for various devices.
With a router, you can connect a range of devices such as computers, smartphones, tablets, and others to the internet. It acts as a gateway, allowing multiple devices to access the internet simultaneously.
With the increasing reliance on online activities, a router has become an indispensable component in our daily lives. At this point, almost every household has a router or two.
What some of you may not know is that you can chain or pair multiple routers together to create a faster and bigger network. This is what is known as daisy chaining. It helps you to create a network that is strong enough to handle multiple devices. Read on to know more about daisy chain routers.
What Does Daisy Chain Routers Mean?
To put it in simple words, daisy chain routing refers to the process of connecting multiple routers in a chain-like structure. In this particular setup, the terminal router is connected to the modem while the other routers are cascading along the chain.
The routers are connected using an Ethernet cable. The good thing about daisy chain routing is that it can provide both wired and wireless connection to end devices.
This method is considered the best solution for those who cannot afford to purchase WiFi range extenders. By daisy chaining two routers, you can connect both devices to the same network, but from two different access points. This is what helps increase the signal strength throughout your home.
Instead of buying expensive network components, you can daisy chain routers using a simple Ethernet cable.
There can be many reasons behind daisy-chaining routers. Let’s say, you have moved to a large house, and your existing router is unable to cover the entire home. In such a situation, daisy chaining your routers can prove to be an easy solution.
The whole purpose of the daisy chain is to expand the home network, allowing more devices to connect at the same time. Another purpose is to increase the number of access points.
Now that you know what daisy chain routing is, let’s learn how it’s done. If you want to extend your home network on a minimum budget then pay attention to the below lines.
Before you get started, make sure you have the following things:
- Two routers
- Computer
- Ethernet cable
Daisy chaining two routers is a straightforward process. But you need to make a few adjustments to make it work. This process includes a primary router that is already connected to the internet. So we will have to configure the secondary router and link it to the terminal router using an Ethernet cable.
The second router is needed to extend the network range. For the setup to work, make sure that the primary router is up and running. After ensuring everything is fine, follow these steps.
- The first thing you need to do is connect the secondary router to your computer. You can establish the connection using an Ethernet cable.
- Once the connection is made, it’s time to configure the settings of the second router. For this, you will have to access the admin section of the router. If you don’t remember the login credentials, factory reset the router. You can proceed with the steps once you get access to the admin settings tab.
- The next step is to disable the DHCP on both routers. For those unversed, it is a network management protocol that is needed to assign an IP address to any connected devices. In daisy chain routing, the terminal router doesn’t need the DHCP. This function will be done by the first router so that all other devices can get routed from the main network.
- After deactivating the DHCP, assign a static IP address to the upstairs router. So disconnect the secondary router from your PC, connect it to the terminal one, and log into it. Find out the router’s subnet and determine the IP address it assigns to the connected devices.
- Now assign a static IP address to the secondary router. Make sure that both the router has the same subnet mask, but different IP addresses. Also, check if the IP address is available. Access the command prompt, and enter “ping 192.168.0.1” to confirm its availability. If the IP address is not used by any other device, then you will get the “Response Time Out” message. But if the IP address is in use, then you will have to look for a different one.
- Connect the two routers using an Ethernet cable. Make sure that the secondary router is connected to the LAN port on the main one.
- Enable Wi-Fi on the second router to make it work like a wireless access point. Make sure that both devices have the same security and SSID settings.
- Go to the control panel and secure the login for your router. All you need to do is set a new password.
Does Daisy Chain Routing Enhance Signal Strength?
As we mentioned, daisy chain routing is the best alternative to WiFi range extenders. By daisy chaining your routers, you can easily extend the network coverage without spending tons on wiring and cables.
Related | Check Out WiFi Extender Have the Same SSID & Channel
The good thing about this setup is that it allows you to connect two routers to the same network from different access points. This helps increase the signal strength of your network. Plus, it eliminates the need for any additional equipment.
Conclusion on Daisy Chain Routers
To sum it up, daisy chain routing is the perfect solution to extend network coverage in your home or office. Instead of spending on a mesh WiFi system, you can simply daisy chain your routers using an Ethernet cable. If you find the steps difficult, you can seek help from a professional.
FAQs
Q1. What are daisy chain routers?
Ans: Daisy chain routers refer to a networking setup where multiple routers are interconnected in a linear chain to extend the network’s reach.
Q2. What are the benefits of using daisy chain routers?
Ans: Daisy chain routers can help extend the wireless coverage in larger areas or buildings where a single router is not sufficient.
Q3. What are the potential challenges with daisy chain routers?
Ans: Daisy chain routers make network management complicated. If not configured correctly, it can lead to issues like signal interference, reduced network performance, or compatibility problems between different router models.
Q4. How does a daisy chain router configuration work?
Ans: In a daisy chain router setup, the primary router connects to the internet gateway, and the secondary routers are connected to the main one.
Q5. How can I set up a daisy chain router configuration effectively?
Ans: To set up a daisy chain router configuration, ensure that each router is configured with its unique IP address and subnet.

Hi, I am James Burns a skilled and experienced network engineer with a passion for optimizing digital connectivity. With a wealth of expertise in designing and managing intricate network infrastructures, I excel in enhancing performance and security. I hold a distinguished record of delivering top-notch results in various Network courses, including the Juniper Networks Certified Associate (JNCIA) certification, demonstrating my commitment to continuous learning and professional growth. My dedication to staying at the forefront of emerging technologies makes me an invaluable asset in ensuring seamless and reliable network operations. Whether troubleshooting complex issues or implementing innovative solutions, I am dedicated to creating robust and efficient network environments for businesses and individuals alike.
Introduction
Welcome to the world of wireless networking! In this era of digital connectivity, wireless routers play a vital role in keeping us connected to the internet. But what if you need to extend the coverage of your Wi-Fi network? This is where daisy chaining wireless routers comes into the picture. By daisy chaining routers, you can effectively expand the coverage area of your network and ensure a stable and reliable connection throughout your home or office.
In this article, we will explore the concept of daisy chaining and its benefits. We will also provide you with a step-by-step guide to help you easily set up and configure your network of daisy chained routers. So, whether you want to eliminate dead spots in your home or extend Wi-Fi coverage to a larger area, follow along to learn everything you need to know about daisy chaining wireless routers.
But first, let’s understand what daisy chaining actually means when it comes to wireless routers.
What is Daisy Chaining?
Daisy chaining, in the context of wireless routers, refers to connecting multiple routers together in a series to create an extended network. Instead of relying on a single router to cover a large area, you can strategically place additional routers and connect them to the main router to extend the wireless coverage.
Each router in the chain acts as a bridge, relaying the network signals to the next router in the sequence. This creates a network of interconnected routers, with each router contributing to the overall coverage. The last router in the chain is connected to the modem or main internet source to ensure that all daisy chained routers have access to the internet.
This technique is especially useful in scenarios where a single router isn’t sufficient to cover the entire area, such as in a large house, office building, or outdoor space. By daisy chaining routers, you can create a seamless network that extends the Wi-Fi coverage throughout the entire area, ensuring a strong and stable connection in every corner.
It’s important to note that daisy chaining routers is different from using Wi-Fi extenders or repeaters. While extenders and repeaters amplify the existing Wi-Fi signal, daisy chaining routers allows you to create a separate network of routers that work together to provide extended coverage. This enables better control over the network, as each router can be individually configured and managed.
Now that we understand the concept of daisy chaining, let’s explore the benefits that this technique offers in terms of expanding your wireless network coverage.
Benefits of Daisy Chaining Wireless Routers
Daisy chaining wireless routers comes with several benefits that make it an attractive option for extending Wi-Fi coverage. Here are some of the key advantages:
- Expanded Coverage: The primary benefit of daisy chaining is the ability to extend the coverage area of your wireless network. By strategically placing additional routers throughout your home or office, you can ensure that every corner is covered by a strong and reliable Wi-Fi signal. This is especially useful in large houses or buildings where a single router may not provide sufficient coverage.
- Improved Stability: When you daisy chain routers, each router acts as a bridge, relaying the network signals to the next router in the sequence. This helps to distribute the network load evenly and reduces the chances of signal interference or congestion. As a result, you can enjoy a more stable and consistent Wi-Fi connection, even in areas that were previously prone to weak signals or dropouts.
- Flexibility and Scalability: Daisy chaining routers offers the flexibility to expand your network as needed. If you find that your network needs further coverage, you can easily add additional routers to the chain. This scalability makes it a cost-effective solution, as you can gradually expand your network without the need to invest in expensive equipment or upgrades.
- Separate Networks: One of the advantages of daisy chaining routers over using Wi-Fi extenders or repeaters is the ability to create separate networks. Each router in the chain can be individually configured with its own network settings, such as SSID, password, and security protocols. This provides better control and allows you to optimize the performance of each router for specific areas or devices.
- Enhanced Device Compatibility: By daisy chaining routers, you can ensure that every device in your network is connected to the router with the strongest signal. This improves compatibility and reduces the chances of compatibility issues or connectivity problems. Whether you’re streaming content, playing online games, or conducting video conferences, you can enjoy a seamless and uninterrupted experience across multiple devices.
These are just a few of the benefits that daisy chaining wireless routers can offer. Now, let’s dive into the factors you should consider before setting up a daisy chained network.
Things to Consider Before Daisy Chaining Routers
Before you dive into setting up a daisy chained network, there are a few important factors to consider to ensure a smooth and successful setup. Take note of the following considerations:
- Router Compatibility: Not all routers are capable of being daisy chained, so it’s important to check the compatibility of your routers before attempting to create a chain. Look for routers that have the capability to act as access points or bridge mode, as these are typically the ones that can be easily daisy chained.
- Network Speed and Performance: Daisy chaining routers can affect the overall network speed and performance. Since the signal has to pass through multiple routers, there may be a slight decrease in speed compared to a single router setup. Consider the internet speed you require and ensure that each router in the chain is capable of supporting it to avoid any bottlenecks.
- Location and Placement: The placement of each router in the daisy chain is critical to ensure optimal coverage. Make sure to place the routers strategically to avoid signal interference or dead zones. The ideal location is usually in the center of the area you want to cover, with each router placed at an appropriate distance to ensure overlapping coverage.
- Network Security: When setting up a daisy chained network, it’s important to ensure that each router has proper security measures in place. Each router should have its own unique SSID (network name) and password to prevent unauthorized access. Additionally, enabling encryption protocols such as WPA2 or WPA3 will ensure that your network is secure from potential attacks.
- Router Configuration: Configuring each router in the chain correctly is crucial for a successful daisy chained network. Make sure to disable DHCP (Dynamic Host Configuration Protocol) on the secondary routers and assign a static IP address to each one. This will prevent IP conflicts and ensure smooth communication between the routers.
By considering these factors before setting up your daisy chained network, you’ll be well-prepared and can avoid potential issues. Now, let’s move on to the step-by-step guide to help you through the process of daisy chaining your wireless routers.
Step-by-Step Guide to Daisy Chaining Wireless Routers
Setting up a daisy chained network may sound complex, but by following these step-by-step instructions, you’ll be able to easily and successfully set up your network:
- Choose Your Main Router: Start by selecting the main router that will be connected to the modem or main internet source. This router will act as the primary device and control the network settings.
- Connect the Main Router: Connect the main router to the modem using an Ethernet cable. Ensure that the modem is powered on and capable of providing internet access.
- Secondary Router Placement: Determine where you want to place your secondary routers. Ideally, you’ll want to position them strategically to ensure optimal coverage throughout the desired area.
- Configure Secondary Routers: Access the settings of each secondary router by connecting it to a computer via Ethernet cable or wirelessly. Disable DHCP on the secondary routers and assign them static IP addresses within the same subnet range as the main router.
- Connect Secondary Routers: Connect each secondary router to the main router using Ethernet cables. Plug one end of the cable into the LAN port of the secondary router and the other end into one of the LAN ports of the main router.
- Test the Connection: Power on all the routers and test the network connection on various devices throughout the coverage area. Ensure that each device is connected to the router with the strongest signal.
- Configure Network Settings: Access the settings of each router individually and customize the network names (SSID), passwords, and security protocols. You can also adjust other settings such as channel width and frequency to optimize performance.
- Verify Network Coverage: Walk around the coverage area with a Wi-Fi enabled device and verify that the Wi-Fi signal is strong and consistent throughout. If you encounter any dead zones or weak spots, consider adjusting the placement of the routers or adding additional routers to improve coverage.
By following these steps, you’ll be able to set up a daisy chained network of wireless routers and extend the coverage of your Wi-Fi network seamlessly. But what if you encounter any issues along the way? Let’s explore some common troubleshooting tips in the next section.
Troubleshooting Common Issues
While setting up a daisy chained network can be relatively straightforward, you may encounter some common issues along the way. Here are a few troubleshooting tips to help you resolve them:
- Interference: If you experience signal interference or weak connectivity, check for any nearby electronic devices that may be causing interference. Move routers away from devices such as cordless phones, baby monitors, or microwave ovens to minimize interference.
- IP Address Conflicts: If devices are unable to connect or experience limited connectivity, there may be an IP address conflict. Ensure that each router in the chain has a unique static IP address and that DHCP is disabled on the secondary routers.
- Network Speed: If you notice a decrease in network speed, verify that each router in the chain is capable of supporting your desired internet speed. Check for firmware updates for your routers to ensure they are operating at optimal performance.
- Placement and Coverage: If you have dead zones or areas with weak signals, consider adjusting the placement of the routers to improve coverage. Experiment with different locations and angles to find the optimal positioning for maximum coverage.
- Network Security: If you suspect unauthorized access to your network, ensure that each router has a unique SSID (network name) and a strong, secure password. Enable encryption protocols such as WPA2 or WPA3 to protect your network from potential attacks.
- Router Compatibility: If you are unable to daisy chain routers, double-check the compatibility of your routers. Some routers may not have the necessary features or settings to support daisy chaining or bridge mode.
If you have tried troubleshooting and are still experiencing issues, it may be helpful to reach out to the technical support of your router manufacturer for further assistance. They can provide specific guidance tailored to your router model and help you resolve any issues you may encounter.
Now that we’ve covered troubleshooting tips, let’s conclude our journey into daisy chaining wireless routers.
Conclusion
Daisy chaining wireless routers is an excellent solution for expanding the coverage of your Wi-Fi network in large homes, office spaces, or outdoor areas. By strategically connecting multiple routers in a series, you can create a seamless network that ensures a strong and reliable Wi-Fi signal throughout the entire coverage area.
In this article, we explored the concept of daisy chaining and its benefits. We discussed how daisy chaining allows for expanded coverage, improved stability, flexibility, separate networks, and enhanced device compatibility. Remember to consider factors such as router compatibility, network speed, and placement before setting up a daisy chained network.
We also provided a step-by-step guide to help you through the process of setting up and configuring your daisy chained network. By carefully following these steps, you can easily create a reliable and extended wireless network to meet your connectivity needs.
If you encounter any issues during setup or experience common problems such as interference, IP address conflicts, or network speed issues, we provided troubleshooting tips to help you address these concerns.
Daisy chaining wireless routers offers a cost-effective and scalable solution for expanding your Wi-Fi network coverage. With a little planning and configuration, you can enjoy a stable and reliable internet connection in every corner of your home or office.
We hope that this article has provided you with valuable insights and guidance on daisy chaining wireless routers. Now, it’s time to put your knowledge into action and create an extended network that meets your connectivity needs.
What do you do when your wireless signal doesn’t reach the house?
Such situations can be annoying, especially when multiple devices need that connection.
No doubt, Wi-Fi range extenders can fix your problem, or you can use daisy chain routing.
Daisy chain routing is a cheaper alternative that enhances your Wi-Fi signal strength–for those who don’t want an extender.
But what is daisy chain routing? And what do you need to use it on your wireless router?
Keep scrolling to explore the secrets of daisy chain routing and how you can use it for your home network.
What is Daisy Chain Routing?
Low Wi-Fi signal
Daisy chain routing is the next best alternative when you can’t buy routers with better range or Wi-Fi range extenders.
And it involves connecting two routers via a wired connection.
Interestingly, daisy chaining two routers allows you to connect to the same network from two different points.
As a result, your signal strength will increase throughout your home.
In addition, you don’t need to purchase anything for daisy chain routing.
But you’ll need an old router or two lying around for this method to cost zero fees.
How to Enhance Signal Strength with Daisy Chain Routing
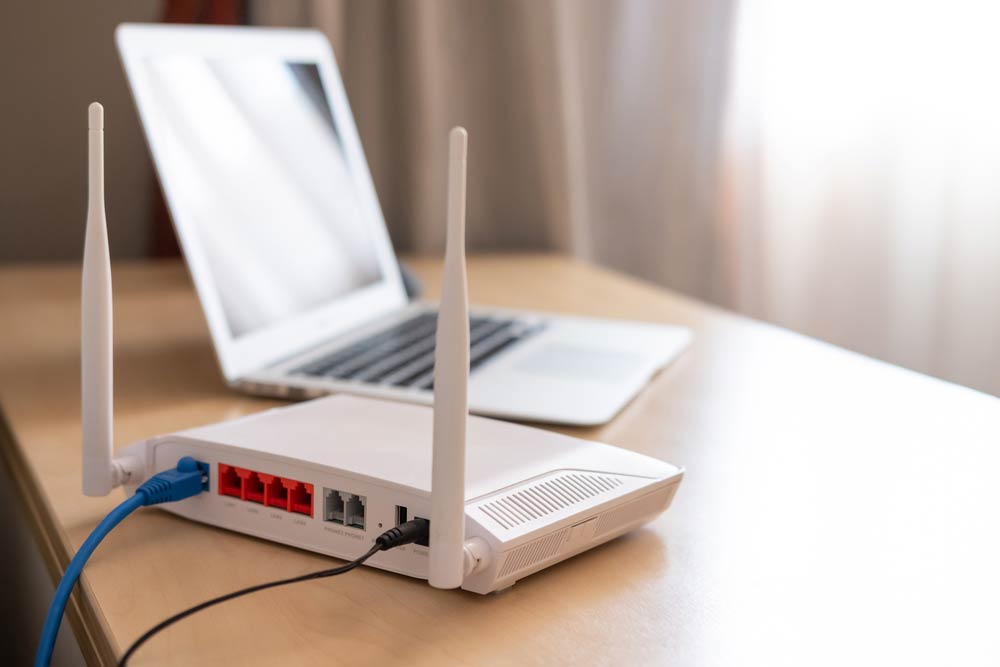
Wifi router with an ethernet cable
As stated earlier, you don’t need a buttload of equipment for this process.
Hence, we recommend keeping your old router when you’re making an upgrade.
It’ll come in handy for projects like this. Here’s what you need for a successful daisy chain routing:
- Router 1
- Router 2
- Ethernet cable
Steps on How to Daisy Chain Your Routers
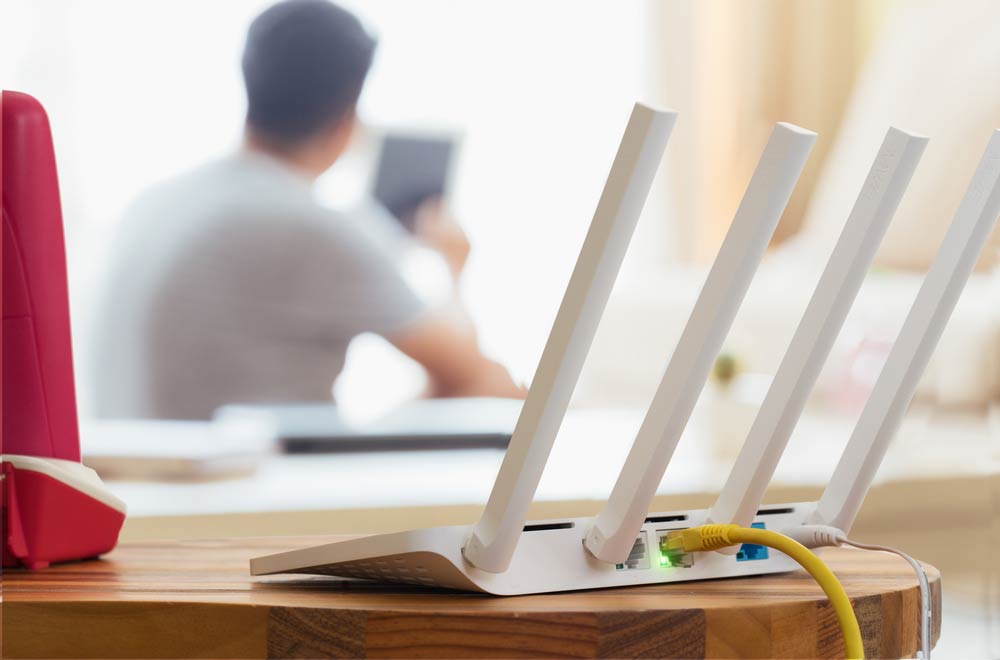
White router with a yellow ethernet cable
Before we start, we assume your wireless network is up and running (router 1).
But you can connect another router to the same network through ethernet cables.
So, ensure everything is working correctly before attempting.
Step 1: Connect to the Second Router’s Network
Start the daisy chain process by connecting your computer to router 2’s network.
Then, switch on the router, find the network, and log in or connect as required.
Note: If unsure about the second router’s settings, perform a hard reset.
Step 2: Configure Router 2’s Settings
Proceed to tweak the router’s settings after logging in.
You can type the IP address in any web browser to access the settings. Alternatively, you can follow the instructions that come with the router.
Step 3: Deactivate DHCP on Router 2
Next, you must disable DHCP on router two before proceeding.
The setting is responsible for assigning IP addresses to devices on the network.
So, the second router doesn’t need this feature, as router one handles giving IP addresses to connected devices.
Therefore, ensure you do this step before connecting the two routers.
Note: Deactivating DHCP on router two is a critical step. Missing it may cause issues on your local network.
Step 4: Examine Router 1
After configuring router two, you’ll need information from the primary network.
First, discover what subnet router one uses–and the IP address ranges it assigns within its DHCP.
For instance, IP addresses on the network may range from 191.168.0.100 to 192.168.254.
Alternatively, it may be 10.0.0.100 to 10.0.0.254.
Note: Many home routers have the 192.168.0.0 and 255.255.255.0 subnets. Hence, your home router may likely be the same. Don’t worry if it’s not because it’s easy to determine a router’s internal IP.
Step 5: Give Router 2 a Static IP Address
Once you get the necessary information from router one, give router two a static IP address. While at it, ensure that the static IP address is out of the primary network’s range but within the subnet.
Usually, you can accomplish this in your secondary router’s LAN settings tab. Additionally, ensure both routers have similar network masks (typically 255.255.255.0 or /24).
For instance, if your primary router’s internal IP is 192.168.0.1, you can set 19.168.0.2 as your secondary router’s LAN IP. In short, make sure other devices don’t have the same address.
How do you do that?
Start by opening “Command Prompt” and inputting ‘ping 192.168.0.2.’
You’re good to go if it returns the prompt “Request time out” four times.
Step 6: Grab your Ethernet Cable
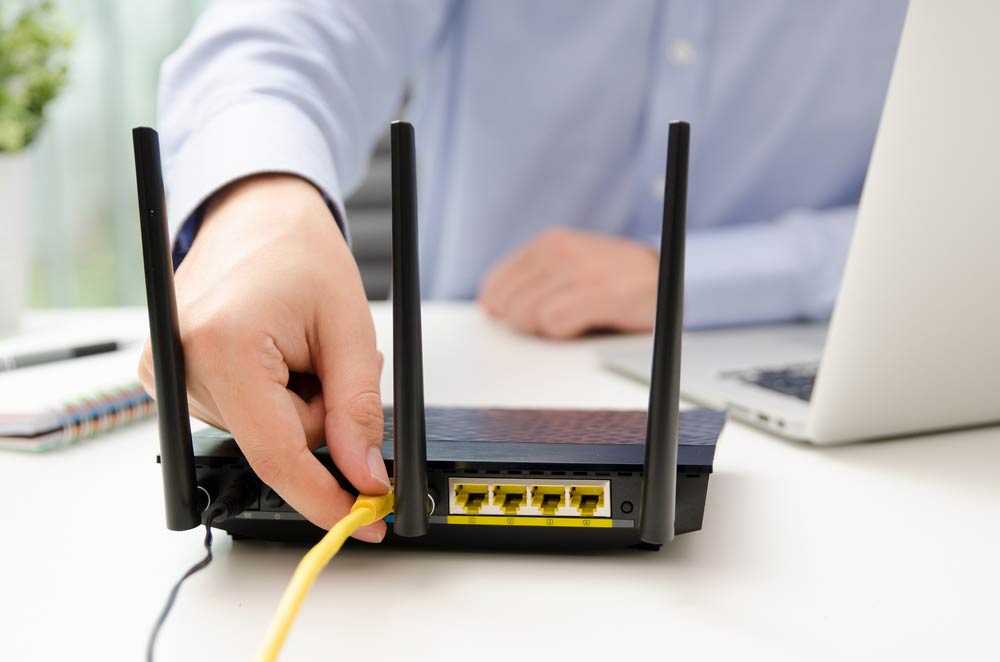
Man plugging ethernet cable to a router
Next, connect your secondary router to router one’s LAN port.
Any network devices plugged into router two will grab the settings from the primary router’s DHCP.
In addition, enabling the second router’s wifi will ensure the networks are on non-overlapping channels.
Also, both routers should have similar WLAN SSID and security settings.
Step 7: Final Adjustments
Wifi ready for connection
It’s easy to log into your second router’s network. So, you can open your web browser and type the assigned IP address from step 5.
Once you connect, set a password and adjust the settings if required.
Final Words
Daisy chain routing can easily create more access points for increased network strength.
Therefore, it’s an adequate alternative to purchasing Wi-Fi network extenders.
In truth, the process is easy and requires few components.
Also, you only need two routers and an ethernet cable for a successful daisy chain routing.
Do you have any questions? Feel free to reach us, and we’ll be happy to help.

Hi, I am Hommer Zhao, the founder of WellPCB. So far, we have more than 4,000 customers worldwide. If you have any questions, you can feel free to contact me! Your happiness as a customer is my priority!